How To Add Mods To A Valheim Server
How To Add Mods To A Valheim Server
Adding mods to your Valheim server is a great way to enhance gameplay, customize mechanics, and introduce new features for you and your friends. Whether you're looking to tweak combat, expand building options, or add quality-of-life improvements, installing mods can transform your server experience. This guide will walk you through the setup process so you can start modding safely and effectively.
Installing BepInEx On A Valheim Server
BepInEx is a popular modding framework used for Unity-based games, including Valheim. It acts as a plugin loader and patching system, allowing custom mods and code to run within the game. If you’re adding mods to a Valheim server or client, BepInEx is often the essential first step.
Key Features Of BepInEx
- Loads DLL-based mods automatically at game launch
- Enables advanced customization through plugin architecture
- Includes built-in debugging and logging tools
- Works on both client and dedicated server installs
In short, BepInEx is the backbone for most Valheim mods—it makes the entire modding ecosystem possible.
To install BepInEx on a Valheim server:
- Login to control panel.
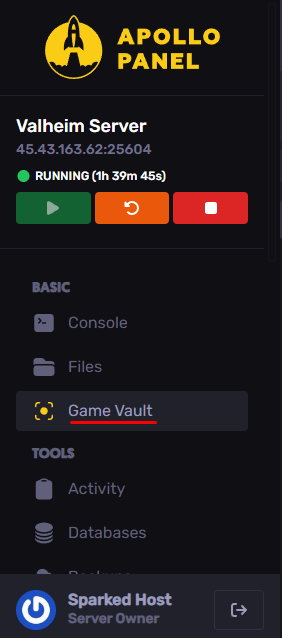
- Stop your server.
- Look for the option called "Game Vault".
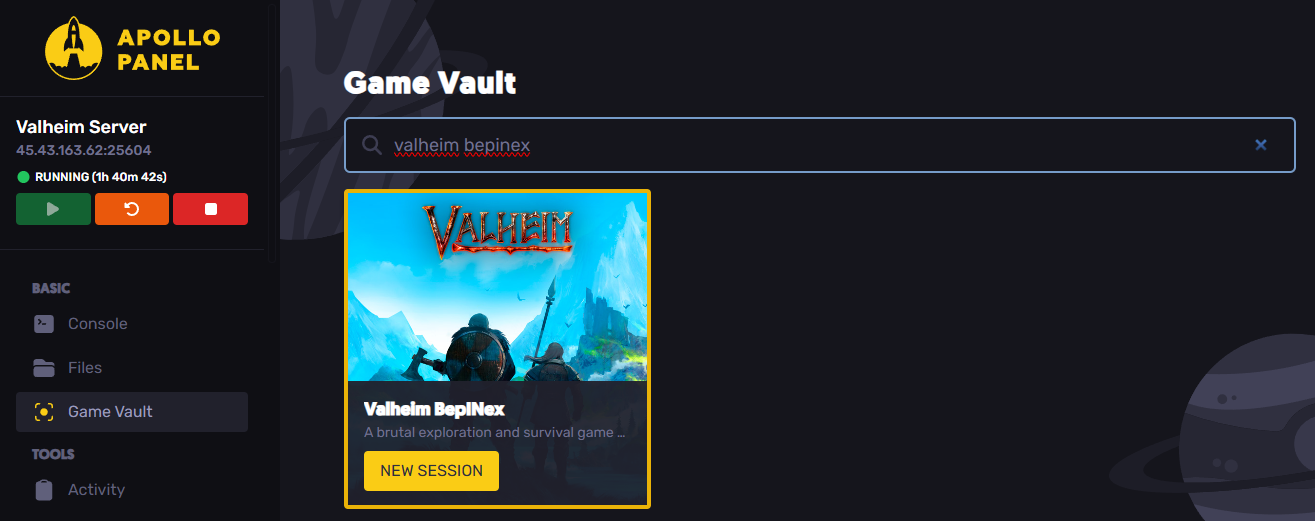
- In the search engine type "valheim bepinex" and Click on "New Session"
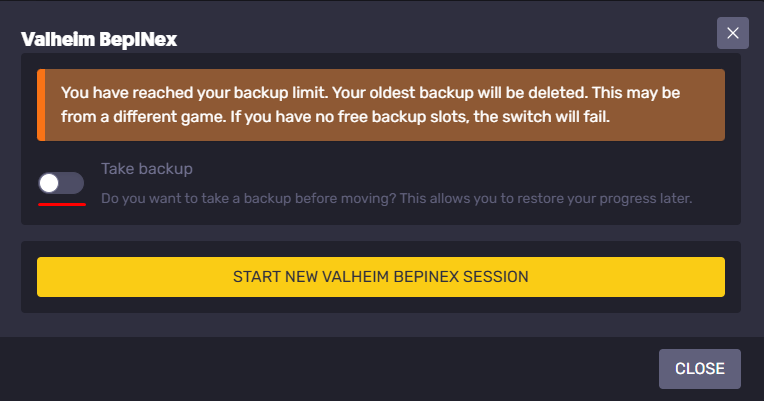
- To finish, just click on “Start new valheim bepinex session”.
- Enable the "Take backup" option to automatically generate a backup copy to prevent loss of important data.
Installing Mods On A Valheim Server
To install mods on a Valheim server:
- Open your Apollo Panel.
- Stop the server.
- Head over to the LaunchPad tab.
- Install the desired mod.
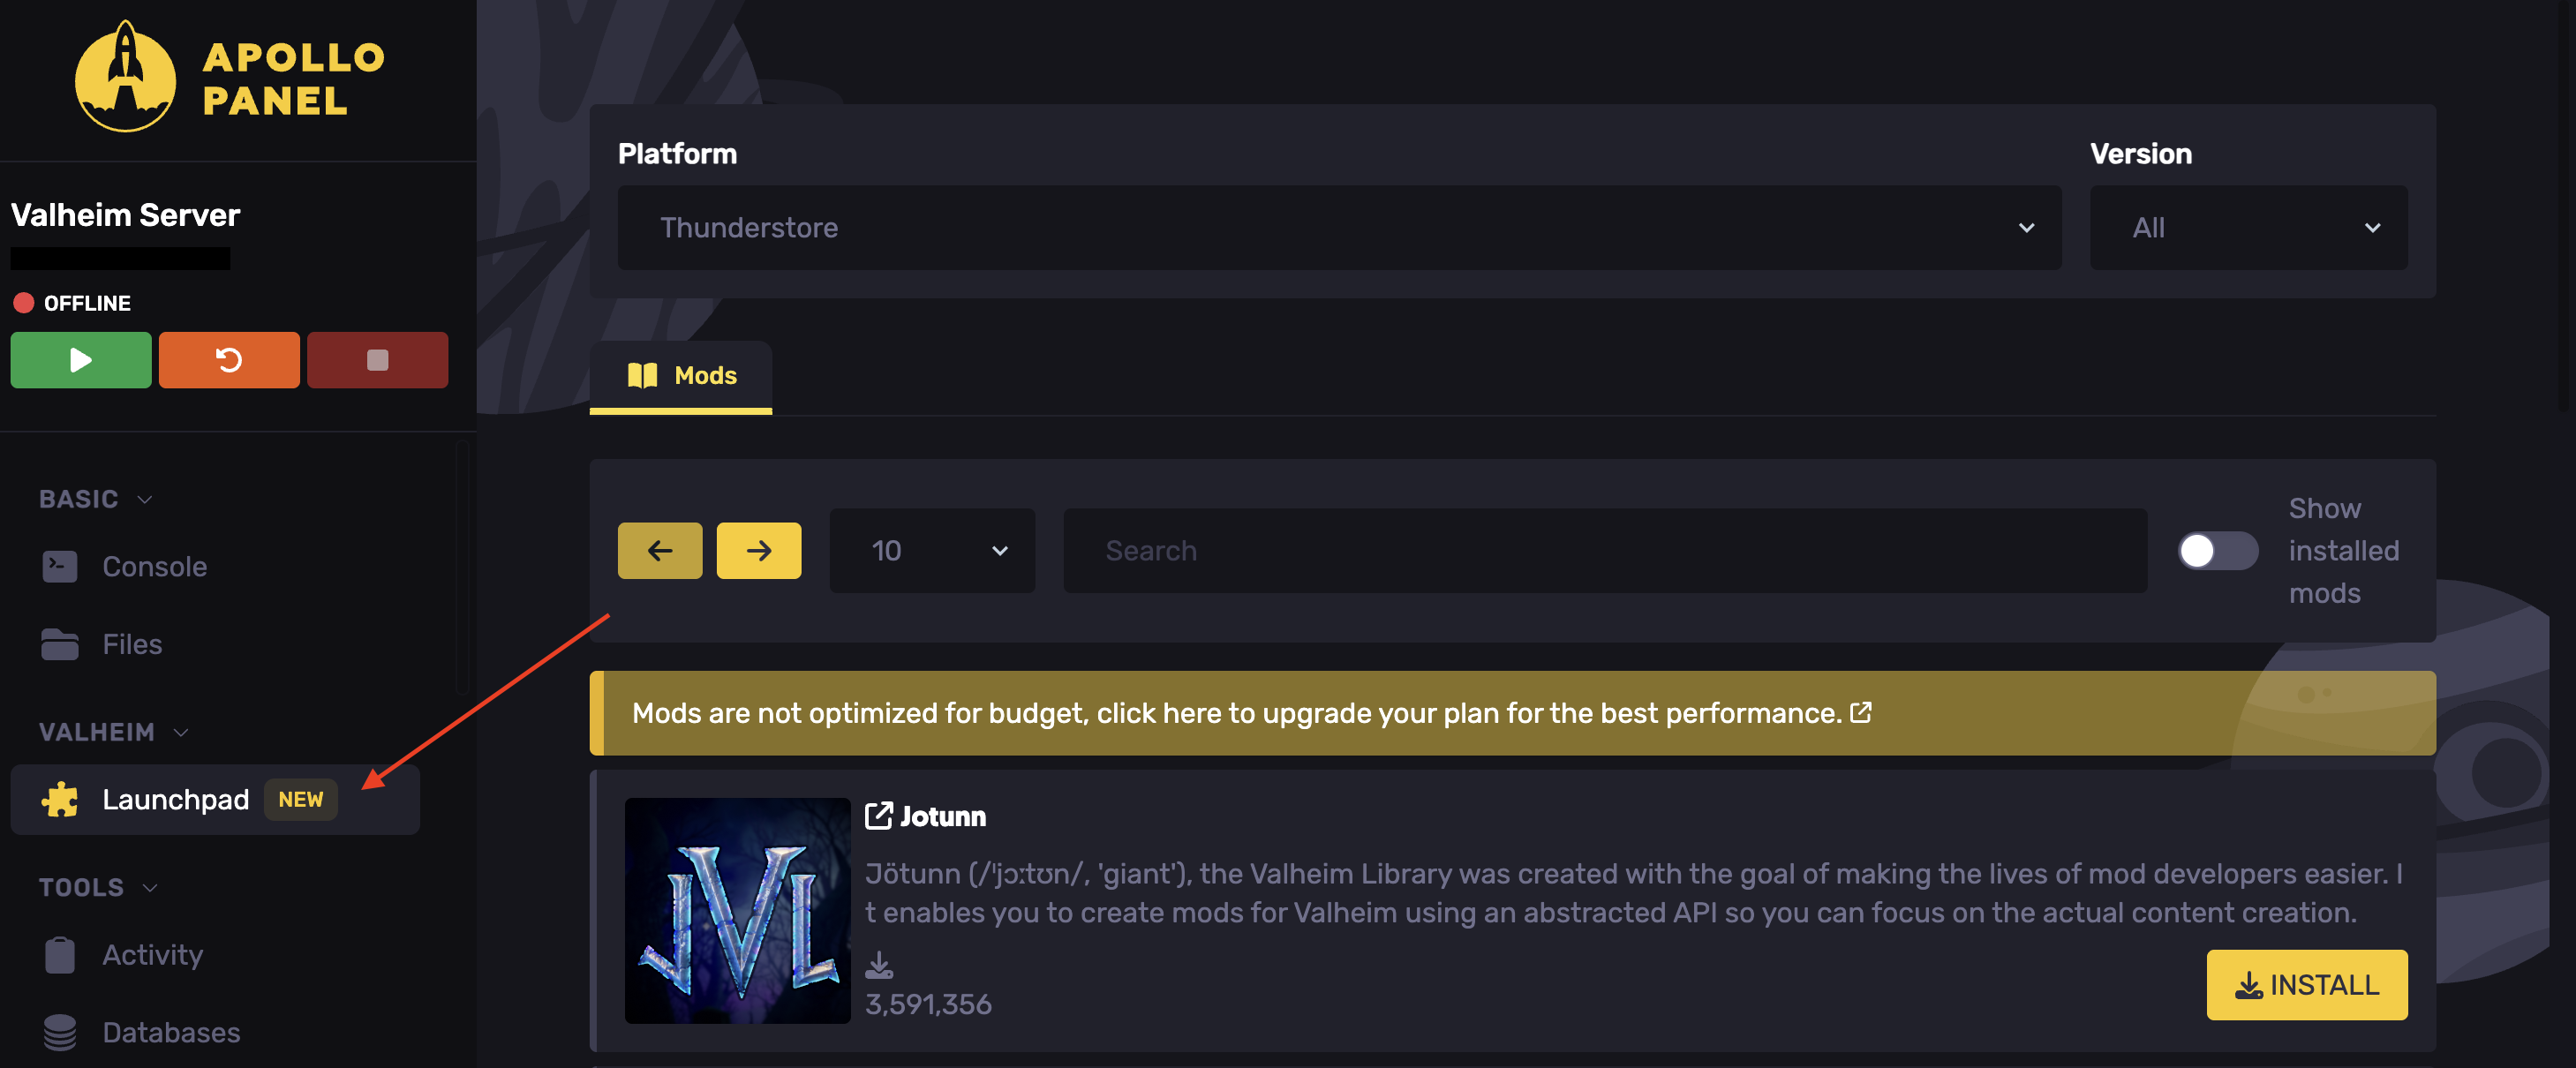
- Start the server.
You have successfully installed the mod.
Still have some questions about changing adding an admin to a Valheim server?
Don't hesitate to reach out to our support team! We're available 24/7 to assist!
Updated on: 24/03/2026
Thank you!