How to Add Mods to Satisfactory Server
Adding mods to your Satisfactory server can completely transform the game—think quality-of-life tweaks, new buildings, or even full gameplay overhauls. While it takes a bit of setup, it’s absolutely worth it if you’re looking to customize your experience and make your factory truly unique.
In this guide, we'll show you how to add mods to Satisfactory server, change your Satisfactory experience, start hosting a modded server, and gain expertise on the latest version of Satisfactory.
Don't already host with us? 10,000+ server owners trust Sparked Host for servers on games like Satisfactory. Claim your server savings to get higher performance at less $ per month.
Installing Mods
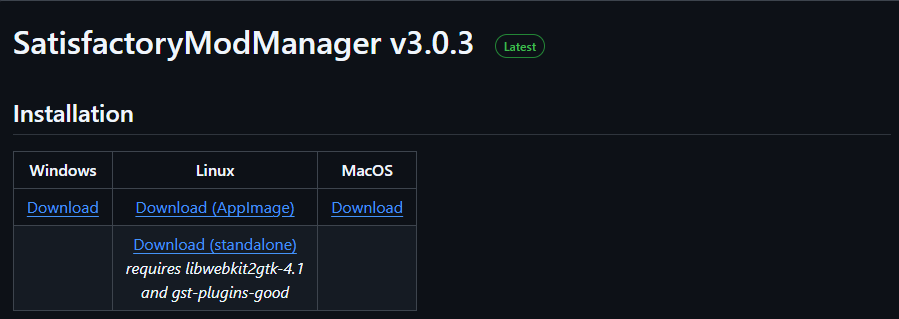
- Install the Satisfactory Mod Manager on your computer here
- Choose the compatible operating system, either Windows, Linux, or MAC
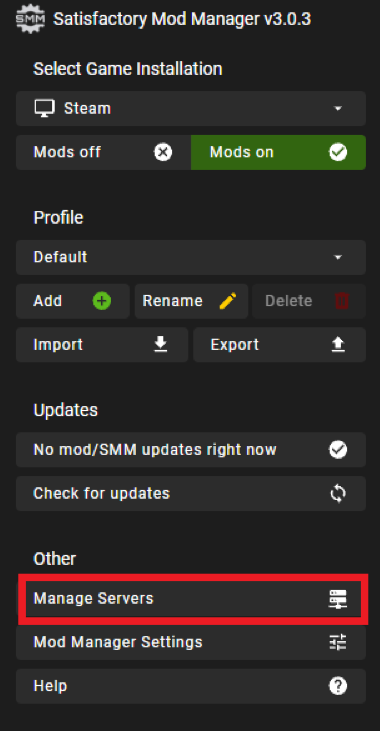
- Open up the client and click on Manage Servers
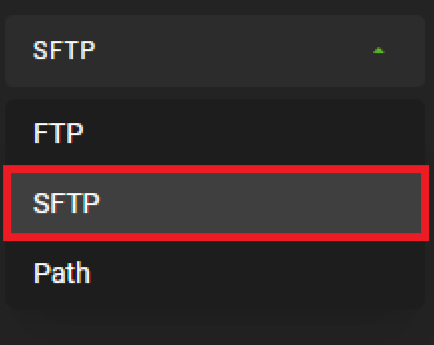
- Select SFTP, now please carefully follow the steps below to find your SFTP credentials
- Open your Apollo Panel
- Stop your server
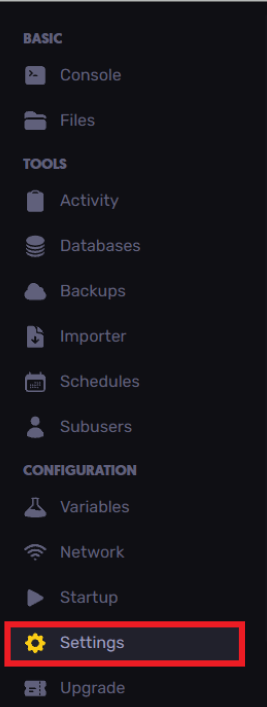
- Head over to the Settings tab
- Copy your SFTP credentials and paste them into the Satisfactory Mod Manager as shown in the example below
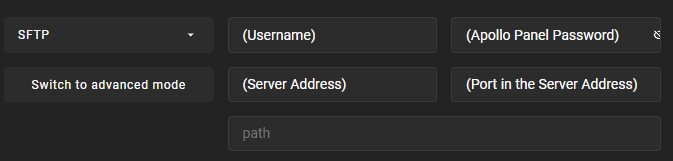
- In the Server Address, make sure to remove the sftp:// and port
- Click on Add

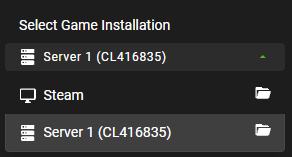
- On the top left corner in the Select Game Installation, choose your added Satisfactory dedicated server
- Now, you can download mods and manage mods!
- Once the mod installation is over, it will automatically be uploaded to your server files through the FTP client in the Mod Manager. You can check the mods files to find the same mods installed.
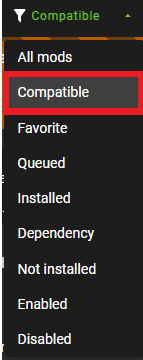
- You can also choose Compatible, so only mods currently compatible with the version are displayed, and not all mods, and other mods will be hidden
- Switch back to Steam through the game version dropdown
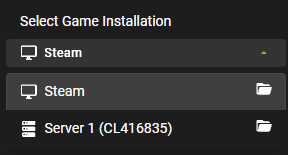
- You can now click the "Play" button to start and connect to the server through Steam or the Mod Manager!
Have some questions about adding mods to a Satisfactory server?
If you need any further dedicated server support, you can log in and create a ticket here
Updated on: 12/11/2025
Thank you!