How To Change Map On DayZ Server
Switching the map on your DayZ server is one of the simplest ways to refresh the experience for players. The base game ships with Chernarus, but community maps like Deer Isle, Namalsk, and Banov open up totally different survival challenges and atmospheres.
Changing the map isn’t just about swapping files, it usually involves adjusting your server’s startup parameters, making sure the correct mission folder is in place, and double-checking that any mods tied to that map are added. Once set, the new world becomes the stage for your community’s next survival story.
Installing Base Maps On A DayZ Server
- Go to the Apollo Panel and ensure the server is offline
- In the Files Tab, open the "serverDZ.cfg" file
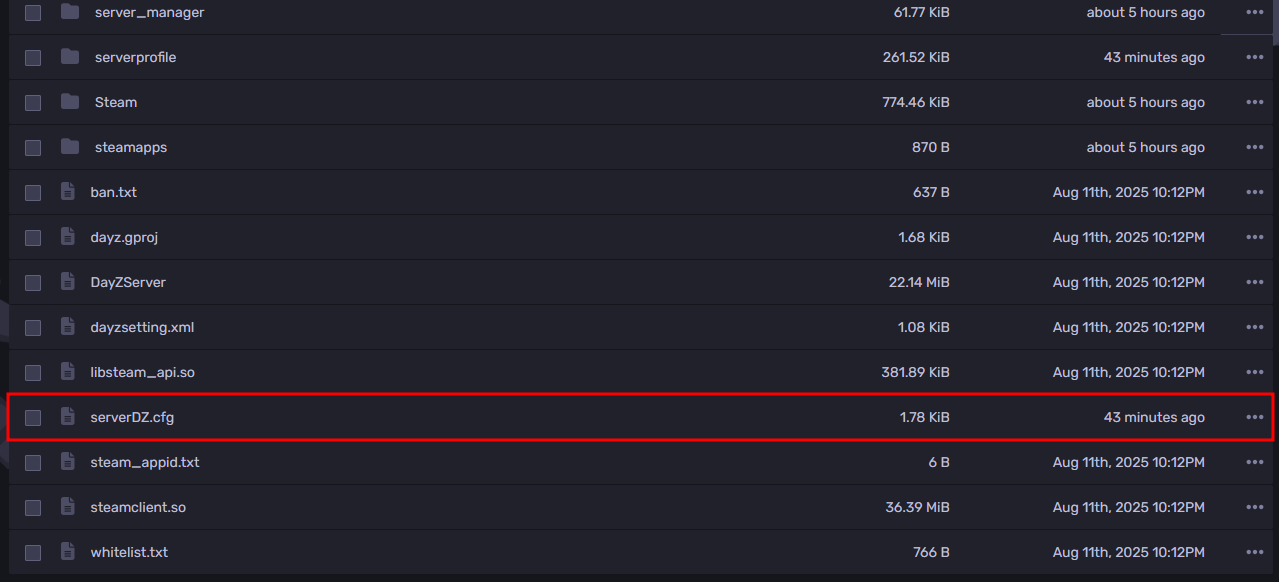
- Look for the "class Missions" line, and under it, there should be a template setting.
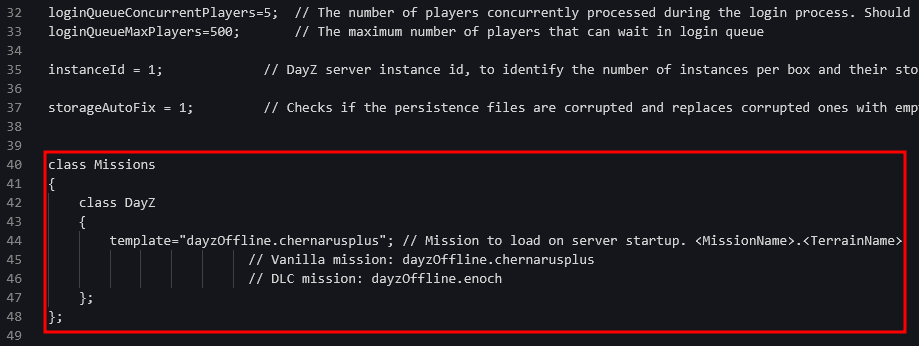
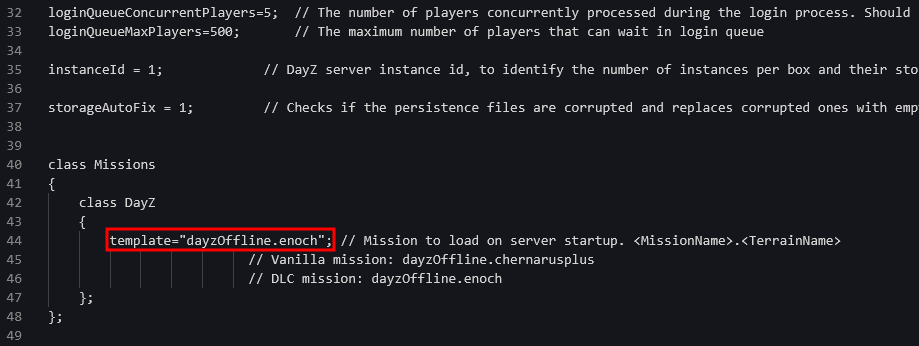
- Change the template setting to either "dayzOffline.chernarusplus" for the default Chernarus map or "dayzOffline.enoch" for the Livonia map.
- Save the configuration file, then start the server, and the map will now load the map that you have set.
Installing Custom Maps On A DayZ Server
- Go to the Apollo Panel, and turn off your server.
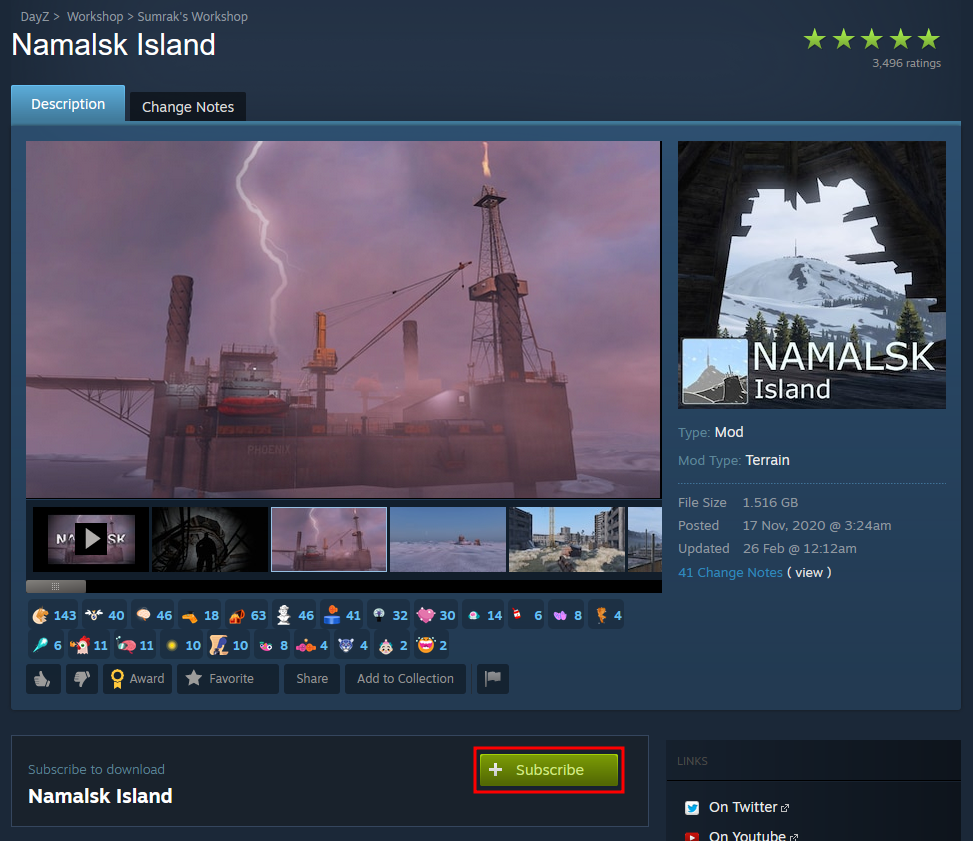
- Open the DayZ Steam Workshop and search for the map you want to use. For this guide, we will be using the Namalsk Island.

- Subscribe to the desired workshop map.
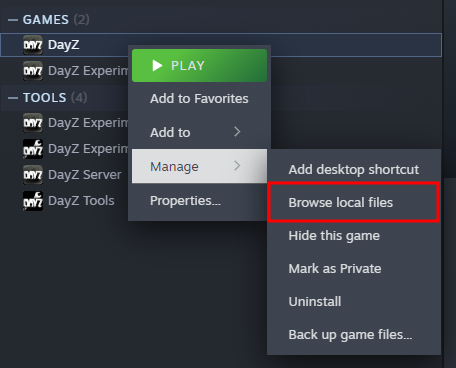
- Open your DayZ game files by right-clicking the game on your Steam Library, then under "Manage", select "Browse local files".
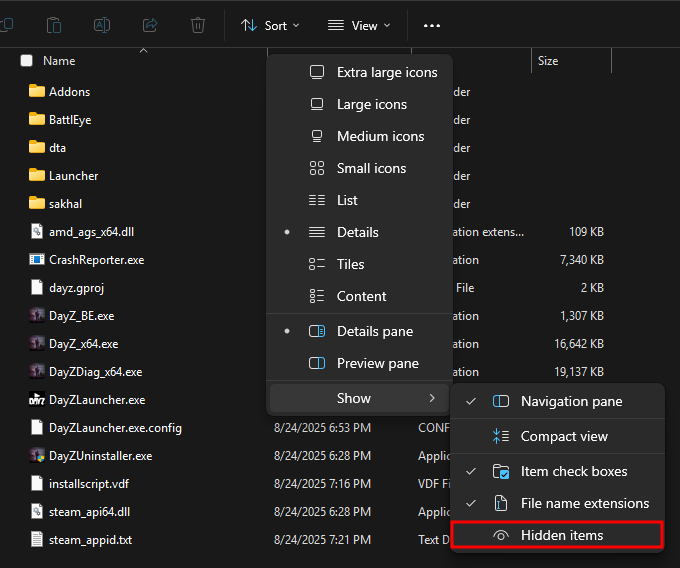
- Open the hidden folder named "!Workshop". If you can't see the folder, you can show hidden items by going into "View", then "Hidden items", and lastly clicking on "Hidden items".
- Upload the folder of the workshop map that you've subscribed to the root directory of your server with the Apollo Panel. Since the name of the map is "Namalsk Island", the folder we will upload is "@Namalsk Island". Please take note of the folder name as well, as we will also need to add the map as a DayZ mod on the server.
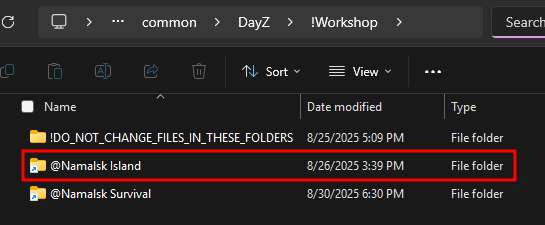
If the workshop map requires other mods, for example, the Namalsk Island map needs the Namalsk Survival mod. Make sure you upload its folder to the server and remember its name, as we will add it as a DayZ mod on the server as well.
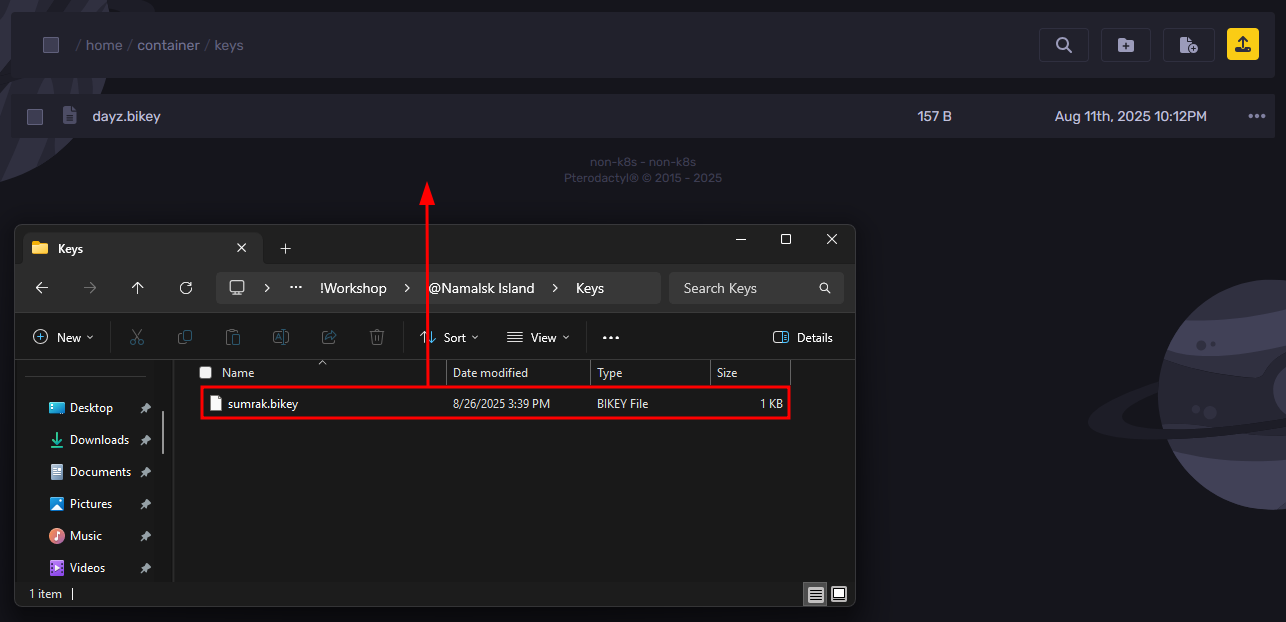
- Now, return to your computer and open the workshop map folder. Then, open the "Keys" folder. Upload all of the contents of that folder to the "keys" folder on your server.
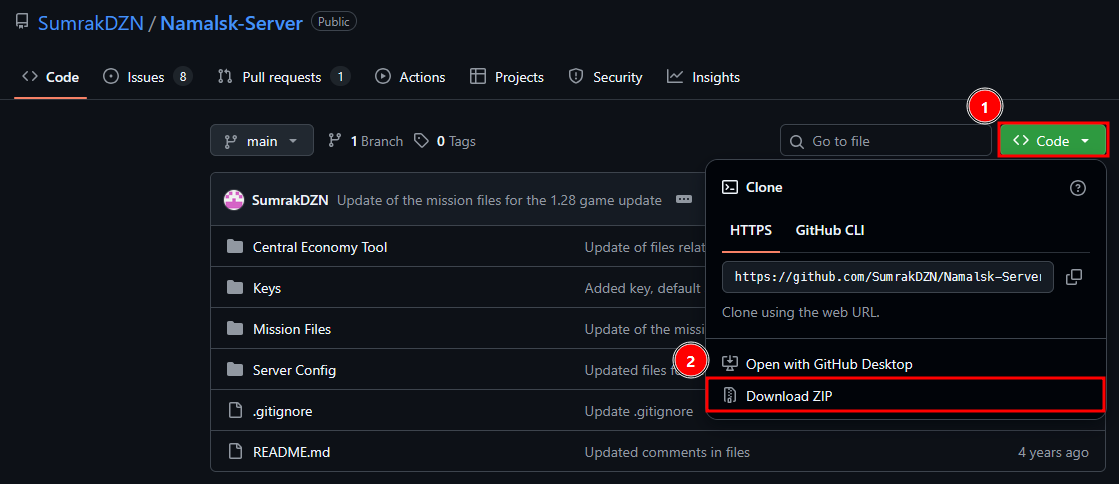
- Download the mission files for the map. You could usually find the link to the mission files from either the custom map's Steam Workshop page or on the map creators' community Discord server.
For this map, they are located inside a GitHub Repository. You can download the entire repository by clicking on "Code," then selecting "Download ZIP" to download the map files.
- Unzip the ZIP file on your computer.
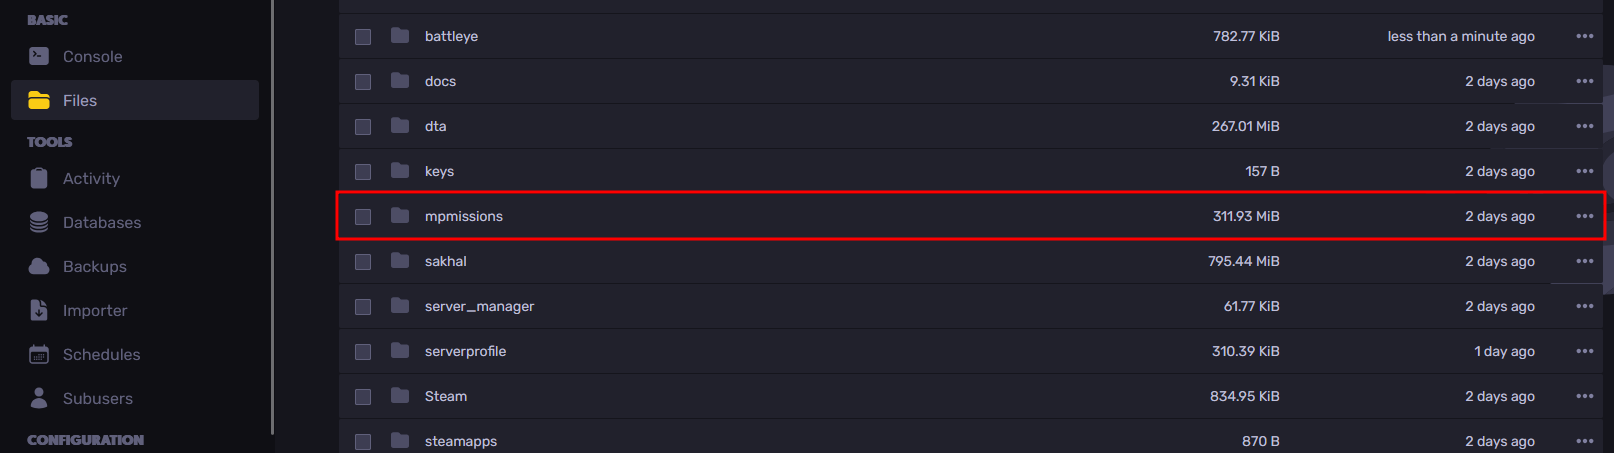
- In the Files Tab, open the folder called "mpmissions".
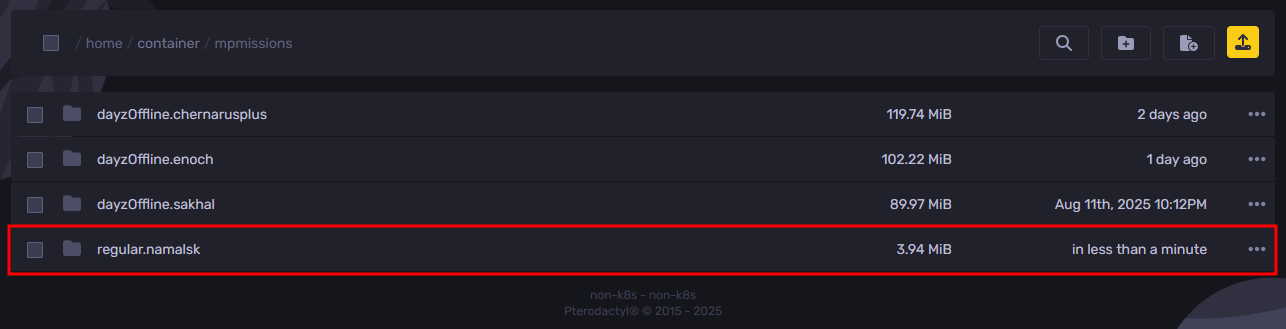
- Upload the mission folder (which is usually named "<Mission Name>.<Terrain Name>").
- If the map server files also come with a server cfg file. You can upload it to the root directory of the server to replace the current server configuration with the settings that will change the map and set up any other necessary settings for it.
However, if it doesn't come with a server config file, you can open the "serverDZ.cfg" file, then edit the template line, found under the Missions class, to the name of the mission folder uploaded in the previous step. Then save the file once you have set the new template setting.

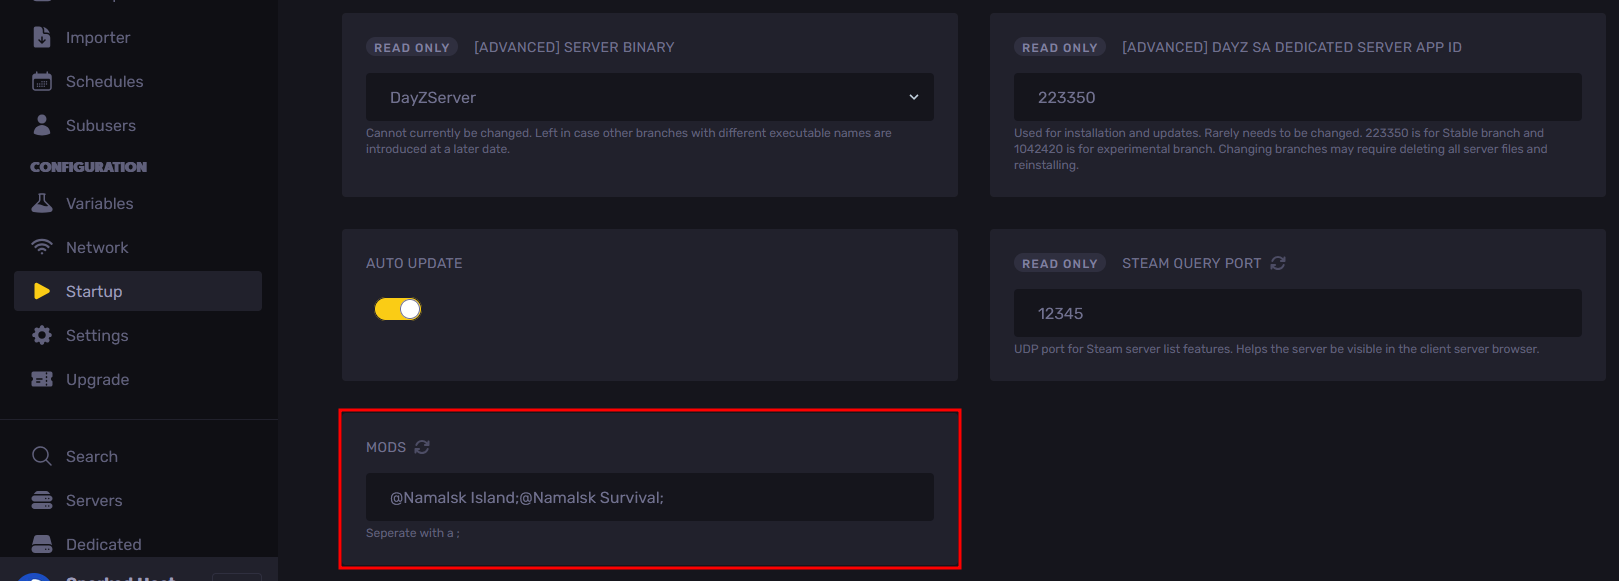
- Now, navigate to the Startup Tab, and under the "Mods" settings, paste the name of the map folder from step 6. If you have more than one mod listed or your map requires other mods for it to work, ensure a semicolon separates them.
- Start the server, and the map will now load the map that you have set.
Still have some questions about changing maps on a DayZ server?
If you need any further instructions, you can log in and create a ticket here
Updated on: 02/09/2025
Thank you!