How to Change Minecraft Server Icon
Changing your Minecraft server icon is an excellent way to update your server's appearance quickly and easily. The icon, which displays alongside your server's name, offers a unique opportunity to showcase your server’s personality.
In this guide, we’ll walk you through selecting the right image, ensuring it meets the necessary size requirements, and applying it to your server.
Don't already host with us? 10,000+ server owners trust Sparked Host for lag-free Minecraft worlds. Claim your server savings to get higher performance at less $ per month.
Finding Your Minecraft Server Logo Image
Before you can change your Minecraft server icon, you'll need to have the right image ready. Minecraft has specific requirements for server icons, so it’s important to ensure your image meets these criteria to display correctly.
1. Understand the Image Requirements:
Minecraft server icons must follow these specifications:
- Size: 64x64 pixels
- Format: PNG (.png)
- Transparency: Allowed (optional, but can give a cleaner look)
- File Name: Must be named server-icon.png
2. Choosing or Creating Your Image:
You have two options—either select an existing image or create a new one:
- Use Existing Images: Search for royalty-free images online or use an image you already have that fits your server’s theme.
- Create Your Own: Tools like Photoshop, GIMP, or free online editors (e.g., Canva) are great for designing a custom icon. Make sure to scale it down to 64x64 pixels and export it as a PNG

3. Optimizing Your Icon:
To ensure your server icon looks its best:
- Keep it Simple: At 64x64 pixels, overly complex images may look cluttered.
- High Contrast: Use colors that stand out against Minecraft’s server list background.
- Test Visibility: Preview the icon at its small size to confirm it’s clear and recognizable.
4. Saving the File Correctly:
After finding or creating your image:
- Double-check the size (64x64) and format (PNG).
- Rename the file to server-icon.png exactly—this is case-sensitive.
With your image ready, you’re set to upload it to your server and give it a fresh new look!
Changing Your Minecraft Server Icon
There are a couple of ways you can change the server icon that shows in game.
Automatically with the Apollo Panel
- Upload your server icon to the Files Tab on the left side. Ensure the server icon you plan to use is a PNG image cropped to a square.
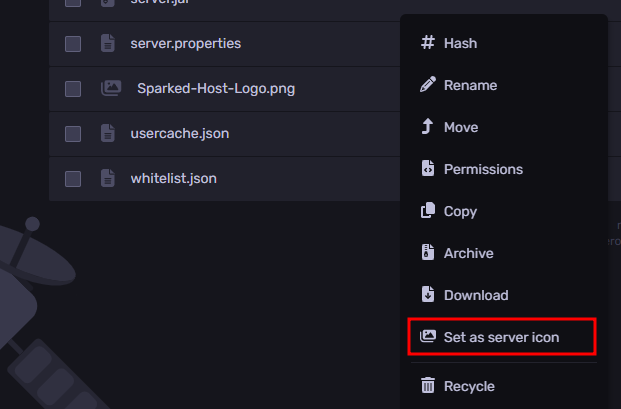
- Right-click on your server icon and click "Set as server icon". Afterwards, it will generate a copy of the image, and then resize the image to 64 x 64 pixels with the name
server-icon.png.
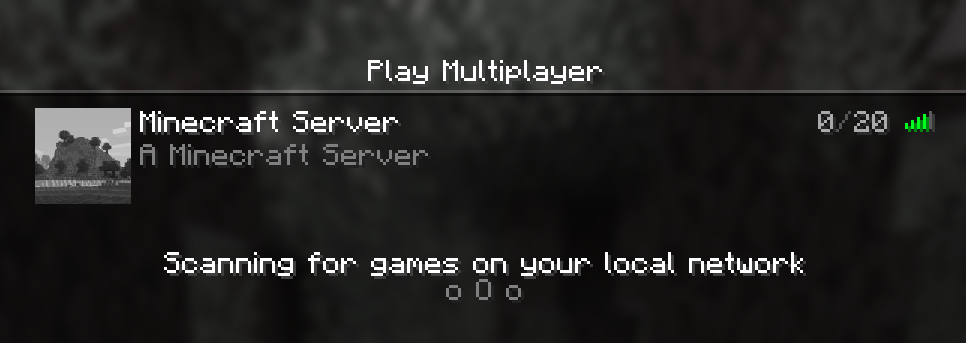
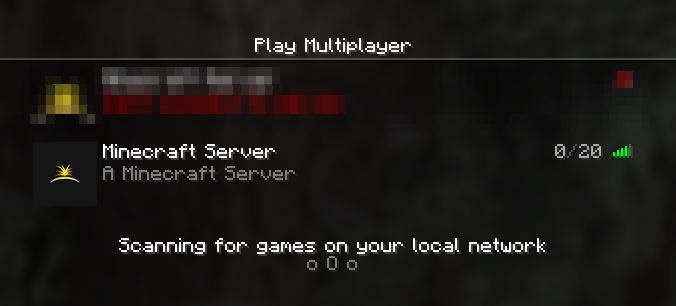
- Once the server icon is generated, Restart your server. Then, in-game, navigate to the multiplayer server list. You should see the new server icon that you have set.
Manually changing the Minecraft server icon
Before we begin changing the server icon, you need to ensure the icon that you create or edit is 64x64 pixels wide, is a PNG image file type, and is renamed to server-icon.png. Tools like MC Utils' Server Icon Converter can help automatically convert your server icon to the appropriate format.
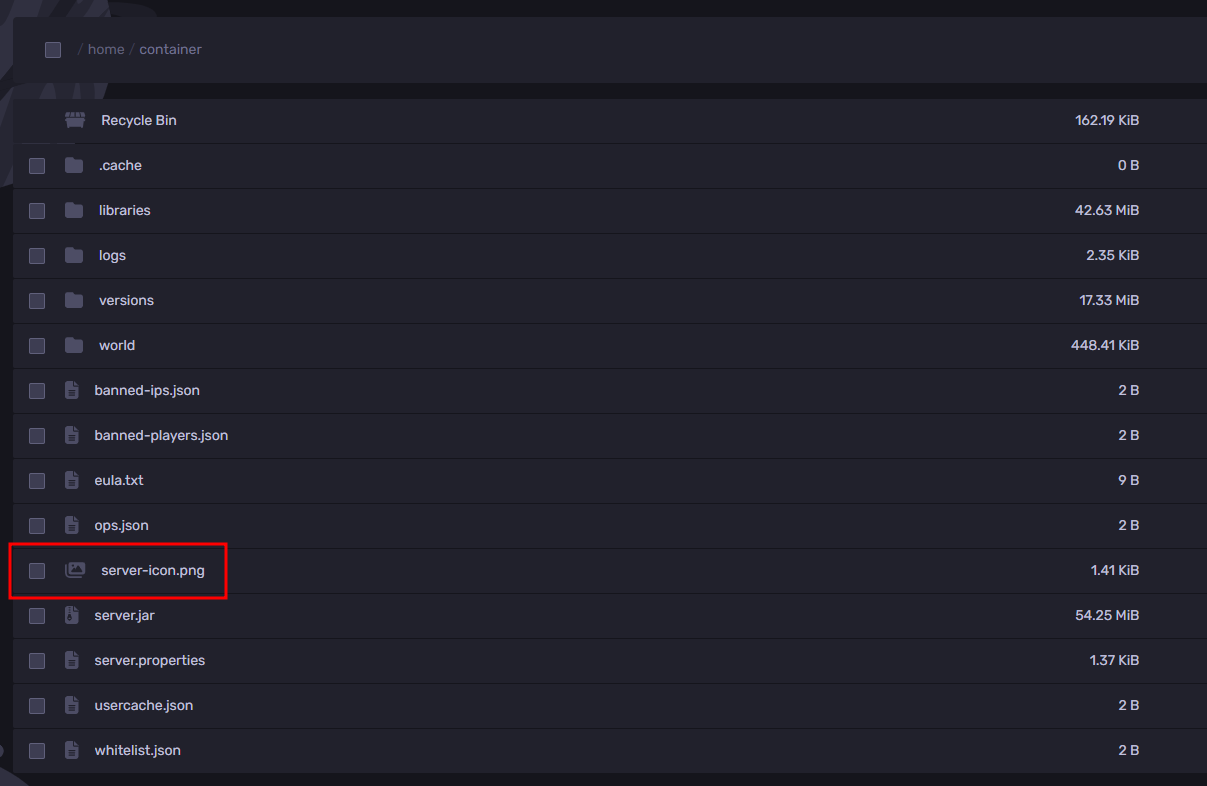
- Upload your server icon to the Files Tab, and once again, make sure that it is named
server-icon.png.
- Restart your server. After you restart your server, navigate to the multiplayer server list. You should see the new server icon that you have set.
Still have some questions about your Minecraft server?
Feel free to open a ticket with our support team. We'll get back to you as soon as possible!
Updated on: 03/11/2025
Thank you!