How to Install a Custom JAR on Minecraft Server
In this guide, I’ll walk you through the steps to upload and run a custom JAR on your Java Minecraft server. It’s a straightforward process that gives you more control over your server’s performance and features.
Why should I use a custom JAR file?
If you’re looking to run a completely custom modded server, installing a custom JAR file is the way to go. While we have a wide variety of custom JAR files already available in Apollo Panel, we don't have every single niche download.
This guide will show you how to replace the default Java Minecraft server JAR with a version that better fits your needs for those situations.
Examples of Custom JAR File Usage
You can have a custom Minecraft version running on the server, which will allow much more flexibility on the server. For example, you can have a custom Minecraft version that optimizes your server, or you can have a custom Minecraft version that allows you to run mods and plugins together.
Preparing Your Server
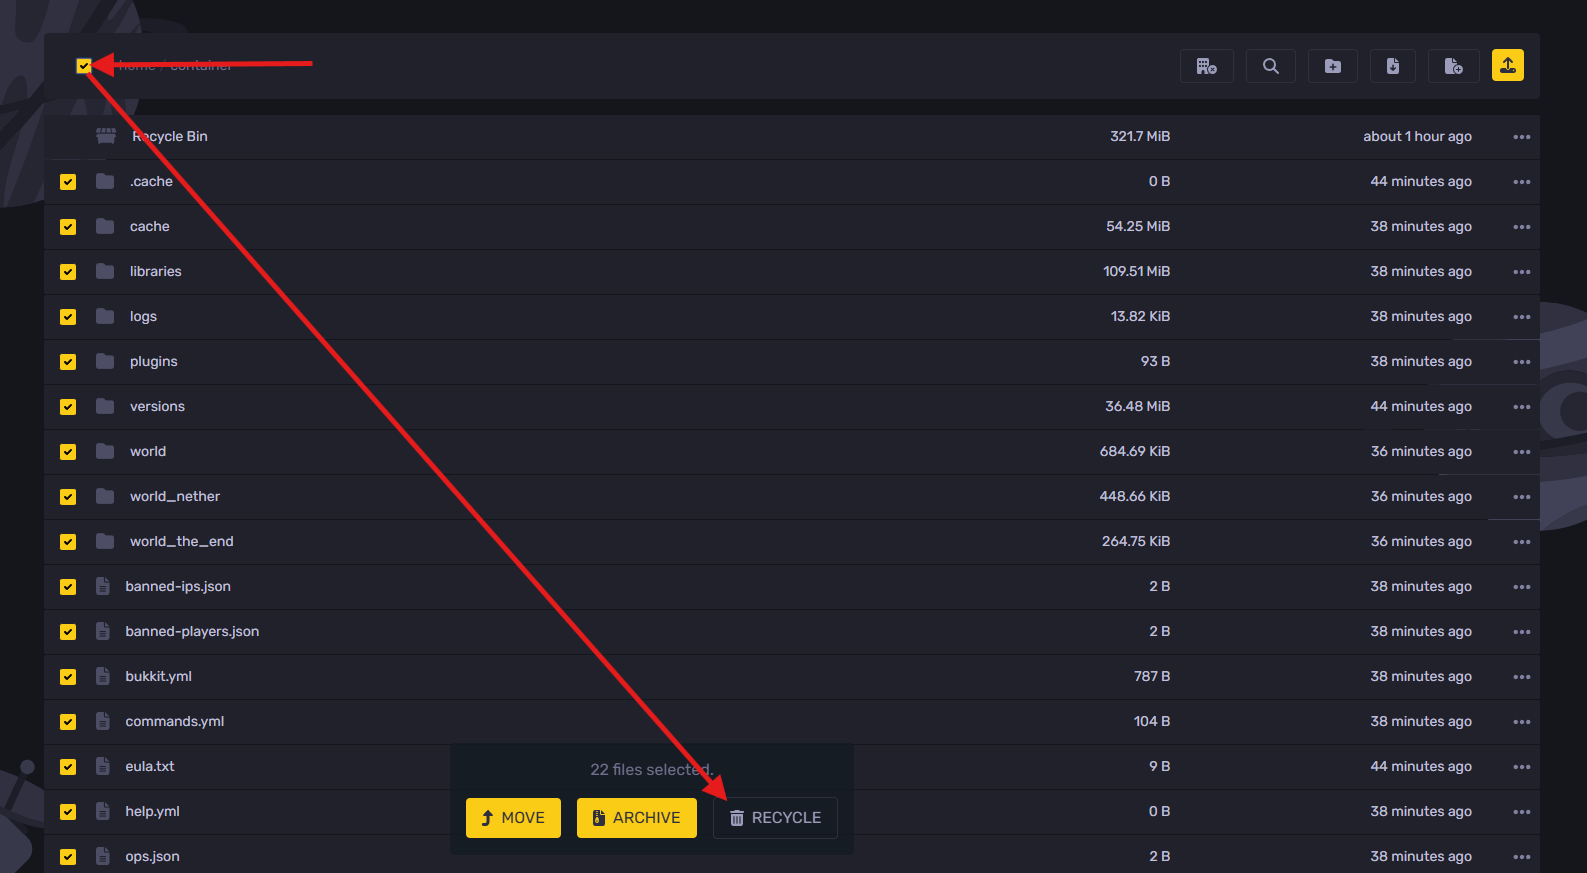
If you will be doing a clean install (new server), you'll need to select all your extra files (JSON files, folders, and the older server JAR) and delete them.

If you will be installing the custom jar file on a server that has progress on it, we'd recommend creating a backup of your Minecraft server files in case your files get corrupted.
You can create a backup of your Minecraft server files by following these steps:
- Go to the Backups tab

- Press "Create Backup"

Now you have a backup with the original version of your Minecraft server files (JSON files, folders, and the older server JAR) that you can load on the server at any time.
Uploading Your Custom JAR File
Ensure that you have the custom jar file downloaded on your computer before proceeding with these steps.
- Login to the Apollo panel
- Click on your server
- Turn off your server by clicking the stop button

- Click on the file manager tab to access your files

- Delete the original
server.jarfile

- Upload your custom jar file

- Edit it to rename it to
server.jar(in lowercase)

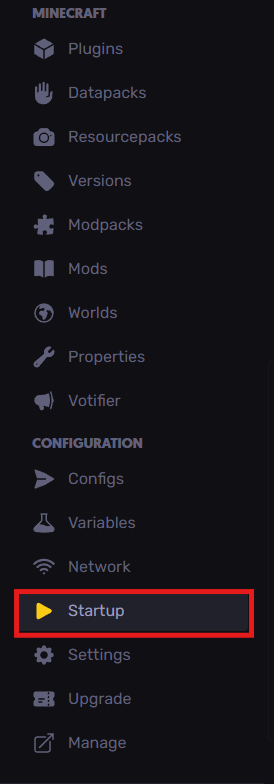
- Go to the startup tab

- Use the correct Java version for your jar file to complete the steps (We suggest that you check for the correct Java version on the documentation of this custom jar)

Now that you've completed these steps, you can start your server and it'll run your newly-added jar file.
Still have some questions?
You can contact our support by opening a ticket here, and we'll respond right away!
Updated on: 03/11/2025
Thank you!