How To Install Bluemap On Minecraft Server
In this article, you will get to know how to install and setup Bluemap on your Minecraft Java Edition server!
What is The Bluemap Plugin?
BlueMap is a powerful Minecraft server tool that generates real-time, interactive web maps of your world—similar to Google Maps, but for Minecraft. It's especially popular with server owners who want to let players explore the world through a browser. Want to checkout a demo of Bluemap? Click Here!
Key Features of BlueMap
- Renders your Minecraft world in 3D or 2D in real time
- Accessible via a web browser, so players can view the world without being in-game
- Shows player locations, waypoints, and live changes (with plugins)
- Supports custom resource packs and modded blocks
- Works with Fabric, Forge, Bukkit, and other server types
This guide will show you how to setup the Bluemap plugin on your own Minecraft server.
Don't already host with us? 10,000+ server owners trust Sparked Host for lag-free Minecraft worlds. Claim your server savings to get higher performance at less $ per month.
How to Install Bluemap Plugin
You can use the "plugins" on the Apollo panel to install the Bluemap plugin and ensure you are using the compatible server version for the plugin.
To install Bluemap manually, do the following:
- Install Bluemap here
- Log in to your Apollo Panel
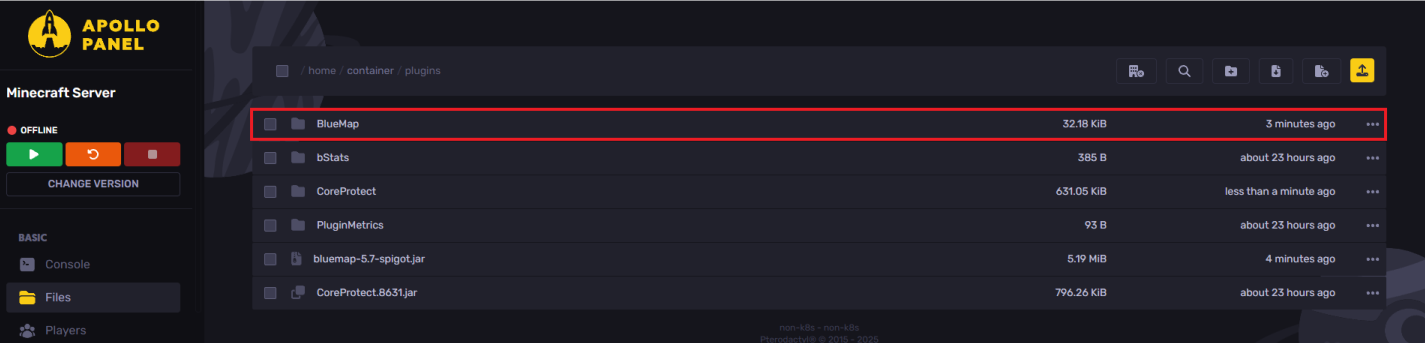
- Open the "Files" tab and locate the "plugins" folder
- Upload the Bluemap plugin jar file into the plugins folder
You've now installed the Bluemap plugin, start your server, and have fun!
Opening a New Port
We'll need an extra port for bluemap setup so please allocate an extra port for your server by following this steps:
- Navigate to the "Network" tab
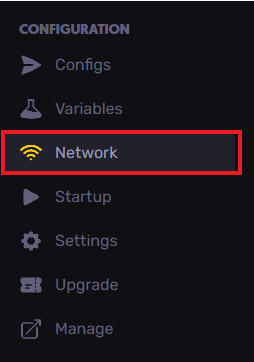
- Click on "Create Allocation" button and you will have a new port assigned to your server along with the one (Primary) you were having before.

- Copy the new port other than the primary. For example, if we see the above image, we will copy the port
28957
Configuring The Plugin
After copying the extra port, to change the default config file, do the following steps:
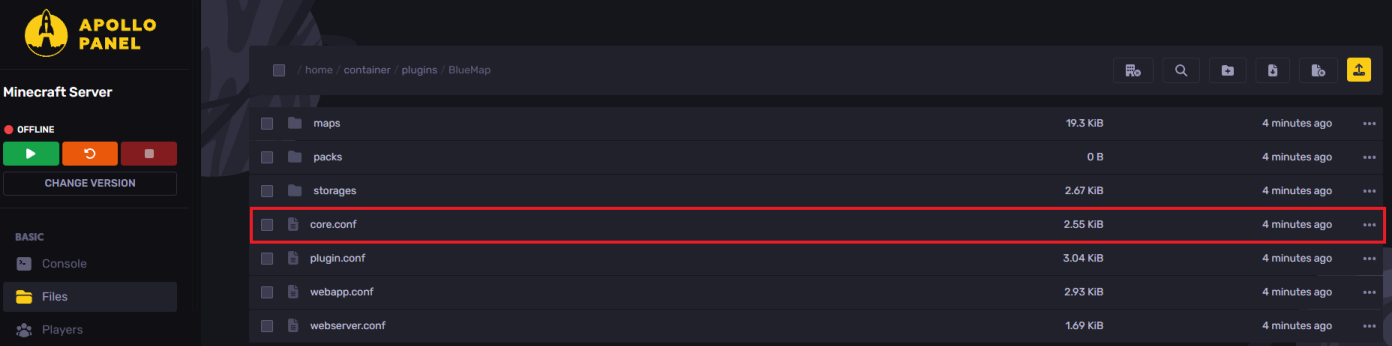
- Open the "Plugins" folder and then the "BlueMap" folder.
- Open the
core.conffolder
- Locate the line
accept-download:and set the set accept download totrue.
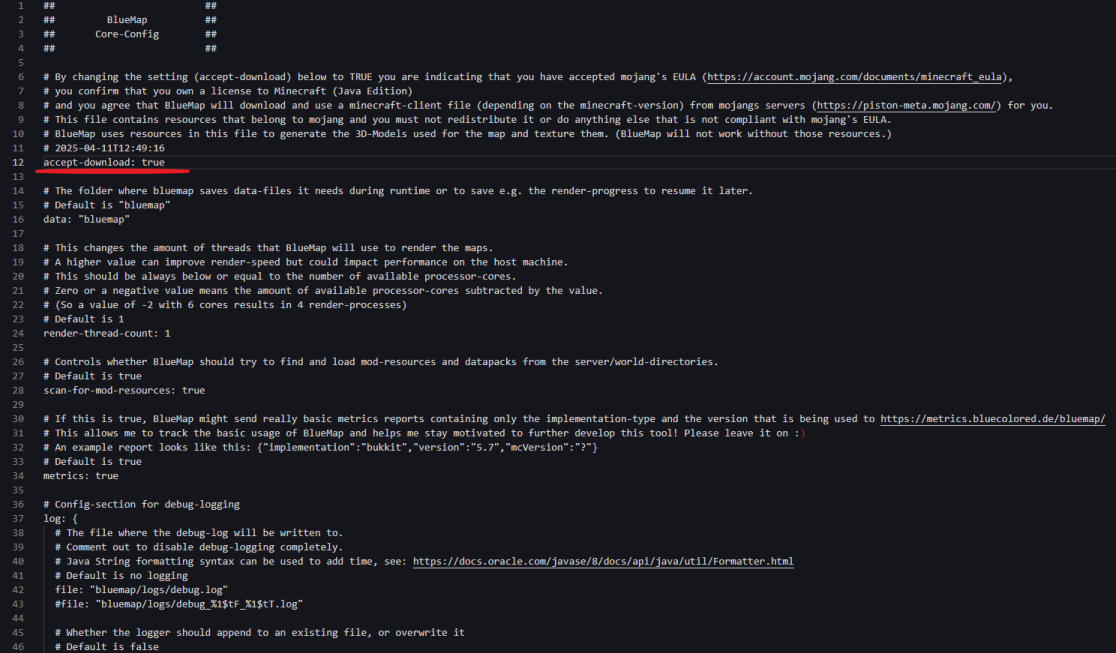
- Save the file and go back.
- Open
webserver.confand find the webserver line to set the port to the copied port.

- Save the file and restart your server.
- Once your server is running, check out your BlueMap at "http://IP:PORT" in your web browser. Just replace "IP" with your server's IP address and "PORT" with the specified port in the
webserver.conffile.
Still have some questions about installing Bluemap?
No worries! If you need any further help, you can open a ticket [here.](If you need any further instructions, you can file a ticket here)
By: Ali A.
Updated on: 03/11/2025
Thank you!