How To Install Desktop On Ubuntu Server
Want to turn your Ubuntu Server into a full desktop environment? Installing a Graphical User Interface (GUI) on Ubuntu Server is a great way to make system management more user-friendly, perfect for those who prefer visual interfaces over a command line interface. In just a few steps, we'll show you how to:
- Choose a desktop environment like GNOME, XFCE, or KDE
- Install it using sudo apt install ubuntu-desktop or a lighter option like xubuntu-desktop
- Reboot and log in with a graphical interface
Prerequisites
Before installing a Graphical User Interface (GUI) on an Ubuntu server, you will need the following:
- A server running Ubuntu (for this guide, we will use Ubuntu 22.04)
- A user with administrative privileges (by default, it would be the root user account)
Step 1: Updating Your System
Before we start with the installation process, let's make sure that the server is up to date by running the following commands, which will update the package list and upgrade the system:
sudo apt update && sudo apt upgrade
Step 2: Install A Display Manager
Display managers are tools that control the display server, desktop, and user authentication. While Ubuntu has a pre-installed display manager, there are lighter alternatives we can use, such as SLiM or LightDM, that can help conserve system resources. For this guide, we will be installing SLiM, so to do that, we will just run the following command:
sudo apt install slimStep 3: Choose Your Desktop Environment
Now that your system is up-to-date and the SLiM display manager is installed, it's time to install your preferred desktop environment. This will enable a complete graphical user interface (GUI) on your Ubuntu Server, replacing the default command line interface with a more visual experience.
Depending on your use case and system resources, here are three popular options you can install using the apt package manager:
GNOME
The GNOME desktop environment is the default on Ubuntu Desktop and provides a clean, modern interface. It's feature-rich and ideal if you want the full Ubuntu desktop experience. It works well with SLiM but originally uses GDM (GNOME Display Manager) by default.
XFCE
Lightweight and resource-efficient, the XFCE desktop environment is great for servers or older machines. It uses minimal resources and integrates smoothly with the SLiM display manager.
KDE
KDE Plasma offers a sleek and customizable user interface. While it typically uses SDDM as its default desktop manager, it can still function well with SLiM for lightweight deployments.
Step 4: Install Your Desktop Environment
After choosing your preferred desktop environment, it's time to install it. Below are the commands for installing GNOME, XFCE, and KDE on your Ubuntu Server using the apt package manager. These instructions assume you've already updated your system and installed SLiM as your display manager.
Installing GNOME
To install the GNOME desktop environment, run the following command:
sudo apt install ubuntu-desktop
Installing XFCE
To install the XFCE desktop environment, run the following command:
sudo apt install xubuntu-desktop
Installing KDE Environment
Lastly, for a highly customizable and visually appealing desktop environment. To install KDE Plasma, specifically the minimal version of KDE Plasma, run the following command:
sudo apt install kubuntu-desktop
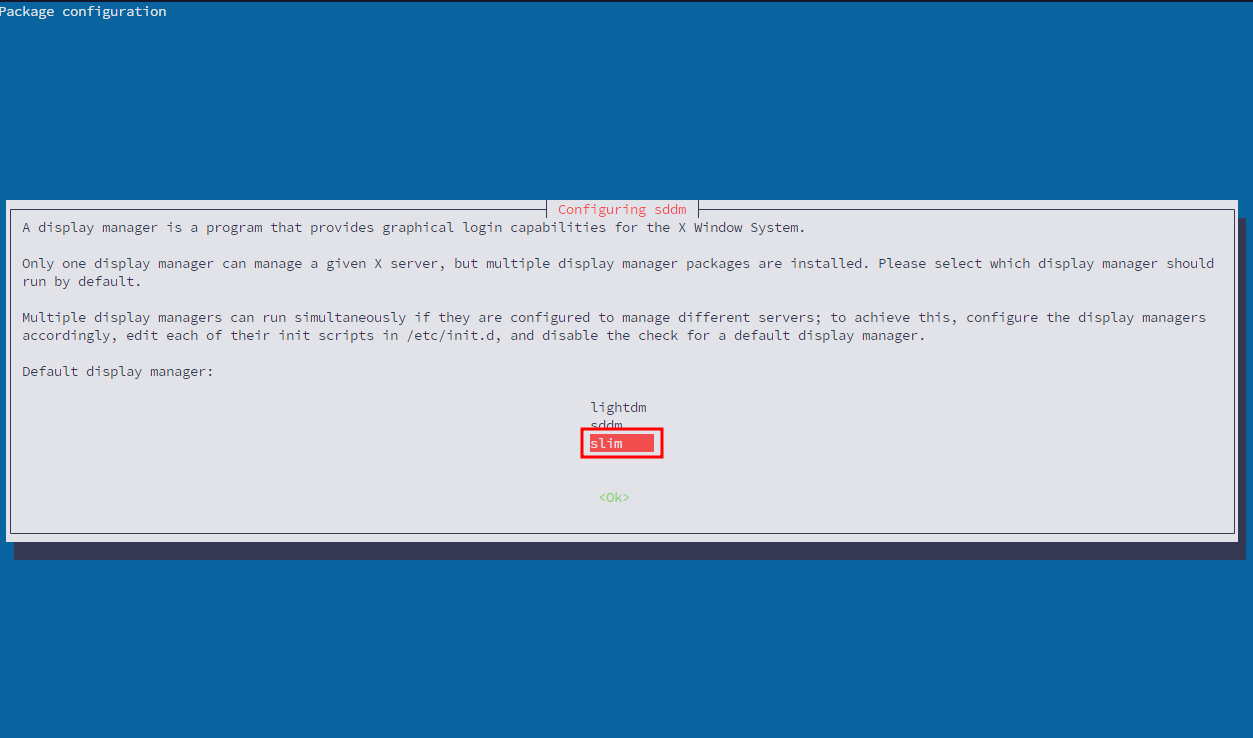
While installing one of the desktop environments, you may be prompted to select a default display manager. If so, select the slim display manager and press "Enter".
Once the installation finishes, reboot the system on the VPS Panel or by running the command:
sudo rebootOptional Step: Connect To The GUI
Once the system boots up, you can access your Ubuntu Server remotely with a GUI. You can either do the following:
Using VNC from the VPS Panel
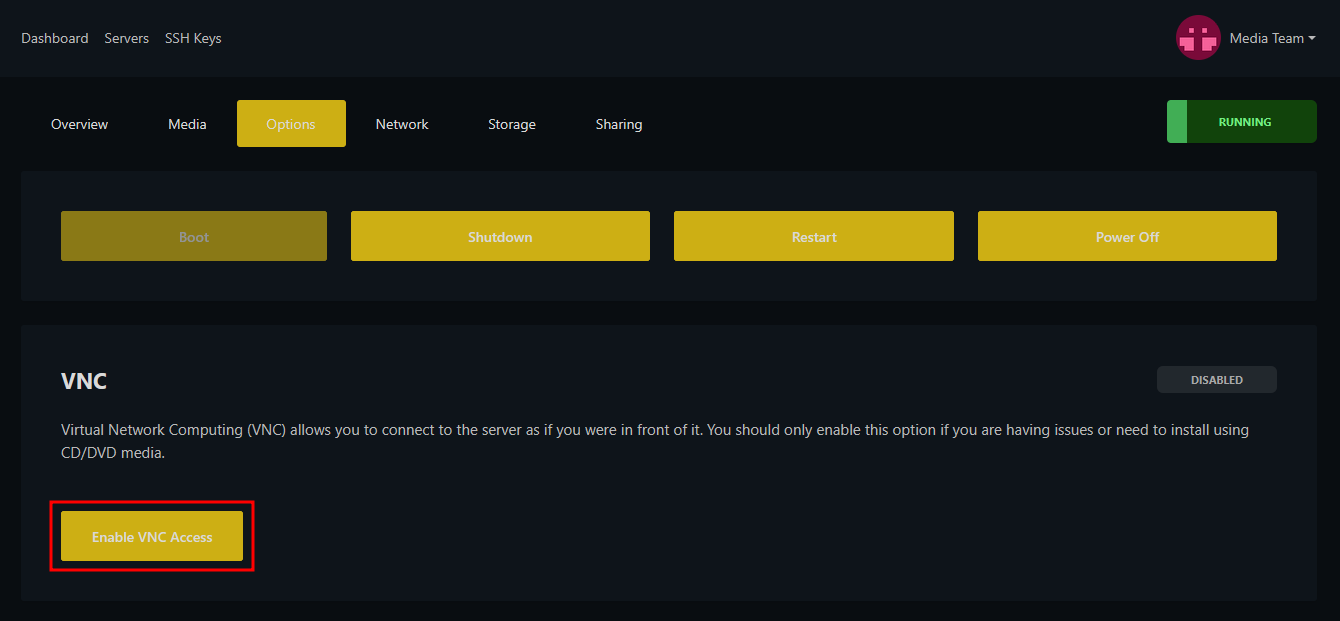
Our panel already includes VNC for accessing your VPS, which, in this case, could also be used to access your installed environment. To enable it, go to the VPS Panel and, from your VPS Hosting Service's options, click on "Enable VNC Access."
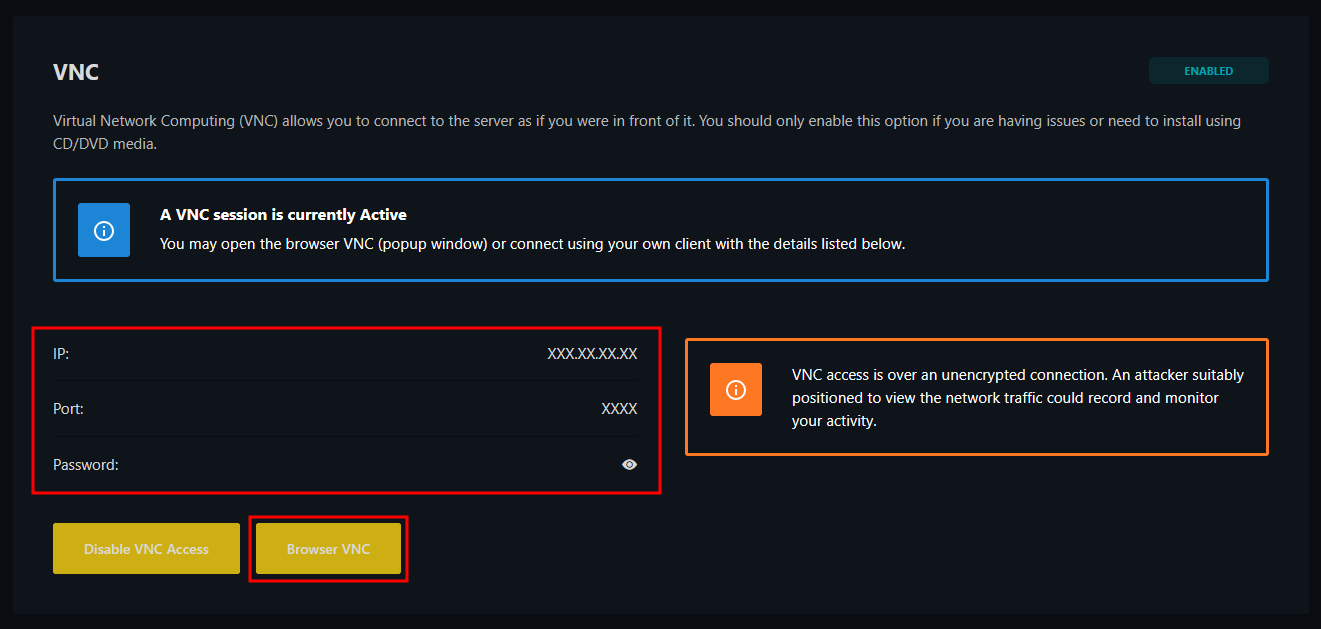
Once you have enabled it, you will see that you can either click on the "Browser VNC" button to access the service via the browser or connect to the server using a client like RealVNC or TightVNC.
Using RDP (for Windows)
Instead of using VNC, you can connect to the server with the Remote Desktop Connection application to connect to the GUI installed on the Ubuntu server. To do that, just run the following command:
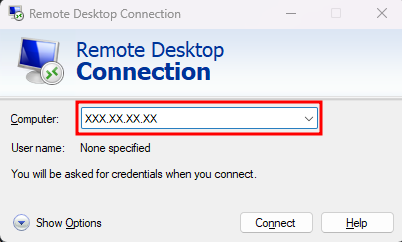
sudo apt install xrdpOnce it is installed, open the Remote Desktop Connection app on Windows, enter the VPS IP Address in the "Computer" field, and press "Connect."
Afterwards, you will be asked to enter a Username and Password. Which would be your VPS Root/Administrator username and password.
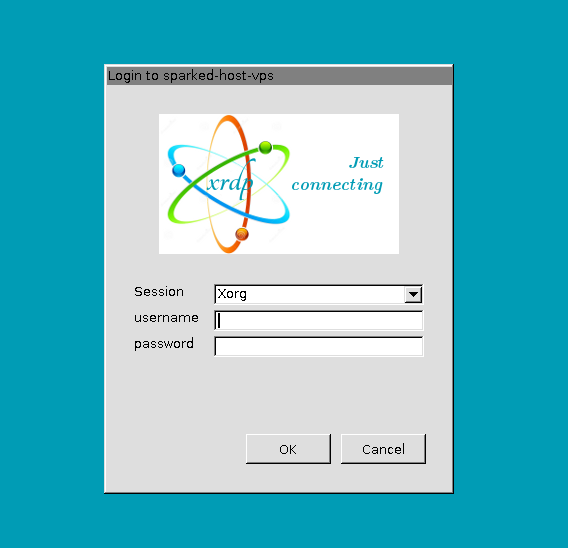
Then, after clicking "OK", you will now be connected to your server using RDP.
Using Your GUI
Once you have finished installing a desktop environment and connected to the GUI, you enter your root/administrator username and, after entering it, your administrator password.
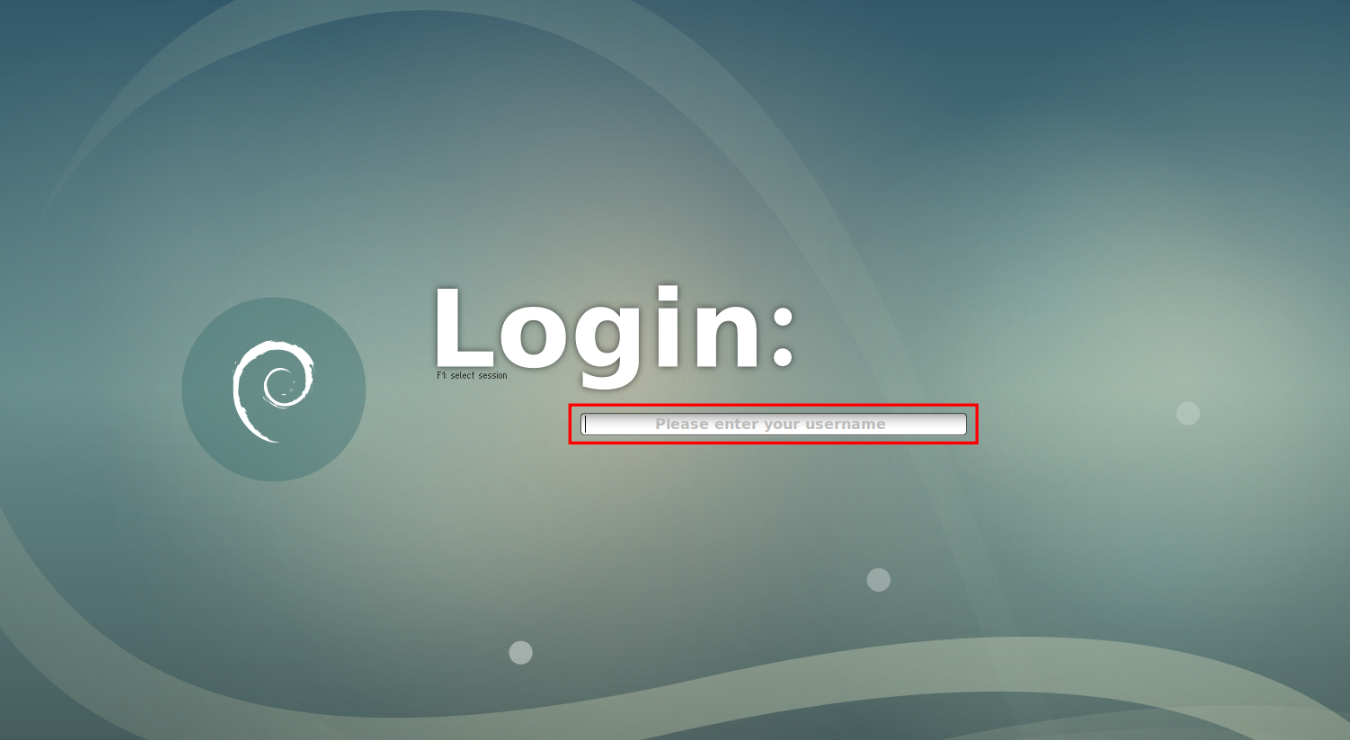
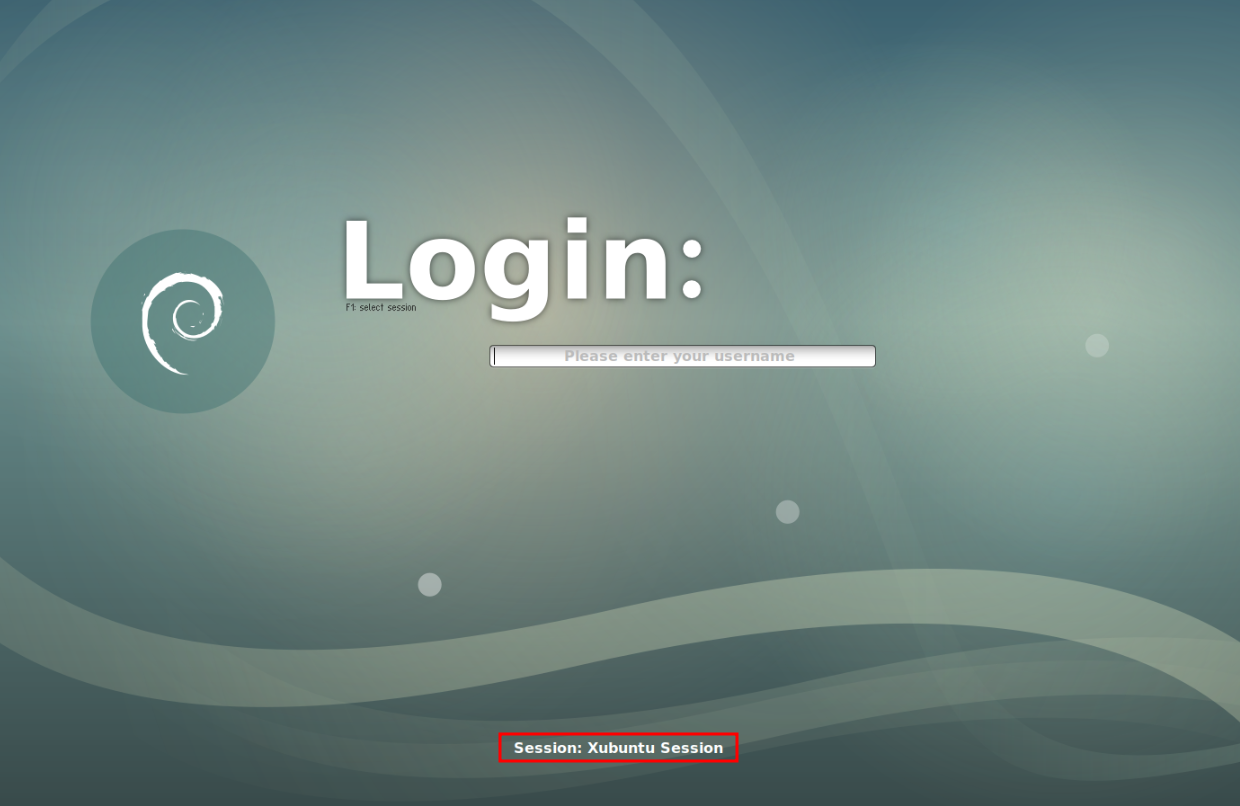
Managing Your GUI
Suppose you have installed other desktop environments or desktop packages on the server. You can switch between the multiple desktop environments installed on the SLiM display manager screen by selecting the desired session using the F1 key. You will see the session it switches to at the bottom center of the GUI on the Ubuntu Server.
Removing GUI From Ubuntu Server
To remove the GUI on Ubuntu Server and return to a pure CLI, first identify the installed desktop environment and run the following command (example below is for the GNOME):
sudo apt remove --purge ubuntu-desktop
For XFCE, it would be:
sudo apt remove --purge xubuntu-desktop
Lastly, for KDE Plasma Desktop, it would be:
sudo apt remove --purge kubuntu-desktop
Then, remove unused dependencies and clear unnecessary lists with the commands:
sudo apt autoremove
sudo apt clean
Lastly, switch the system back to CLI boot with the command:
sudo systemctl set-default multi-user.target
Still have some questions about installing a Desktop GUI on Ubuntu server?
Don't hesitate to reach out to our support team! We're available 24/7 to assist!
By: Alecz R
Updated on: 09/06/2025
Thank you!