How To Install KDE Connect On Ubuntu
Want a seamless bridge between your Android phone and Ubuntu desktop? KDE Connect makes it easy to sync notifications, share files, send messages, and even use your mobile device as a trackpad or media controller—all wirelessly. Installing KDE Connect on Ubuntu takes just a few minutes and dramatically boosts your cross-device productivity.
Here’s what you’ll do:
- Install KDE Connect and WireGuard using the terminal
- Pair your phone with your Ubuntu system using the KDE Connect app
- Enable desired plugins like clipboard sync, SMS, or media controls
Let’s get your devices talking!
Installing KDE Connect
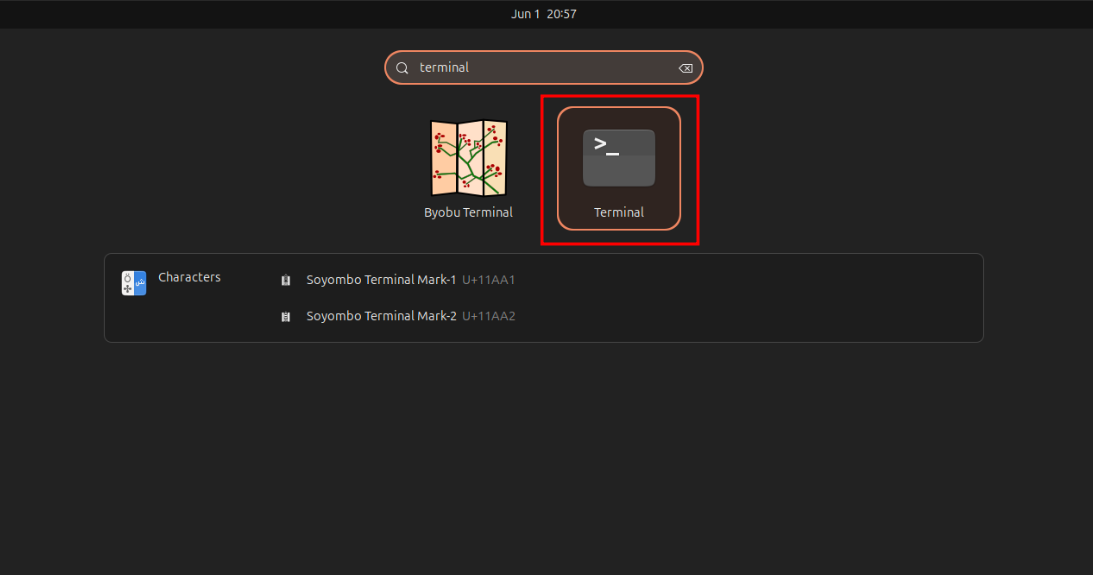
- Open the Ubuntu Terminal.
- Run the following commands in the terminal to update the APT repository, install KDE Connect, the KDE Dependencies:
   sudo apt update
   sudo apt install kdeconnect -y
- Install the KDE Connect application on your computer or mobile devices. You can either download the free app from the Google Play Store, Huawei AppGallery, or F-Droid if you use an Android device, from the App Store if you use an iOS device, from the Microsoft Store, or Chocolatey if you use a Windows PC, or install the nightly version for macOS, which has two versions available for install: the ARM Version and the Intel Version.
Setting Up WireGuard
- Now let's set up WireGuard, allowing KDE Connect to work over the internet instead of just the same network. First, let's install WireGuard using angristan's WireGuard Installer by running the following commands:
curl -O https://raw.githubusercontent.com/angristan/wireguard-install/master/wireguard-install.sh
chmod +x wireguard-install.sh
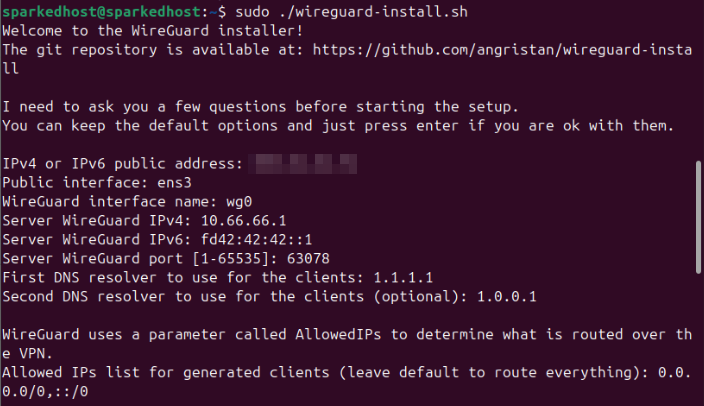
sudo ./wireguard-install.sh
- Next, you will be prompted to enter details such as the IPv4 Public Address, the name of the Public Interface, WireGuard Interface name, and others. But, you can just press "Enter" for each option to use the default values.
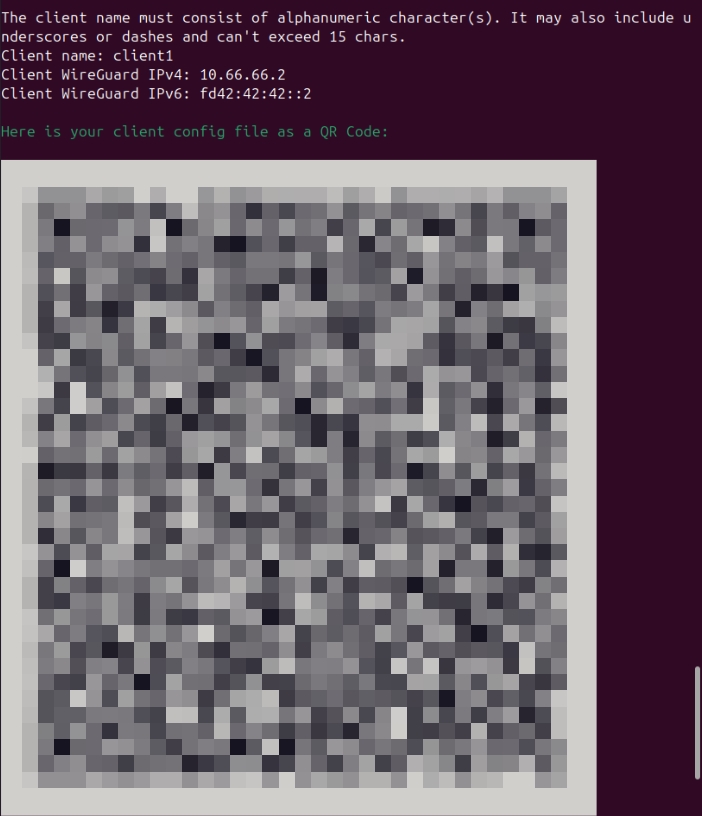
- After it installs the necessary packages, you will be asked to set the name of the client, and the Client WireGuard IPv4 and IPv6 addresses. For this guide, we will create a client named "client1" and use the default values for the Client WireGuard IPv4 and IPv6 addresses. Afterwards, you will see a QR Code which you can use to scan with your devices on the WireGuard app to import the WireGuard Tunnel profile.
- On the WireGuard app, make sure you have enabled the tunnel you have just imported from the QR Code. You will always need the VPN enabled if you want to connect to your VPS using KDE Connect.
Configuring KDE Connect
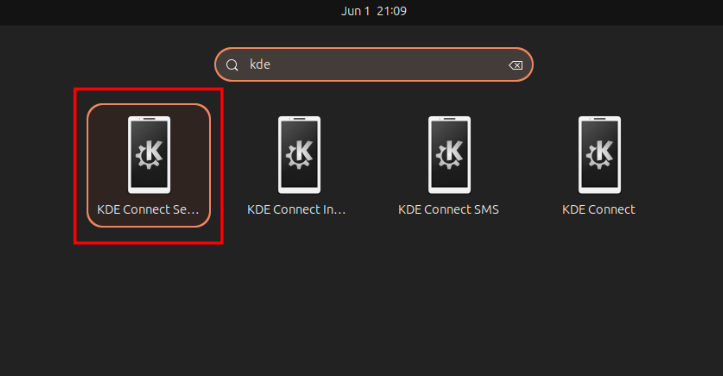
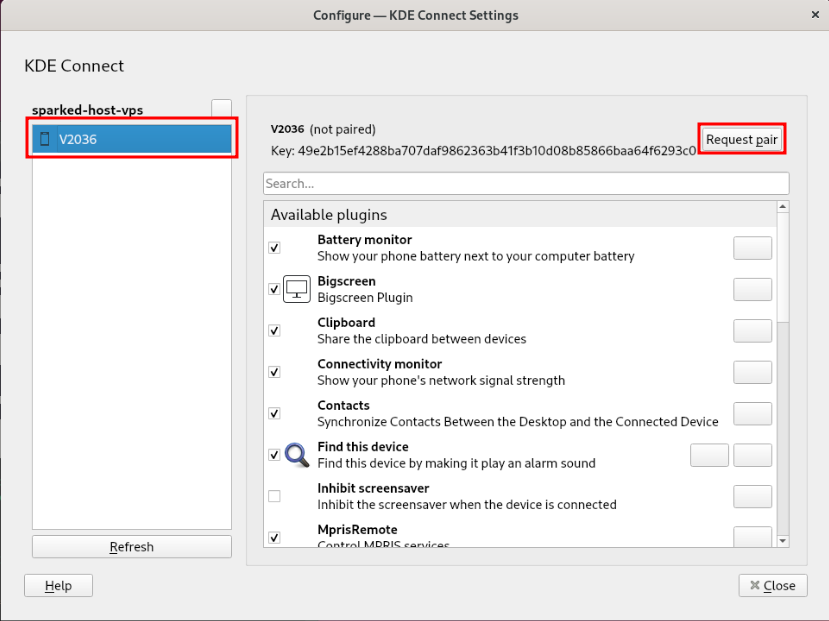
- On Ubuntu Desktop, open the "KDE Connect Settings" application.
- From there, you should see your device on the left side bar (make sure you have enabled the VPN), just click on your device then select "Request Pair".
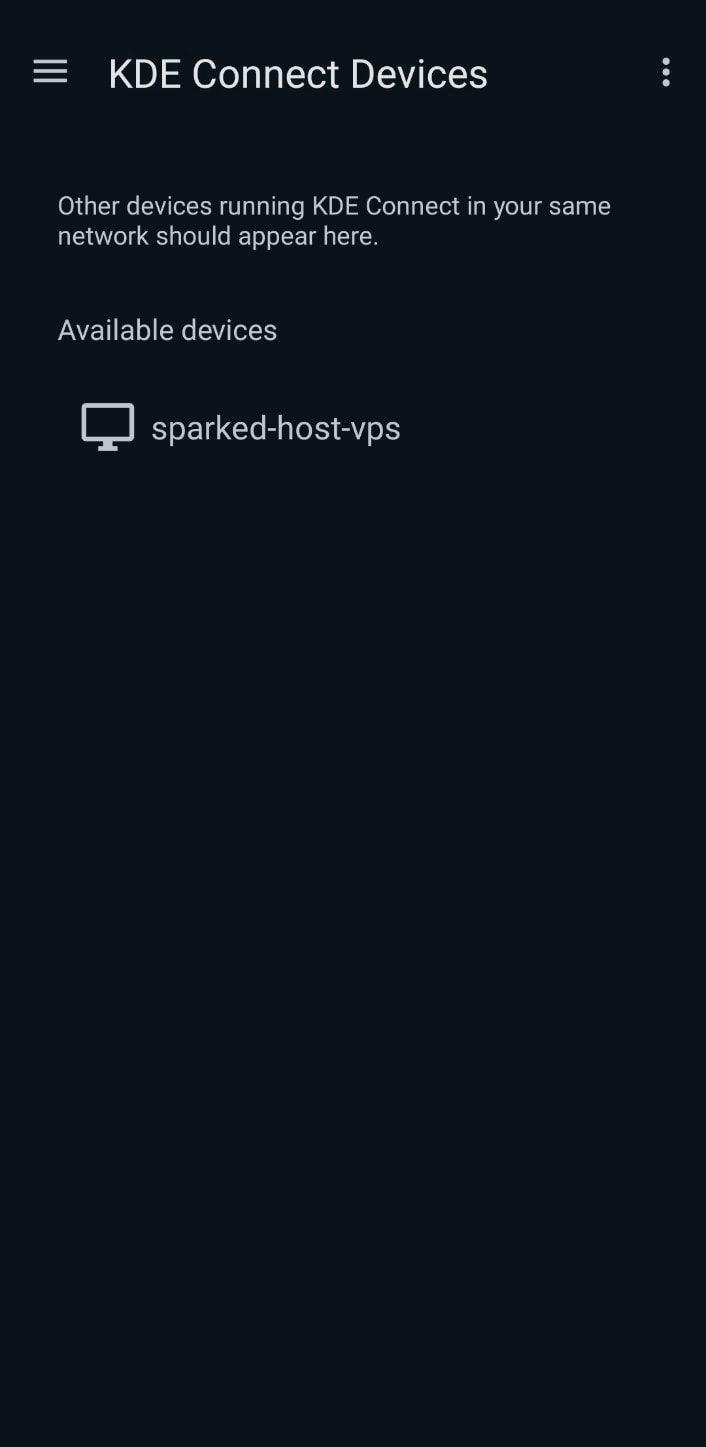
- On the KDE Connect app, tap the name of your VPS that is under "Available devices".
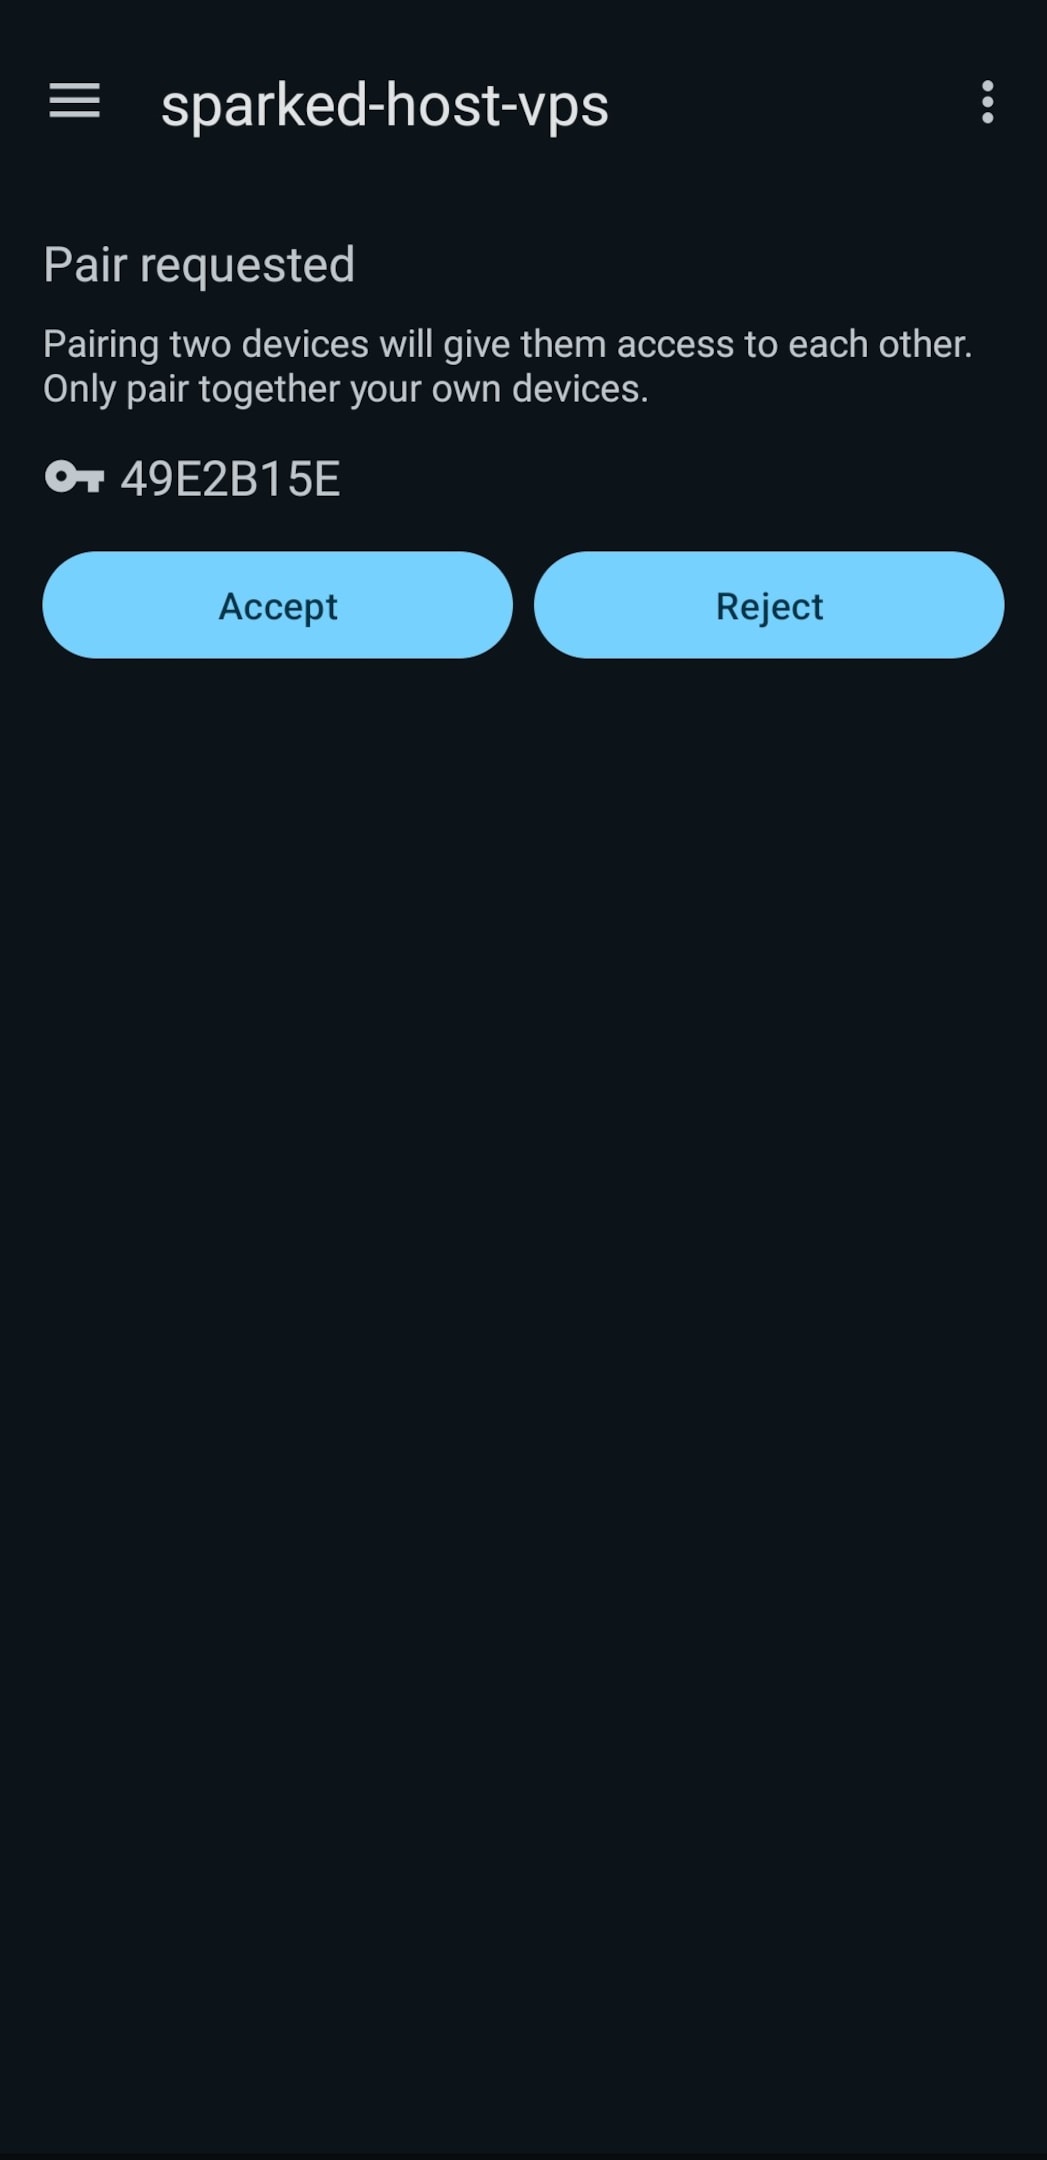
- From there, you will see the pair request that was sent from your VPS. Just click the "Accept" button, and you have now successfully connected your device to your VPS using KDE Connect. From the app, you can now do this from file sharing between your Android Phone and the VPS, syncing phone notifications, remote controlling your VPS, and other stuff available in the KDE Connect app that it could do between the two devices.
Still have some questions about installing KDE connect on Ubuntu?
Don't hesitate to reach out to our support team! We're available 24/7 to assist!
By: Alecz R
Updated on: 09/06/2025
Thank you!