How to Install Mods on an Arma Reforger Server
Installing mods on your Arma Reforger server lets you customize gameplay, add new features, and create unique experiences for your players. Mods are distributed through the Arma Reforger Workshop, and the server uses their mod IDs, names, and versions to automatically download and load them. This guide walks you through the process step by step.
Installing Mods To Your Arma Reforger Server
- Launch Arma Reforger on your computer.
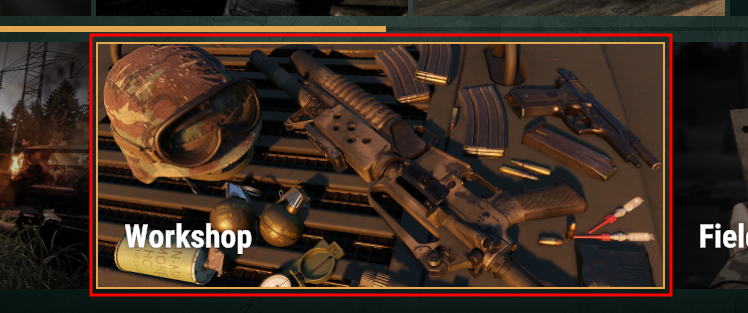
- In the Main Menu, go to the "Workshop" page.
- Install the mods you want on the server, along with their dependencies.
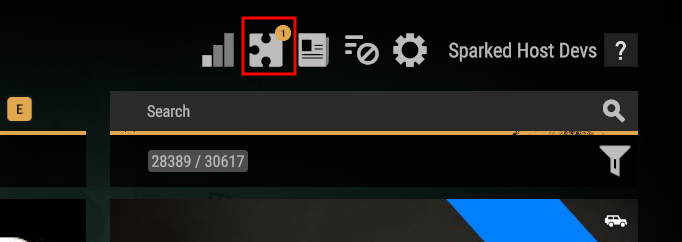
- After installing all the mods you need, click on the "Mod Preset" button in the top-right area of the game.
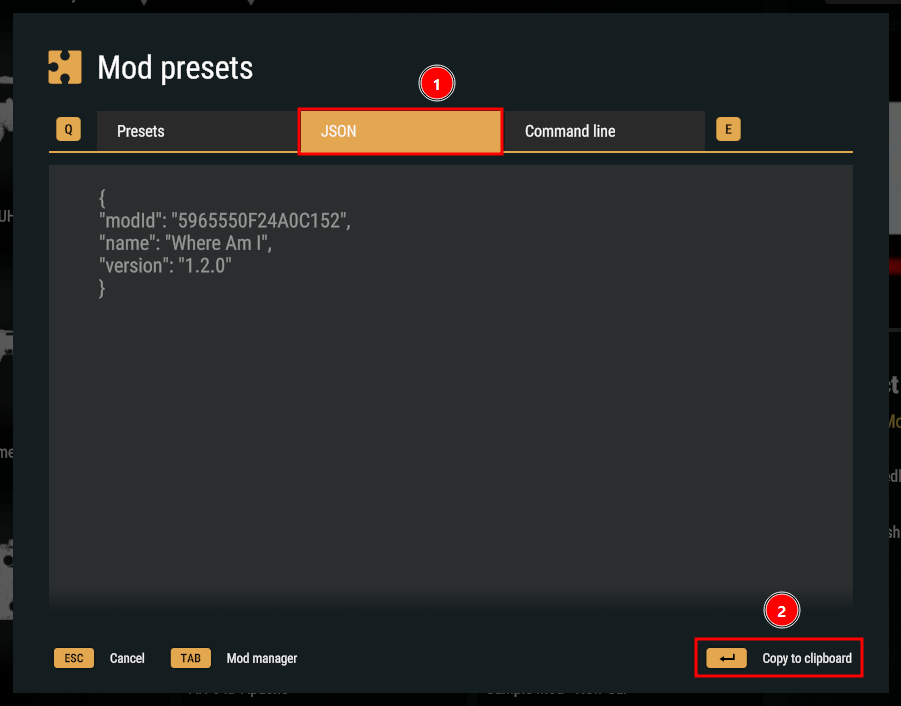
- Navigate to the JSON tab, then click on the "Copy to clipboard" button on the bottom-right.
- Open the Apollo Panel, and ensure that your server is offline.
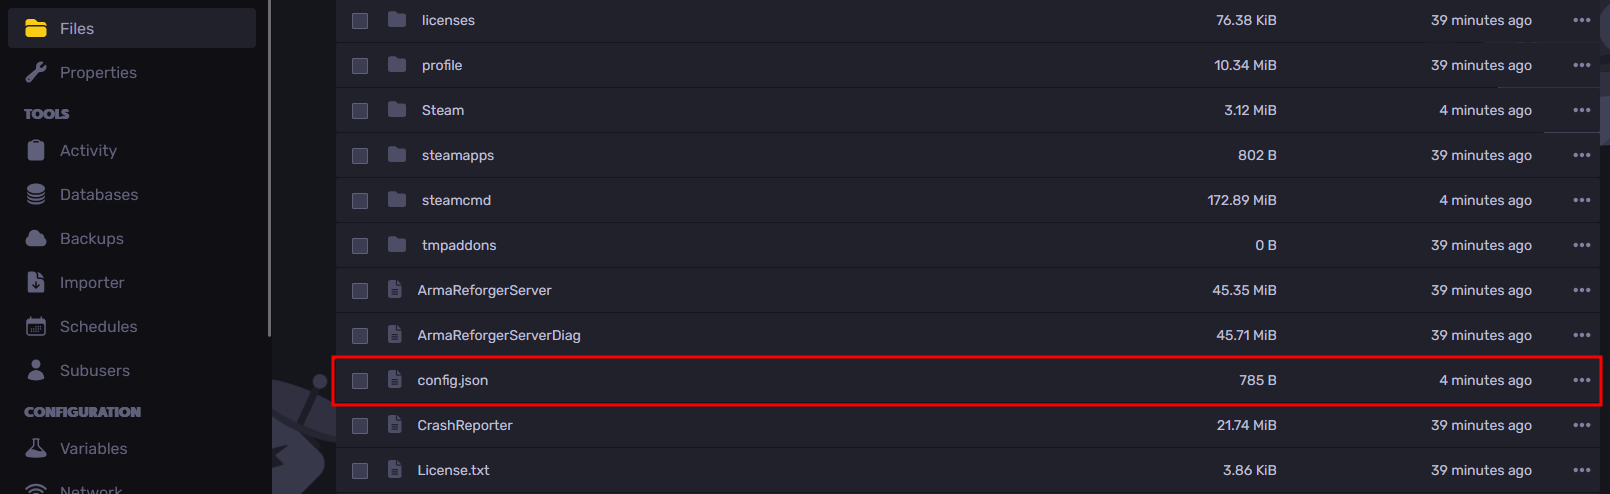
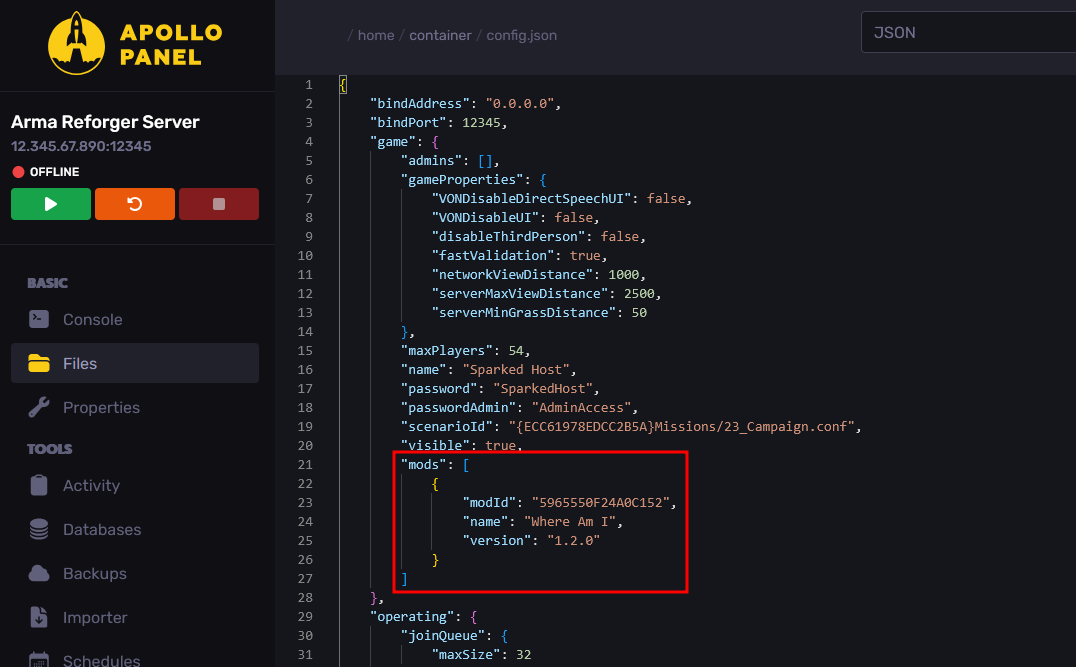
- Navigate to the Files Tab and open the file called "config.json".
- From the "mods" line under the "game" section, create a new line in between the square brackets and paste the values copied earlier in the Mod Preset's JSON tab. If the "mods" line doesn't exist, you can add it manually.
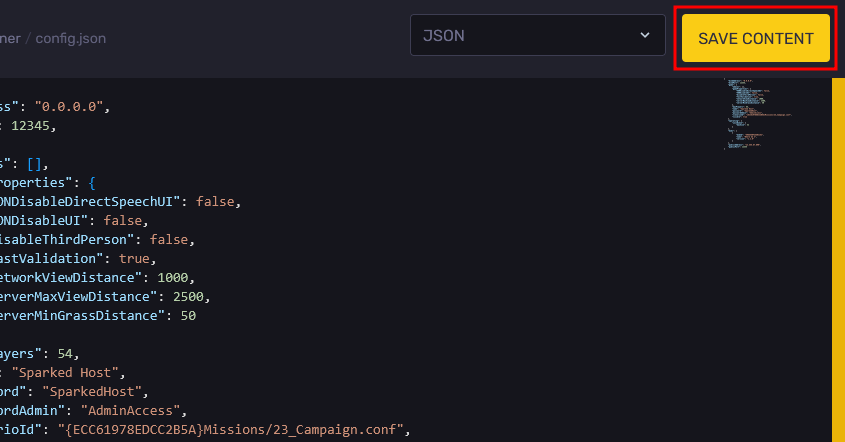
- Save your changes with the "Save Content" button in the top-right area.
- Restart the server, and the server will now install the listed mods automatically for you.
Updated on: 02/03/2026
Thank you!