How To Make A Private Server 7 Days To Die
Creating a private server in 7 Days to Die lets you control who joins, manage your own rules, and build a more personal survival experience. Whether you're playing with friends or testing mods solo, a private setup offers more security and freedom than public servers. It only takes a few quick steps to configure privacy settings.
Don't already host with us? 10,000+ server owners trust Sparked Host for servers on games like 7 Days To Die. Claim your server savings to get higher performance at less $ per month.
What is a Private 7 Days To Die Server?
A private server is a dedicated instance of the 7 Days To Die game world that is only accessible to players you invite. Unlike public 7 Days to Die servers, you have full control over who joins, the game settings, and the overall experience. This ensures a consistent and secure environment for you and your chosen community.
Making Your 7 Days To Die Server Private
To make a 7 Days To Die server private:
- Access Your Server Control Panel.
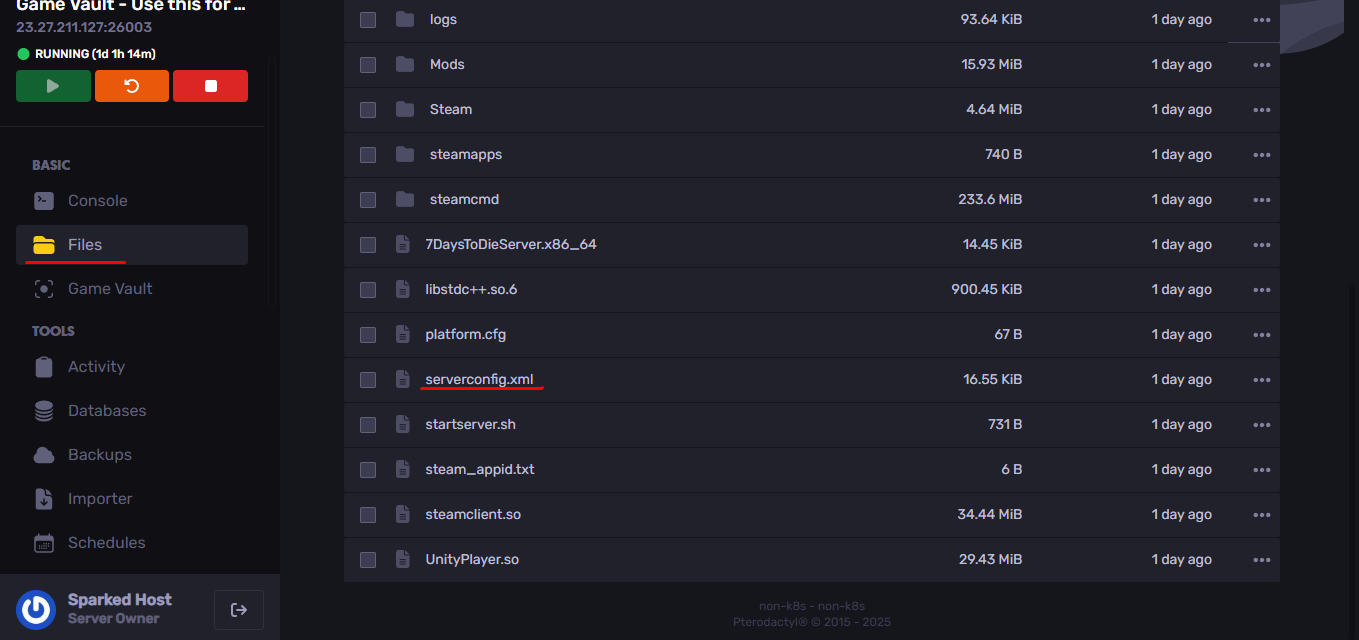
- Go to the server files and then to "serverconfig.xml" as shown in the image.
- Configure Server Settings for Privacy:
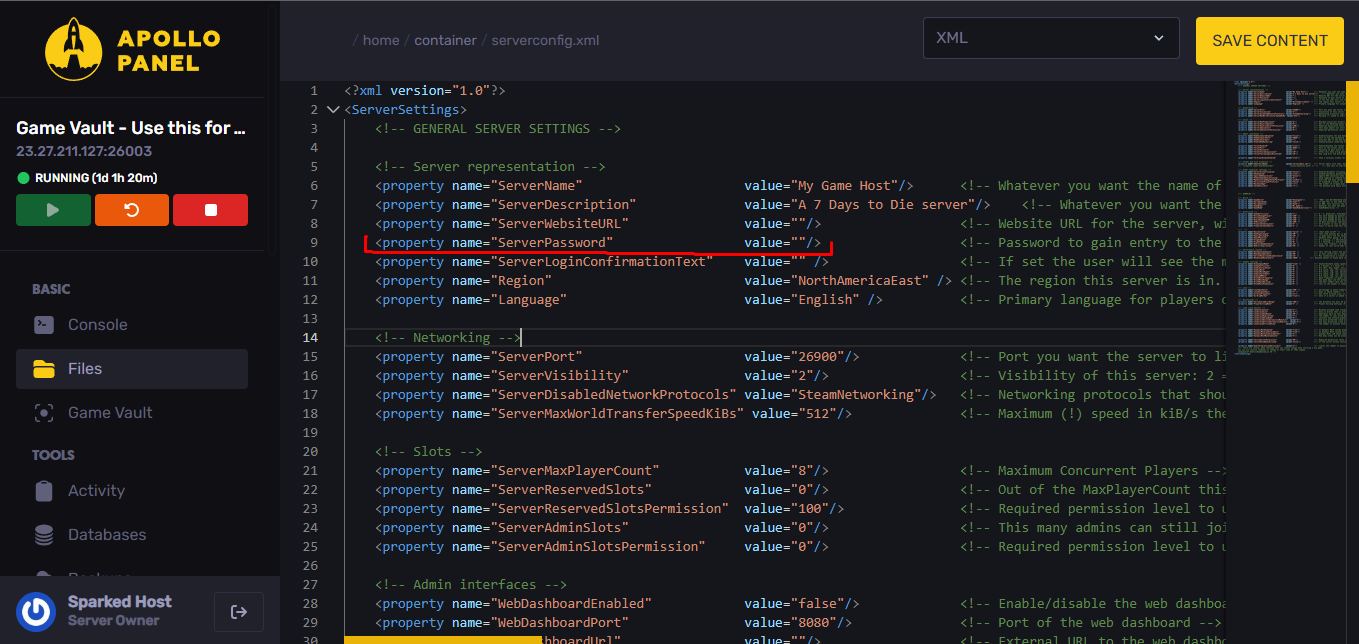
- Set the server to private/password-protected.
- To set the password, you must look for the "Serverpassword" option as shown in the image.
- By default it will not have a password.
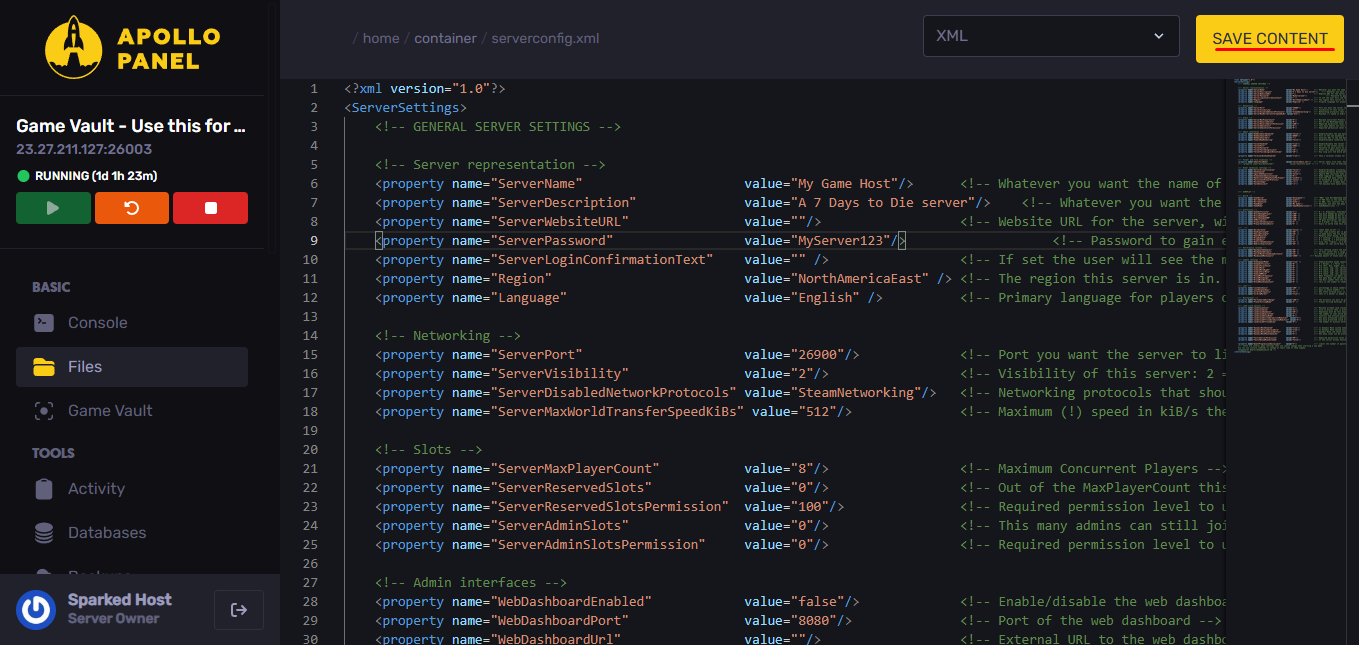
- Once you have entered the password, click on "Save Content" as shown in the image.
- Start Your Server:
- Use the "Start" button in your control panel.
- How Friends Connect:
- Share the IP address and port of the server (e.g., 192.168.1.1:26900).
- Share the password with your friends.
Still have some questions about making a private 7 Days To Die server?
Don't hesitate to open a support ticket for further assistance!
By: Exequiel P
Updated on: 12/11/2025
Thank you!