How to Put Images in Minecraft
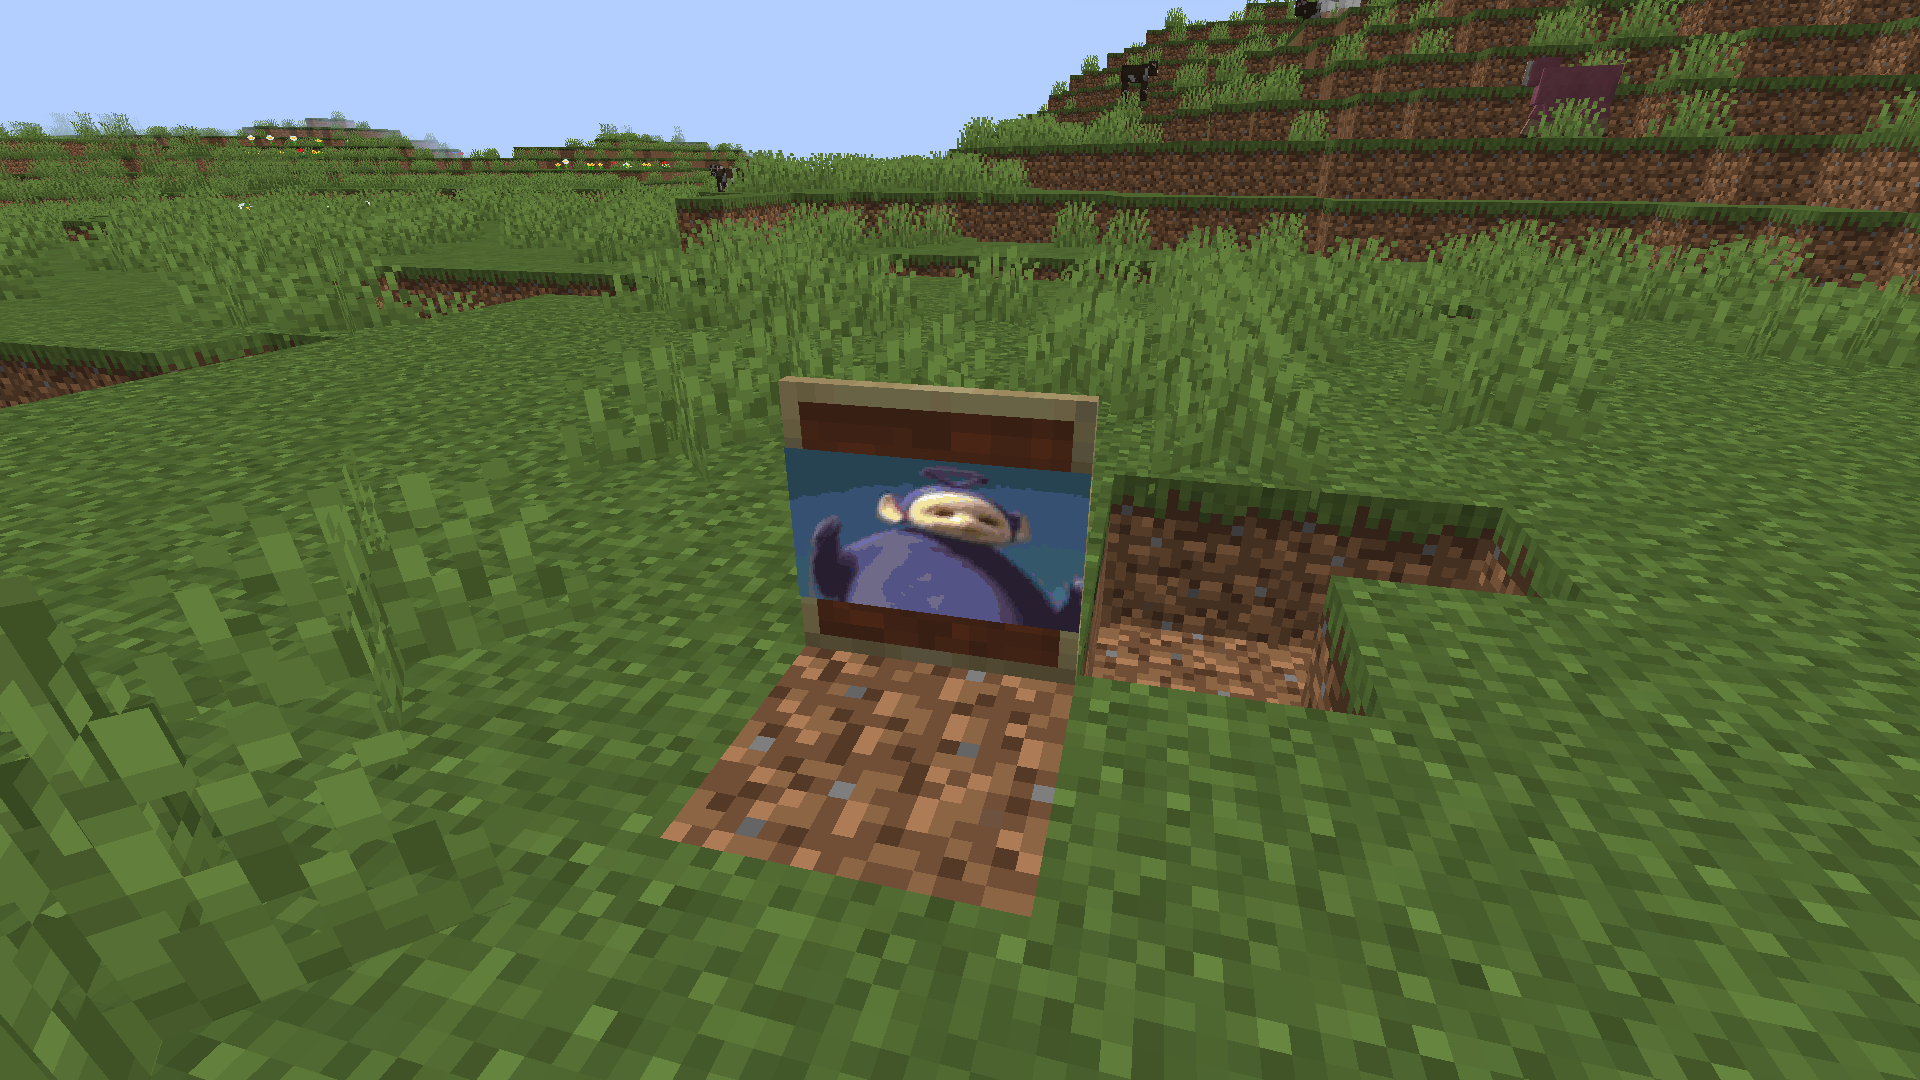
Want to customize your Minecraft world with real-life images or artwork? Adding images to Minecraft is easier than you think! This guide will follow you through the steps to importing pictures into the game using any of the plugins below.
Don't already host with us? 10,000+ server owners trust Sparked Host for lag-free Minecraft worlds. Claim your server savings to get higher performance at less $ per month.
Method 1: Using CustomImages Plugin
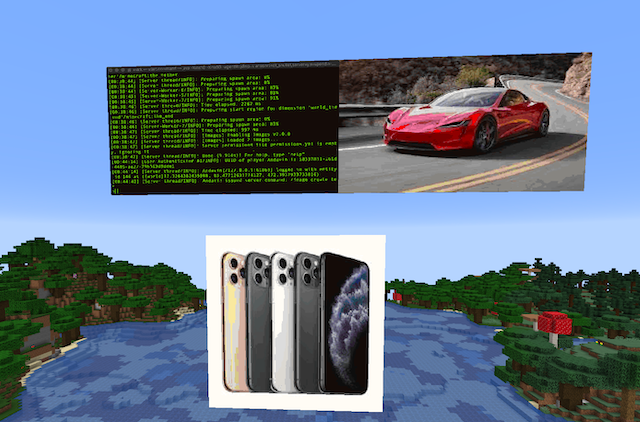
CustomImages is a simple plugin that can be installed on Minecraft 1.8 or later. It allows you to import custom images into your Minecraft world without resource packs or the need to upload image files to the server constantly.
Installing CustomImages
Follow the steps below to quickly get CustomImages on your server!
- Download the latest version on the plugin's SpigotMC page.
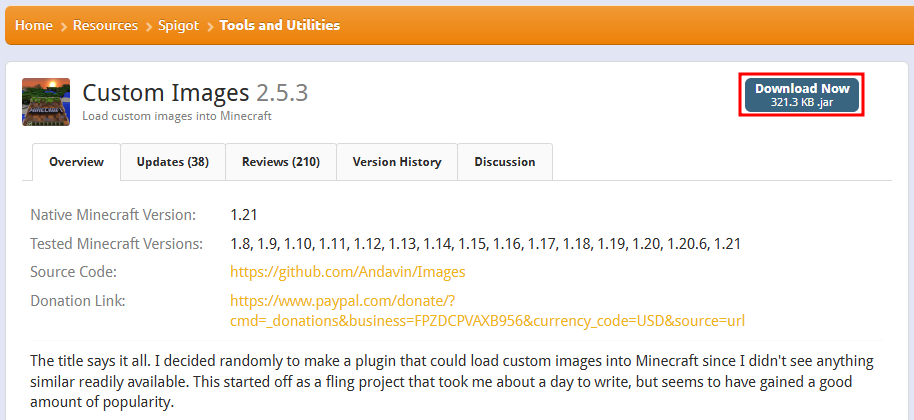
- Turn off the Minecraft server on the Apollo Panel.
- In the Files Tab, open the plugins folder and upload the plugin.
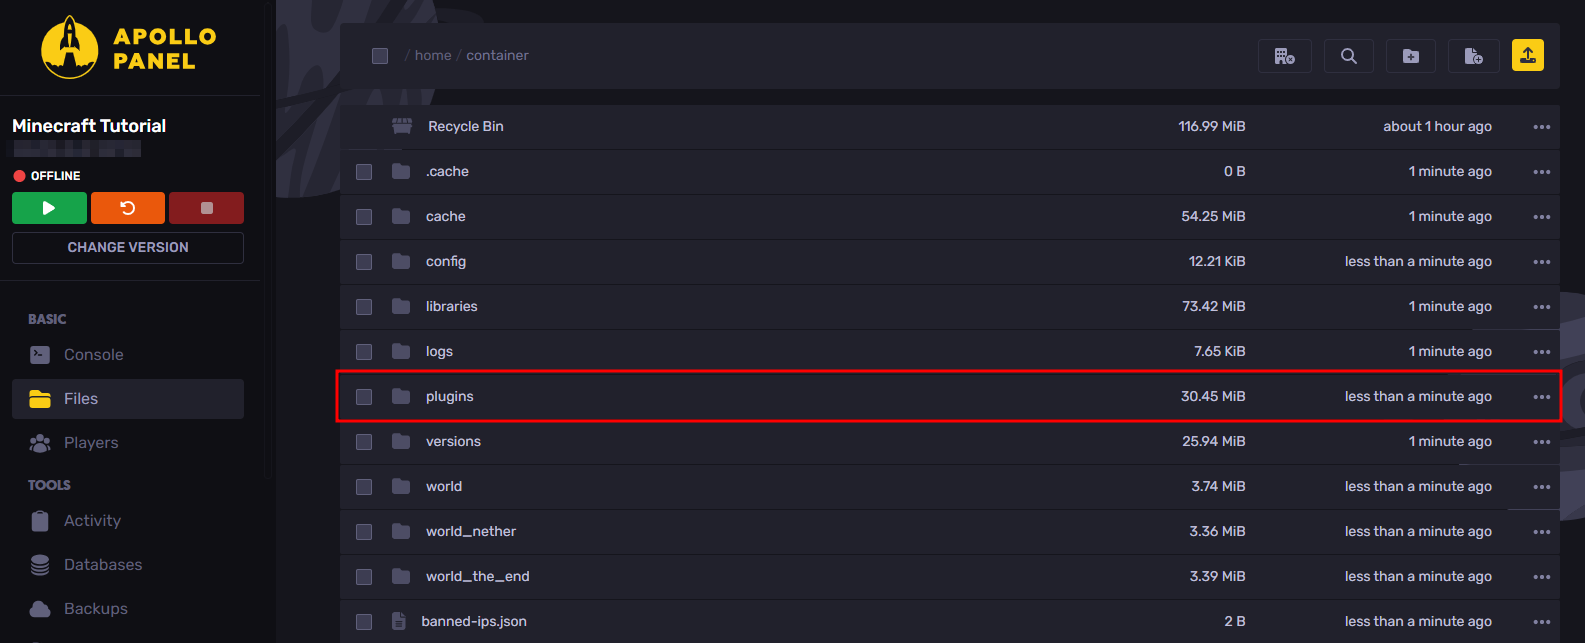
- Start your Minecraft server to ensure that the plugin works as intended.
Using CustomImages
In Minecraft, run the command /images create <Image URL> <Scale> and right-click the upper-left area where you want to place the picture; you can place it in front of a wall or the air. The photo must be a PNG or JPG type. It will not work with other file types.
To remove an image, you can run the command /images delete and right-click the image you want to delete or /images delete <Range> to delete all images in a specific range.
Configuring CustomImages
You can find the config file for the plugin under the "Images" folder located inside the plugins folder. Some of the things you can edit include:
invisible-frames: Enabling the option makes the item frames and maps made with the plugin invisible, it can also make it appear that the paintings are not being held on by blocks in the world. It is only supported for Minecraft versions 1.16+.
show-distance: The setting will determine the range where the image sections will be visible to users.
hide-distance: The setting will determine the range where the image sections will be hidden from players. If this setting is too high, you may encounter some lag when approaching locations in the world that have several custom images and paintings.
Method 2: Using ImageFrame Plugin
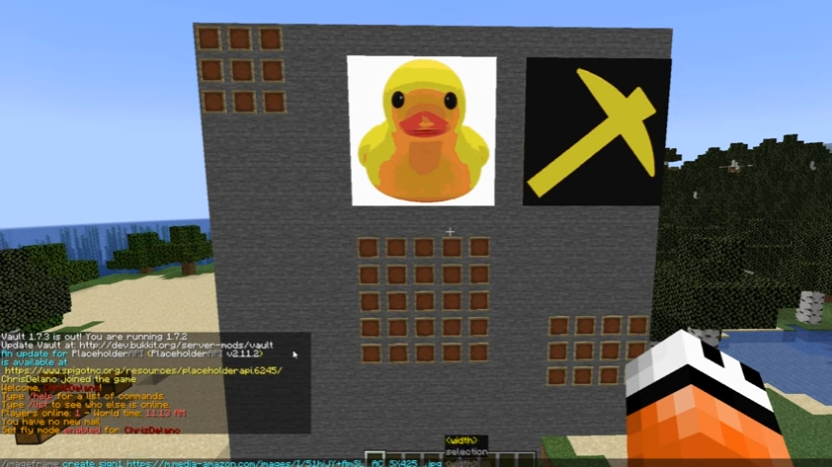
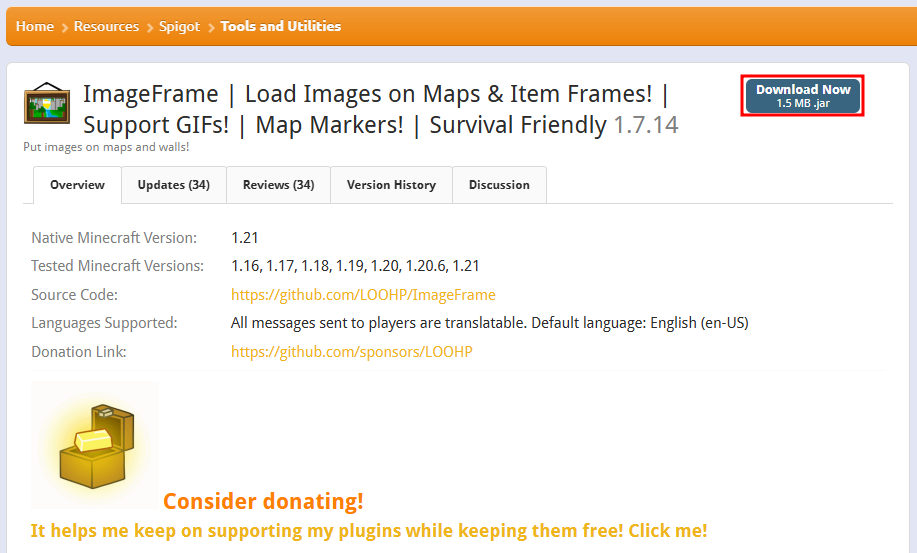
ImageFrame is a plugin that can be installed on Minecraft version 1.16 or later. It allows you to load custom PNG, JPG, GIF, and WEBP pictures to map form or directly into item frames without needing a texture pack.
Installation and Usage of ImageFrame
Here are some steps to install ImageFrame:
- Download the latest version on the plugin's SpigotMC page.
- Turn off the Minecraft server on the Apollo Panel.
- In the Files Tab, upload the plugin to the
pluginsfolder.

- Start your Minecraft server to ensure that the plugin works as intended.
If you want to get a custom painting or custom image in a singular item in Minecraft, like a default painting, you can do so by running the command /imageframe create <Image Name> <Image URL> <Width> <Height> combined, and it will give you a piece of paper, then when you right-click an area of item frames with enough space. Removing the "combined" keyword in the command will also create the individual map items for you to fill into item frames manually, however depending on the size, you may fill your entire inventory with map items.
You can also select the dimensions of your custom image first before creating the image by running the command /imageframe select to set the dimensions of the painting, just make sure you placed the item frames down before doing so, and then you can run the command /imageframe create <Image Name> <Image URL> selection, and the Minecraft plugin will place the image for you without needing to know the dimensions of the image in blocks.
Configuring ImageFrame
You can find the config file for the plugin under the "ImageFrame" folder located inside the plugins folder. Some of the things you can edit include:
Messages: With every option under theMessagessetting, you can edit the messages that the plugin returns in Minecraft when you use the plugin.
MaxSize: It's for when you want to restrict the size of custom photos placed in the world to a set size.
RestrictImageUrl: When the option is enabled, only websites listed under the setting are allowed to be shown through in-game maps. This is useful in case you want to whitelist a specific site on the internet to be used to create custom images.
The plugin allows you to do more, including adding custom image overlays to the default maps while being able to show map marker locations, replacing an image's URL with a single command, showing a GIF as an animated TV Screen, and using invisible item frames for decoration around your Minecraft house.
In your spare time, you can choose to explore the different things that you can do with the Minecraft plugin in detail on the plugin's SpigotMC page.
Method 3: Using Image2Map Mod

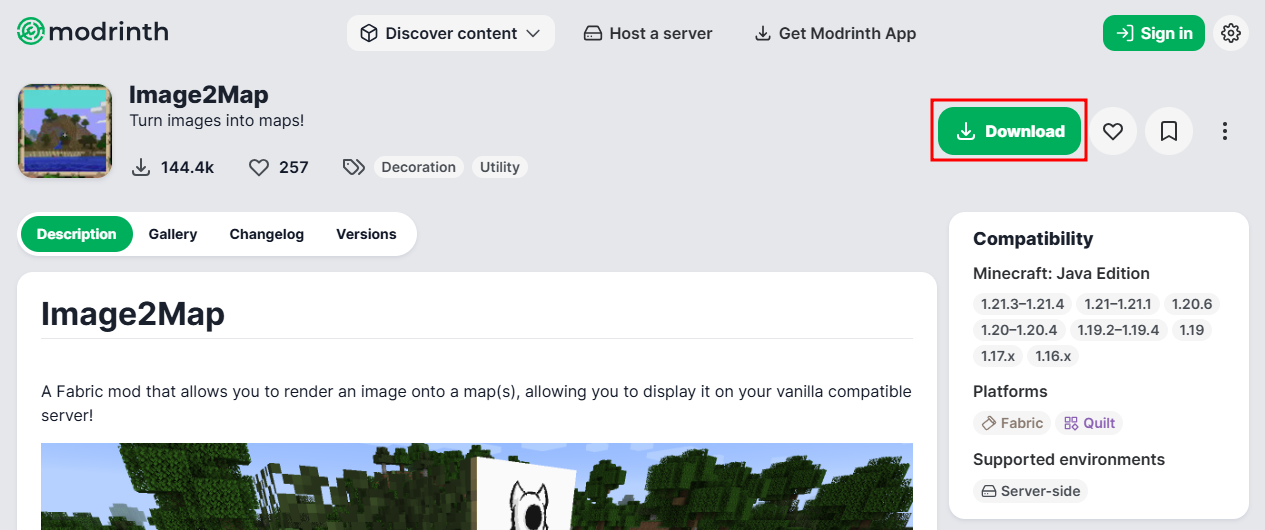
Image2Map is a server-side Fabric mod available for Minecraft 1.16, 1.17, and 1.19+ that allows you to render a custom painting or picture onto maps on your Minecraft world. Since this is a server-side mod, this means that if you only have the server-sided mods installed on your Minecraft server, players running Vanilla Minecraft wont need to install the mod to access the features to import and copy over their own photos and assets into the game.
Installing Image2Maps
Steps to installation:
- Download the Fabric API and the Image2Map mods that matches with the version of Fabric that the server runs with.
- Shut off the Minecraft server on the Apollo Panel.
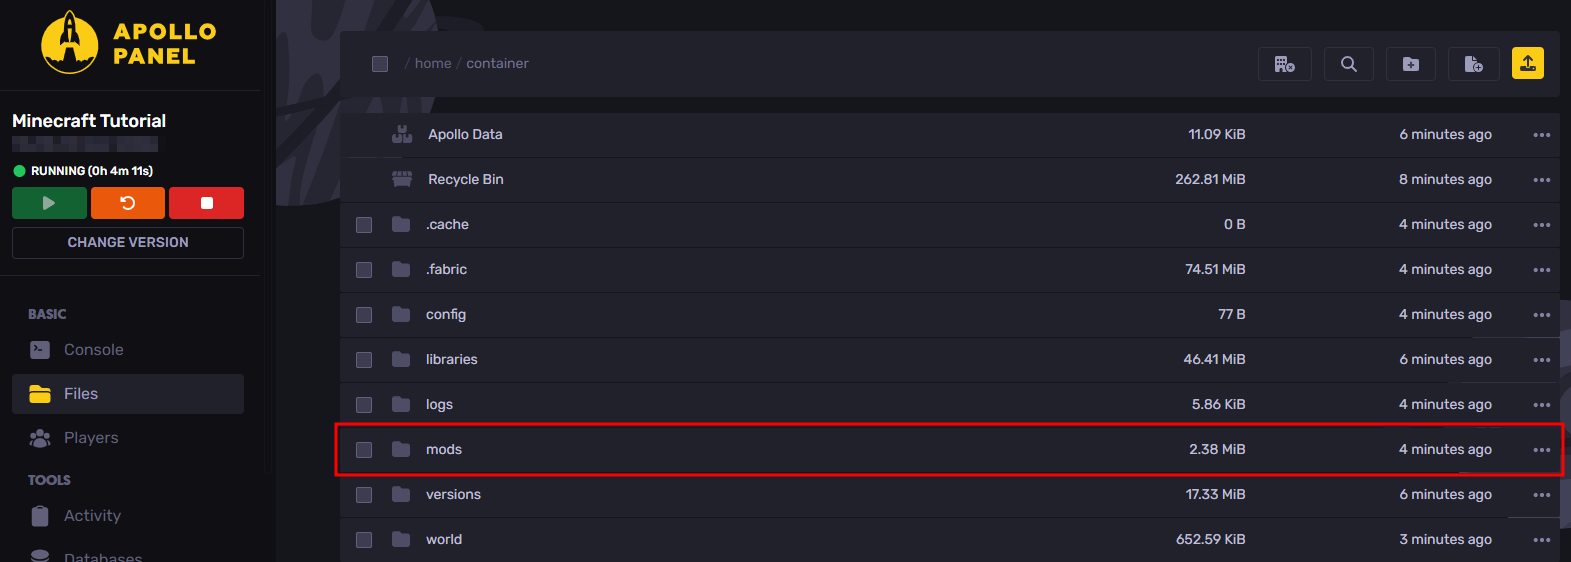
- In the Files Tab, upload the mod files to the
modsfolder.
- Start your Minecraft server to ensure that the mods works as intended.
Using Image2Map
To use the mod to add a custom painting into the Minecraft world, You will need to run the in game Minecraft command /image2map create <Width> <Height> <[dither/none]> <Image URL>. Take note that setting the size of the photo in the world, the width and height parameters indicate the size of the photo that you want to place in pixels.
If you want to add a custom painting that is more than 1 map, which is 128 x 128 pixels, you will be given a bundle which you can use to right click the upper-left item frame. Unfortunately, you can't place the custom photos onto the blocks directly.
The mod also features a "preview" mode, that you can enter by running the command /image2map preview <Image URL> which creates dynamic preview of the custom photo or painting before saving the map as item. Here are the commands that you can run while in "preview mode":
/dither <[dither/none]>: Changes dither mode
/size: Displays current size
/size <Width> <Height>: Changes size of map to specified one (in pixels, single map or block is 128x128)
/grid: Toggles visibility of map grid
/save: Exits preview and saves map as items
/exit: Exits preview without saving
Method 4: Using The Image-map Tool on Github (No plugin required!)
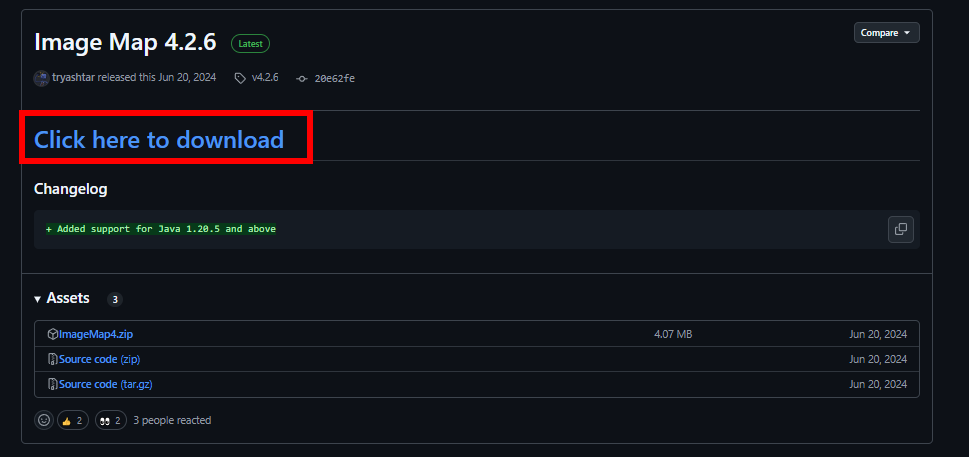
The Image-Map tool is an open-source tool that can convert any image to a map in Minecraft! It can also be used for Minecraft Education edition. Here are some quick steps:
- Install the tool here
- Extract the folder
- Open the folder and run
ImageMap.exe
- Select the world that you want to import the image into
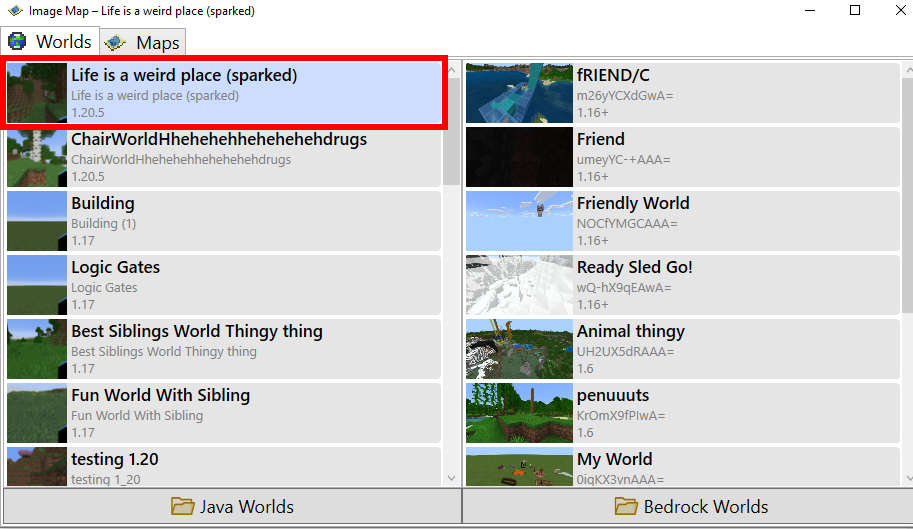
- Go to the "Maps" tab in the top left
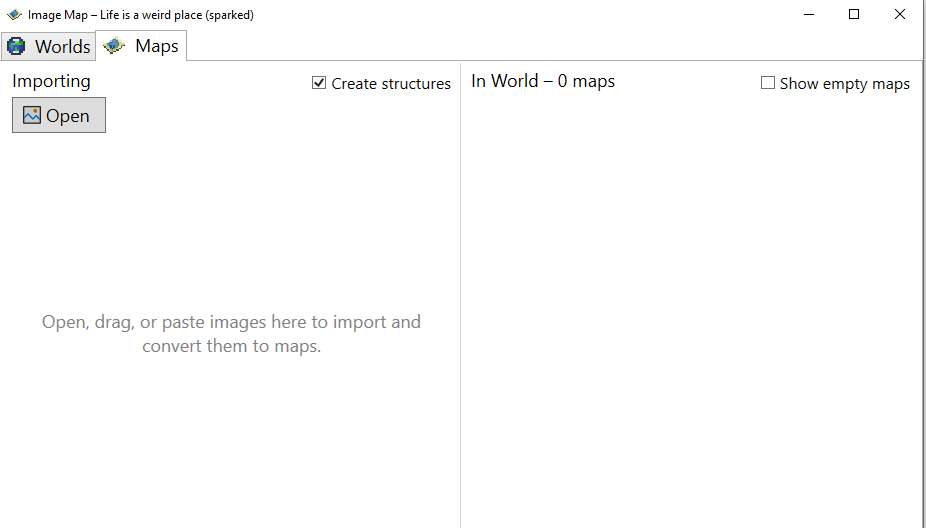
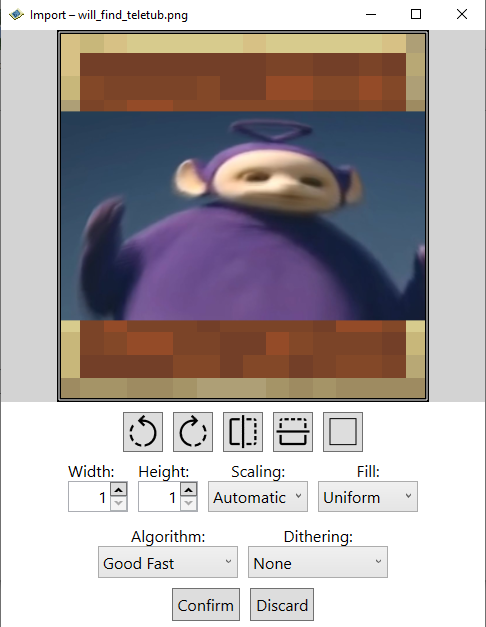
- Press Open and then import the image that you want to add
- Then press confirm (or change up some settings)
- Press "Send All To World"
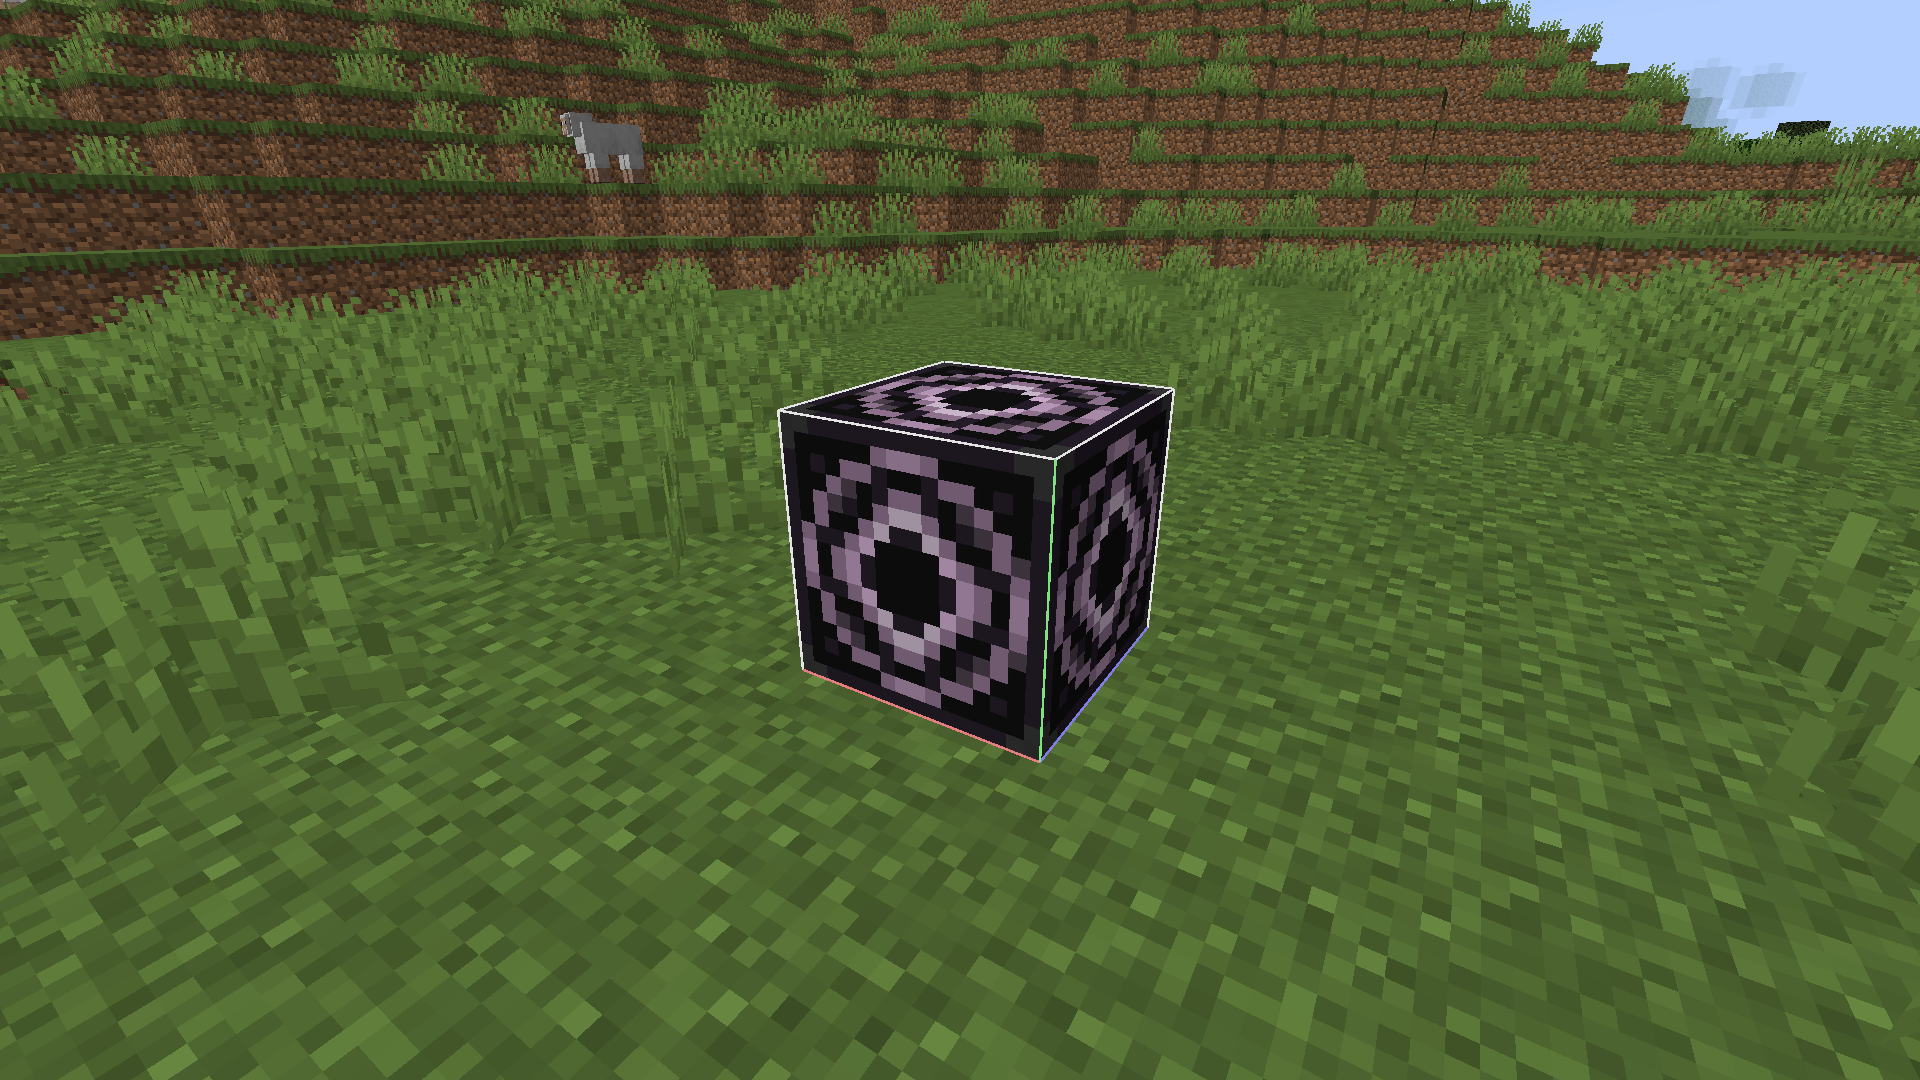
- Press "Generate Structure" and select any relevant settings (the process is pretty self-explanatory)
- You should be given a structure block that can be placed down. Power this block (redstone block) to put an image of what you put down as an item in an item frame.
Still have some questions?
You can go to https://sparkedhost.com/contact for quick answers and support.
By: Alecz R.
Updated on: 03/11/2025
Thank you!