How to Make a Bungeecord Server
Setting up a BungeeCord server is a great way to link multiple Minecraft servers, creating a seamless network for players to explore different game modes or worlds. In this guide, we’ll walk you through the process step by step.
What is BungeeCord?

BungeeCord is a tool for connecting multiple Minecraft servers. It allows players to switch between multiple servers (like survival, creative, mini-games, or hub servers) without disconnecting. Players can move between servers using commands or portals, making it feel like one big server.
For example, if you have different servers for each game mode, a BungeeCord server lets players jump from one to another quickly.
Warning: Please note that you will need to have a separate server for the BungeeCord proxy to run on! You CANNOT run it and a server on 1 single server! BungeeCord requires two servers at least, although the recommended is a minimum of three servers.
How to Install Bungeecord on a Minecraft Server
To install Bungeecord on a Minecraft server:
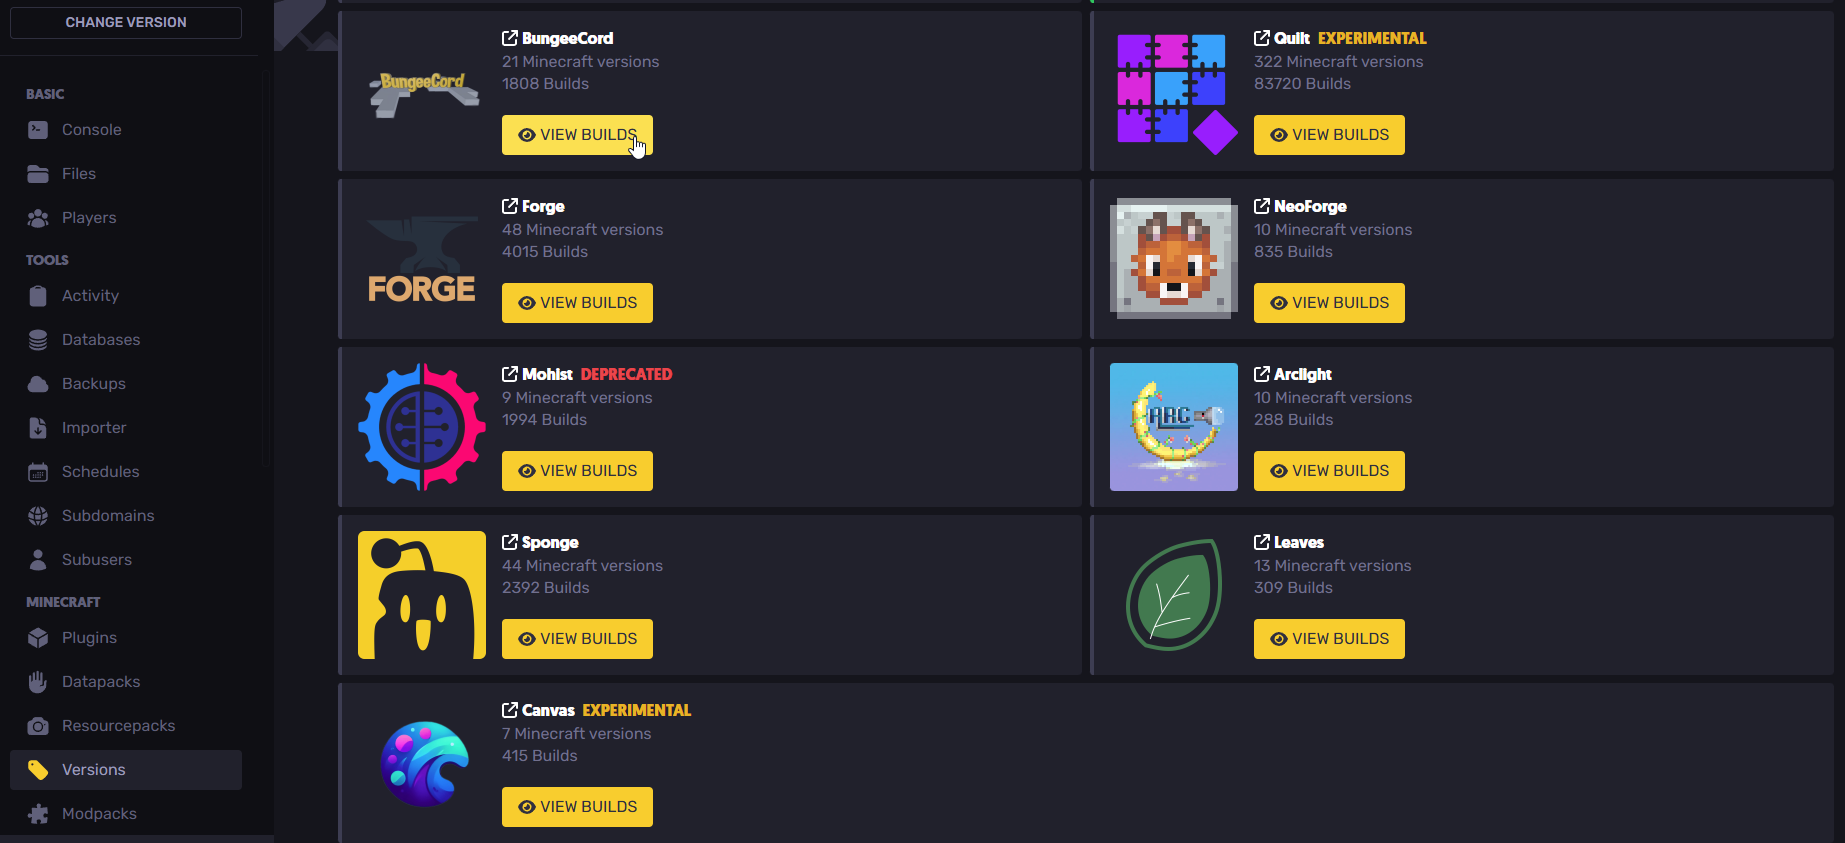
- Click on the "Versions" tab and look for BungeeCord.
- Click on "View Builds".
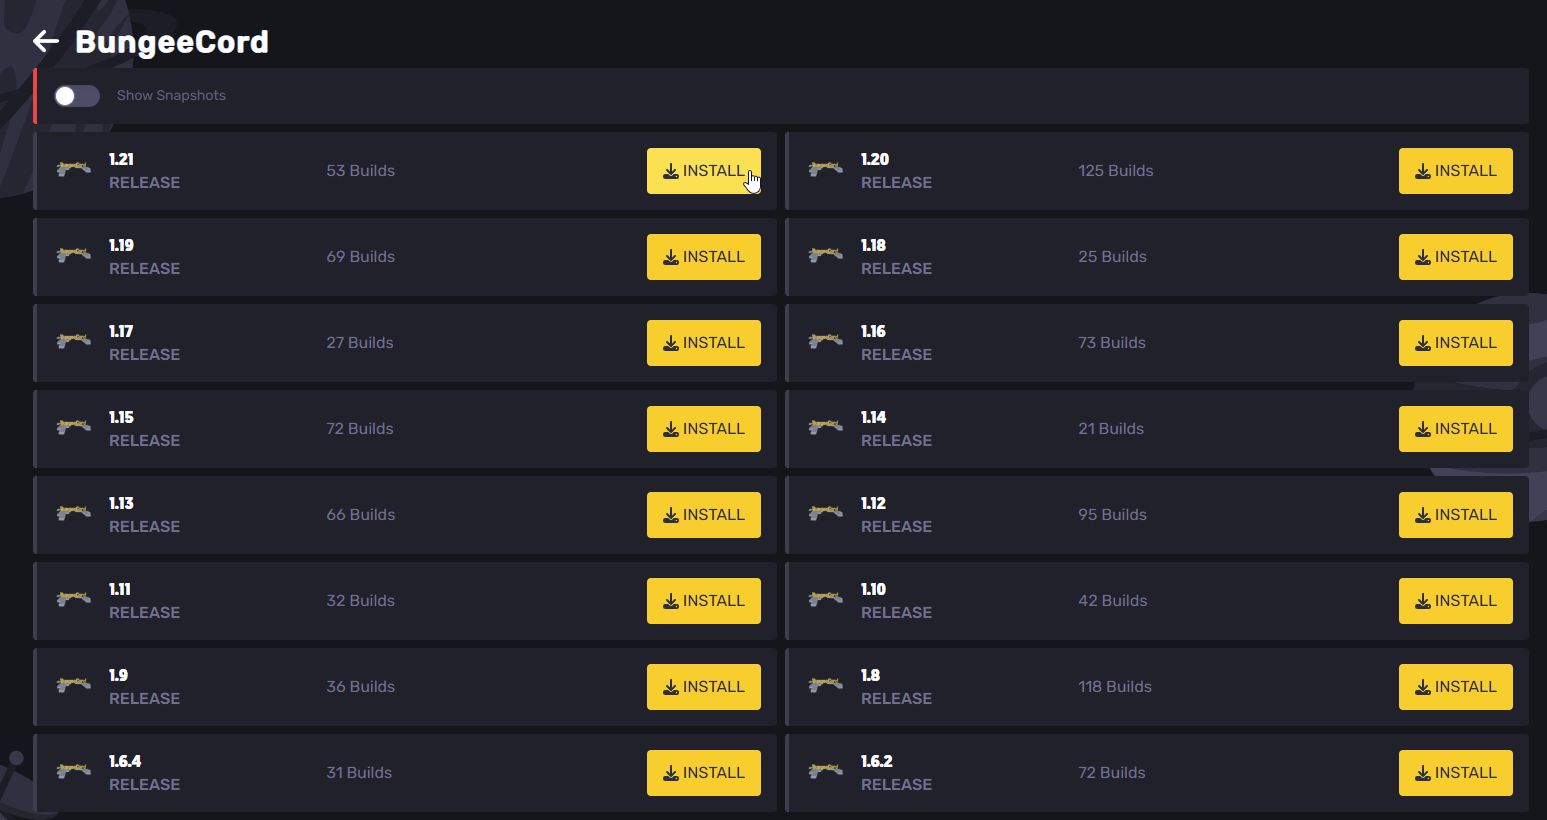
- Click "Install" on your desired version, although the latest is always recommended.
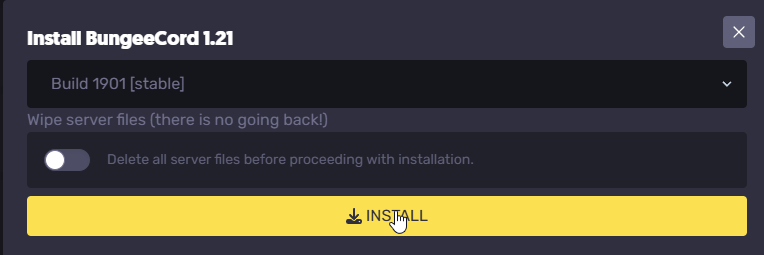
- Click "Install" once again. If you wish to reset your Minecraft server, toggle the "Wipe server files" button before proceeding.
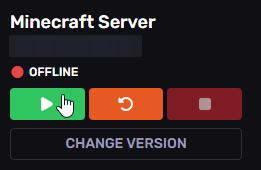
- Start the server to generate all the necessary files.
How to Configure a Bungeecord Server
To configure a Bungeecord server, there are a few things you'll need to do.
Setting up a backend server:
- Head over to one of the servers you want to link. In this case, it is a standard Spigot survival server. For this example, we will use just one server, although you can connect multiple servers to it.
- Go into the “File Manager” and find the “spigot.yml” file. It is usually located in the server's main directory.

- Click on the “spigot.yml” file. Find the bungeecord: false line and replace it with true.


- Save all changes.

- Once completed, return to the “File Manager” tab and find the “server.properties” file.
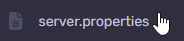
- Click on it and find the online-mode=true line. Replace it with online-mode=false. Don’t worry—you can only allow premium players in the BungeeCord configuration file!


Linking The Backup Server to BungeeCord:
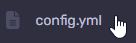
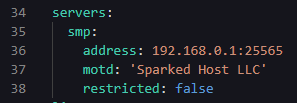
- Go to the BungeeCord server File Manager, find the config.yml configuration file, and find the servers section.

Fill out the necessary details required.
- Rename “lobby” to whatever you want the server to be named. For example “smp” or “bedwars”. This will be used as an identifier when connecting to the server. (e.g. /server smp).
- Set the MOTD to whatever you would like it to be. We will leave it as it is.
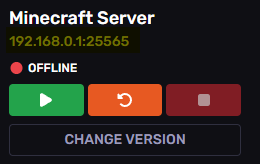
- In the address field, replace "localhost:25565" with the server's IP address. You can see this on the console page of the Spigot/Paper server.
The Restricted option prevents players from joining the server unless they have the bungeecord.server.bungeecord.server.<serverName></s> permission, where <serverName></s> is replaced with the server name you defined in the BungeeCord config file.
- The final result should be similar to the screenshot below; you can repeat this to add other servers such as a lobby server:
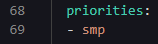
- Now, we need to set the priorities. When a player connects for the first time or if the force_default_server option is enabled, BungeeCord goes through this list of servers from top to bottom and tries to forward the connection to each of them. In this example, we will simply set this as smp.
Setting up the BungeeCord server:
- Find the host: line. Change the port number to the port assigned to your server. You can see it on the right upper side.
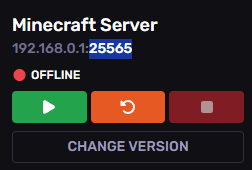
- Copy the port number, head back to the BungeeCord server config file in the file manager, and edit the host line, as shown in this example:

- Find the ip_forward setting and set it to true. IP forwarding must be manually enabled on the proxy to ensure that your users' IP addresses show the true value instead of the BungeeCord proxy's IP.

Checking if the server is reachable:
- Restart both the Spigot and BungeeCord servers. Connect to the server using the BungeeCord IP address, NOT the Spigot server IP address!

Things to Know
Below are a few things you should know about running your Bungeecord server:
Compatible server platforms:
BungeeCord allows several server types, such as the Bukkit-based ones like Spigot, Paper, and Purpur. It is also compatible with Forge. For the latter, you will need to find this line on the configuration file and set it to true, as shown here:

Power Actions
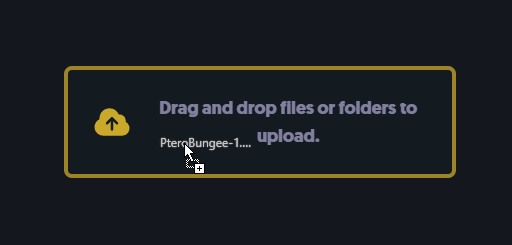
The Stop button might not work due to how BungeeCord handles it. Download the PteroBungee plugin from here and upload it to your proxy server files to fix this:
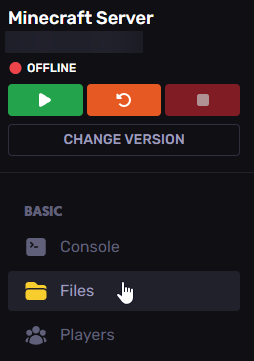
- Go to the files tab of your server and find the "plugins" folder.

- Drag and drop the JAR file you just downloaded.

Still have some questions?
If you need further assistance configuring BungeeCord, please create a ticket here.
Updated on: 09/02/2025
Thank you!