How To Setup A Satisfactory Server
Want to build your own Satisfactory world with friends, without relying on one person to host? Setting up a dedicated server is the way to go. It might sound technical, but it’s actually pretty doable—and once it’s up, you’ll have a smooth, always-on multiplayer setup that lets everyone jump in whenever they want.
In this guide, we'll show you how to setup a Satisfactory server, setup port forwarding correctly, set the query port to get your dedicated Satisfactory server running, and finish the server process instantly! You can use the game server manager file or server console, review server logs, and ensure the offline message server state doesn’t interfere with your session.
Don't already host with us? 10,000+ server owners trust Sparked Host for servers on games like Satisfactory. Claim your server savings to get higher performance at less $ per month.
Getting Satisfactory Server Hosting
Getting a Satisfactory dedicated server from Sparked Host is a fast, reliable way to start building with friends. Their setup includes the latest dedicated server software and easy access to the server manager, letting you adjust server settings, manage configuration files, and set the admin password. With support for port forwarding, firewall settings, and Windows and Linux servers or any operating system, Sparked Host makes hosting a Satisfactory server simple—even if it’s your first time. Head over to our website here and purchase the desired Satisfactory server!
How much RAM do you need for a Satisfactory server?
Deciding how much RAM you need for a Satisfactory server depends on your save file size, number of players, and how large your factory is. Generally, 8GB of RAM is recommended for smooth performance, especially if the server instance runs on the same machine as the game client. Monitoring the server process and checking the server logs can help identify if you're maxing out memory. If you're using a dynamic DNS setup or running a dual-stack Linux system, having extra RAM ensures the Unreal game server process runs without lag. Always review your server's install directory and allocate based on your factory’s scale.
Starting Your Satisfactory Server
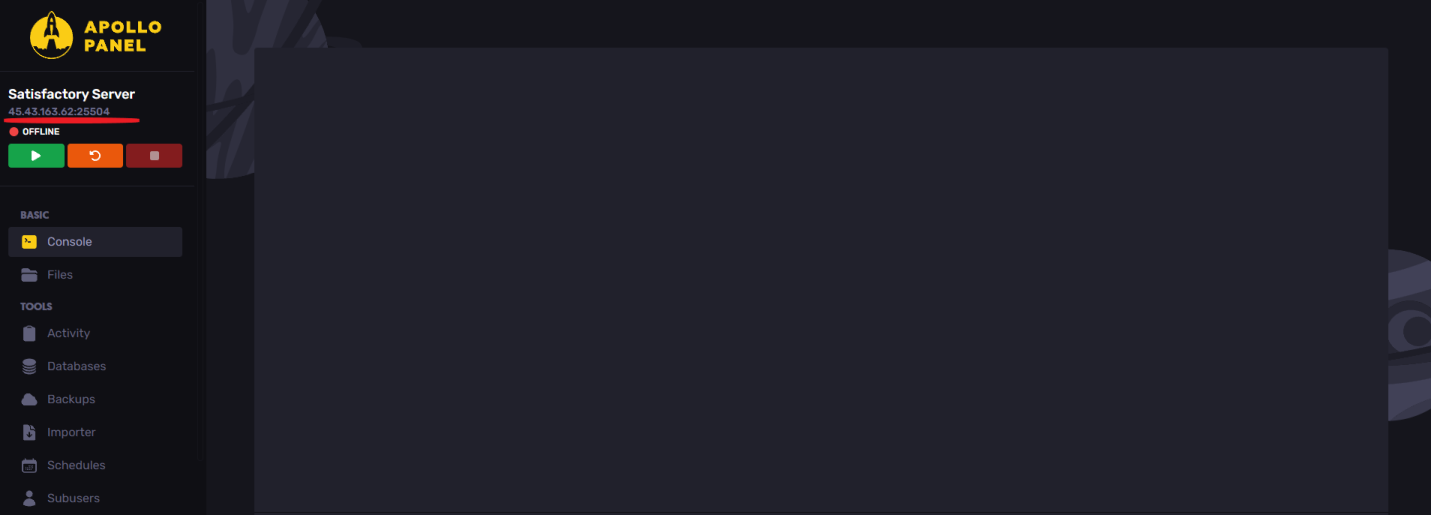
- Open your server console here
- On top left, copy the server's IP address
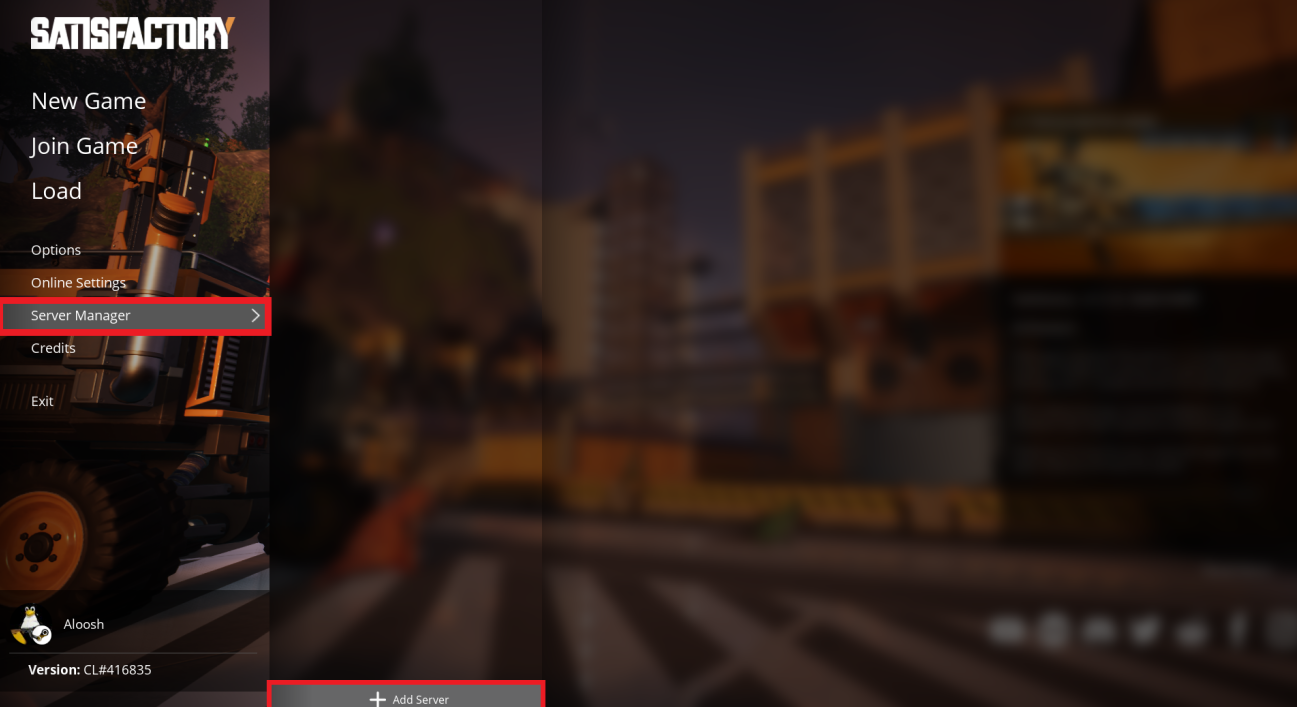
- Open the Satisfactory game client
- Head over to the "Server Manager" tab and click on "Add Server"
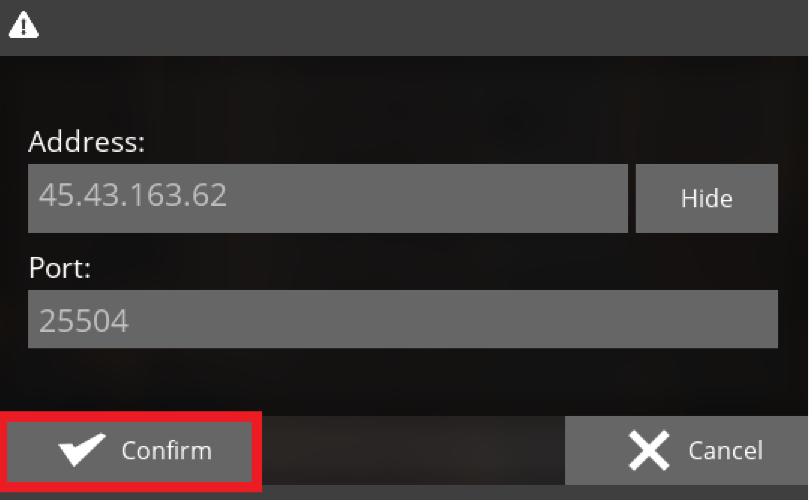
- Now, paste the server's IP address into the Address box, and the port into the Port box, and click Confirm
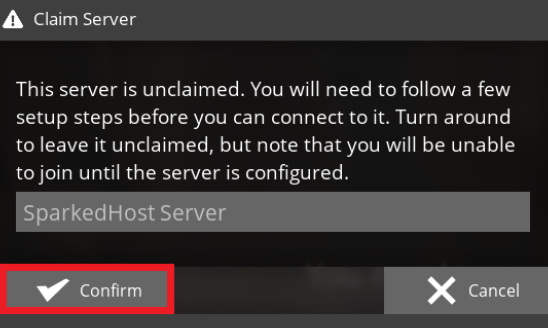
- You will now need to claim the server by choosing a name and clicking on Claim
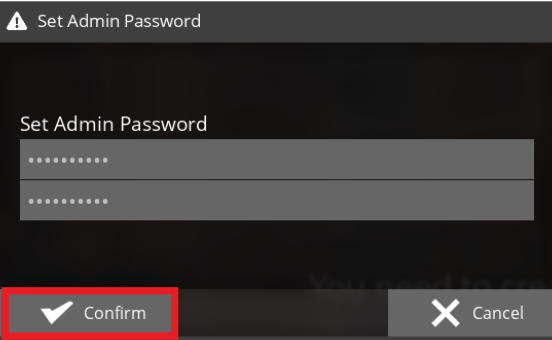
- Now, choose a password and press Confirm. You will use this password to manage your server settings and use the in-game console
- Open the Create Game tab, choose the desired map, and choose a session name for your server
- Once done, click on Start Game
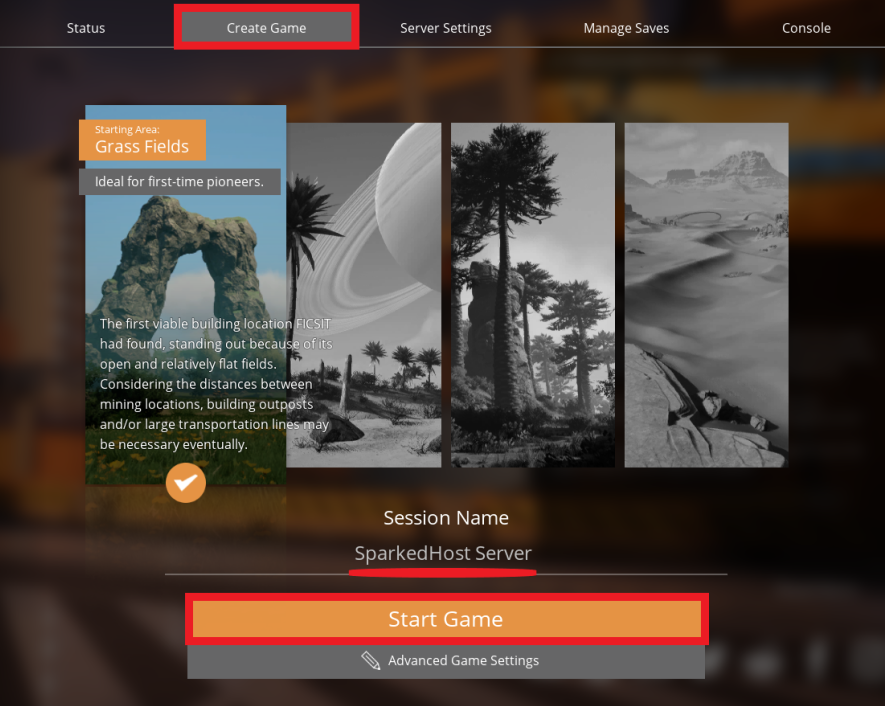
- You've now created your game server.
- For server management or changing any settings open the Server Settings tab.
- Once you've done this, click on Join Game to join your game or launch it through your normal Steam client.
Still have some questions about setting up a Satisfactory server?
If you need any further instructions, you can open a ticket here
By: Ali A.
Updated on: 12/11/2025
Thank you!