How to Update a Minecraft Server
By: Ali A.
Keeping your Minecraft server software updated is required to get access to the latest features. Whether you’re running a private server for friends or managing a larger community, staying up to date helps avoid potential issues with the newest game versions, mods, and plugins.
In this guide, we'll show you step-by-step how to update a Minecraft server and download the latest game versions.
Don't already host with us? 10,000+ server owners trust Sparked Host for lag-free Minecraft worlds. Claim your server savings to get higher performance at less $ per month.
When Should I Update My Minecraft Server?
Update your Minecraft server if you want to access/download new updated plugins, Minecraft mods, or Minecraft mod packs with new features and a better gaming experience. Newer versions can let you adjust server settings with access to more server features, items, creatures, ores, and much more.
Newer Minecraft versions can also fix performance issues and bugs, improving the overall gameplay experience.
Do not update your Minecraft server if you rely on specific plugins, mods, or modpacks. Minecraft updates can break compatibility with older mods and plugins, so always wait until your tools are confirmed to work with the new version.
Updating Your Minecraft Server
Updating your Minecraft version is crucial, especially since some official Minecraft servers only support newer versions for certain game modes and popular features.
Before Getting Started: Create a Server Backup
To avoid losing important files, create a backup of your server before updating or making changes. You can even save all your old configuration files.
Check out our guide on how to back up a Minecraft server before continuing with this guide.
Method 1: Using Apollo Panel to Automatically Update (Java Edition)
To update your Minecraft server to the latest version:
- Log in to the Apollo panel.
- Navigate to your server.
- Go to the Version Changer.
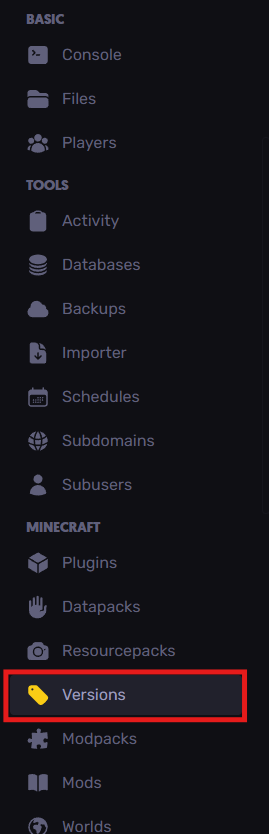
- Browse the list of available Minecraft versions and select your desired version.
- After installing, start or restart your server. You’ll now be running the new Minecraft server version.
Bedrock Edition
- Log in to the Apollo panel.
- Go to your server.
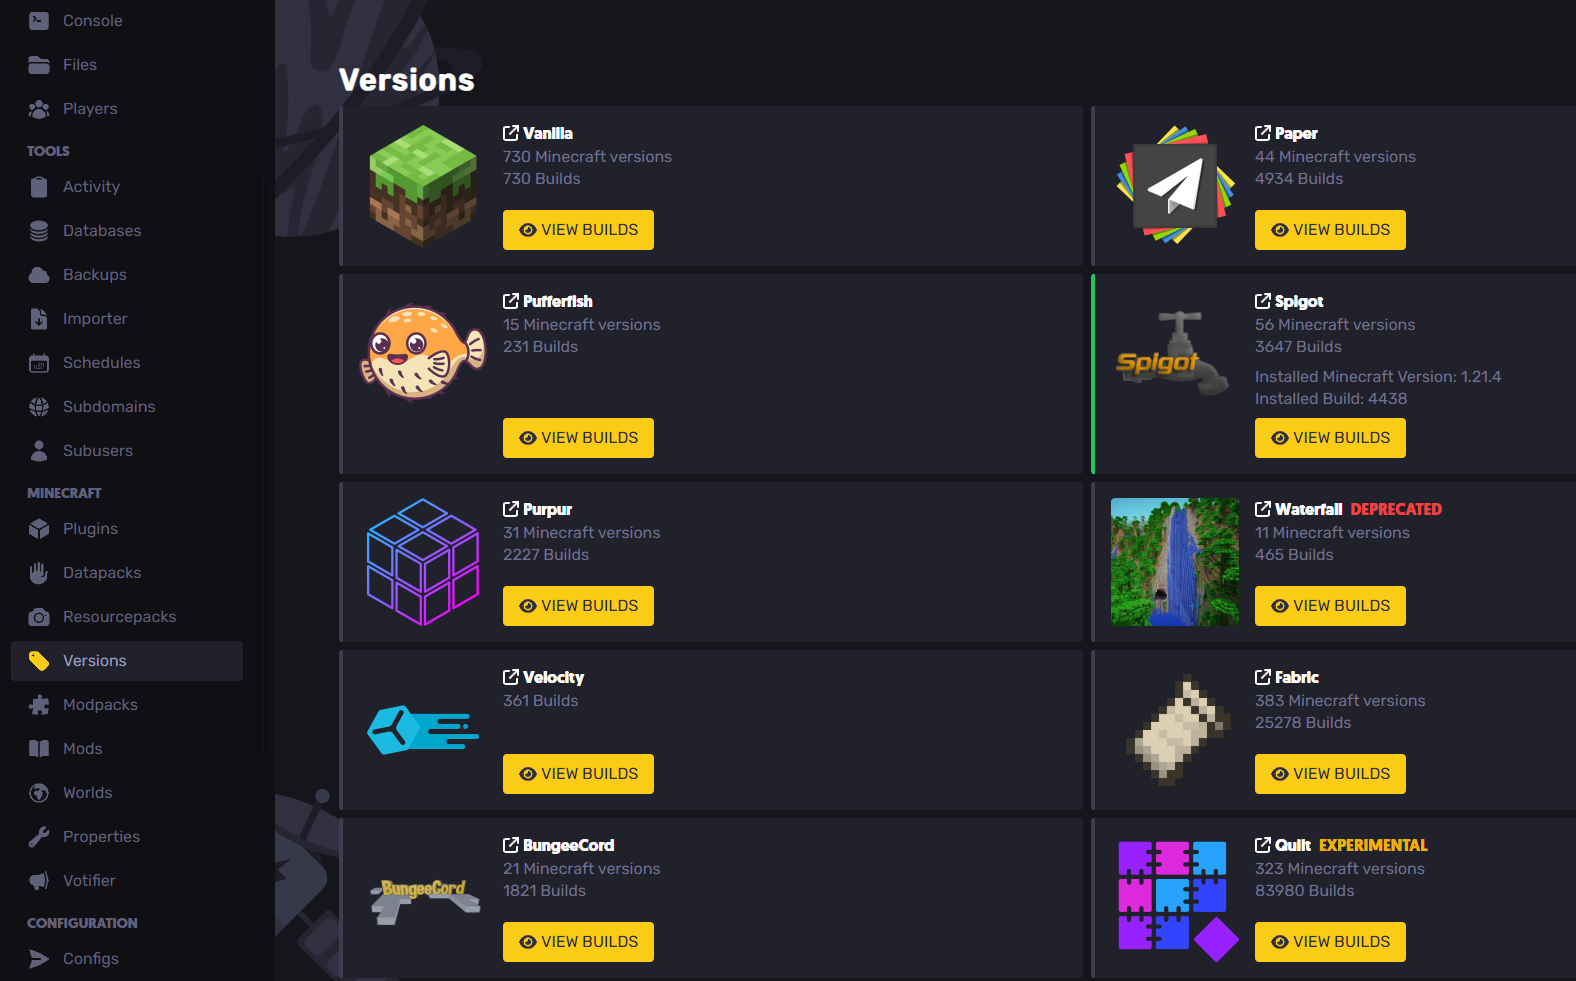
- Open the Startup page.
- Enter your desired Minecraft version (you can use
"latest"to install the latest version by default).
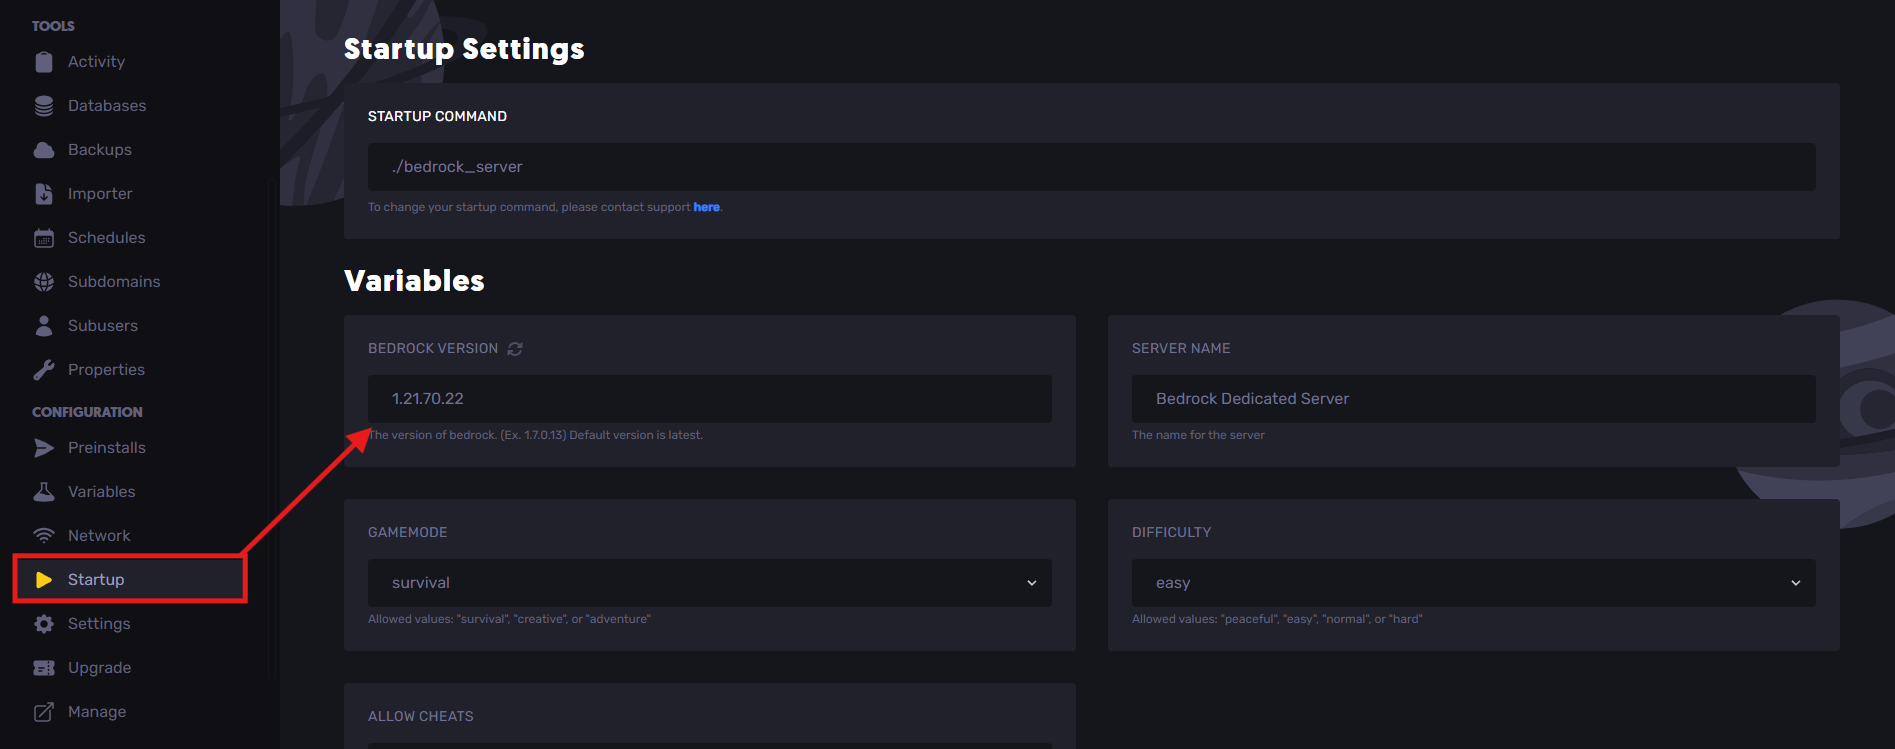
- Navigate to the Settings page.
- Click on the Update Server button.
Your changes will be saved automatically. You can now run your server on the updated Bedrock Edition.
Method 2: Manually Updating Your server.jar File
Tip: Always back up your server before manual updates. Here’s how.
To manually update your server.jar file:
- Stop your server.
- Download the latest server.jar here

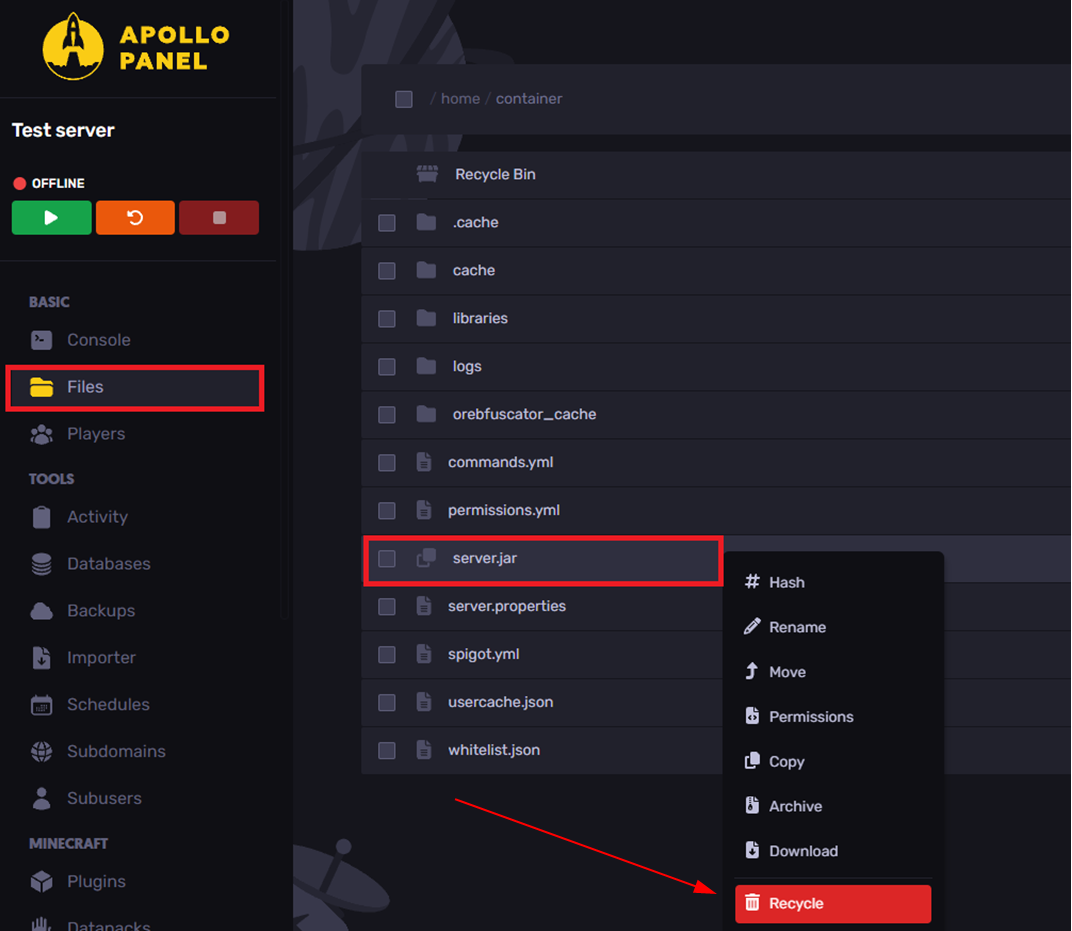
- Open the Files tab and navigate to your current server.jar file. Delete the old file.
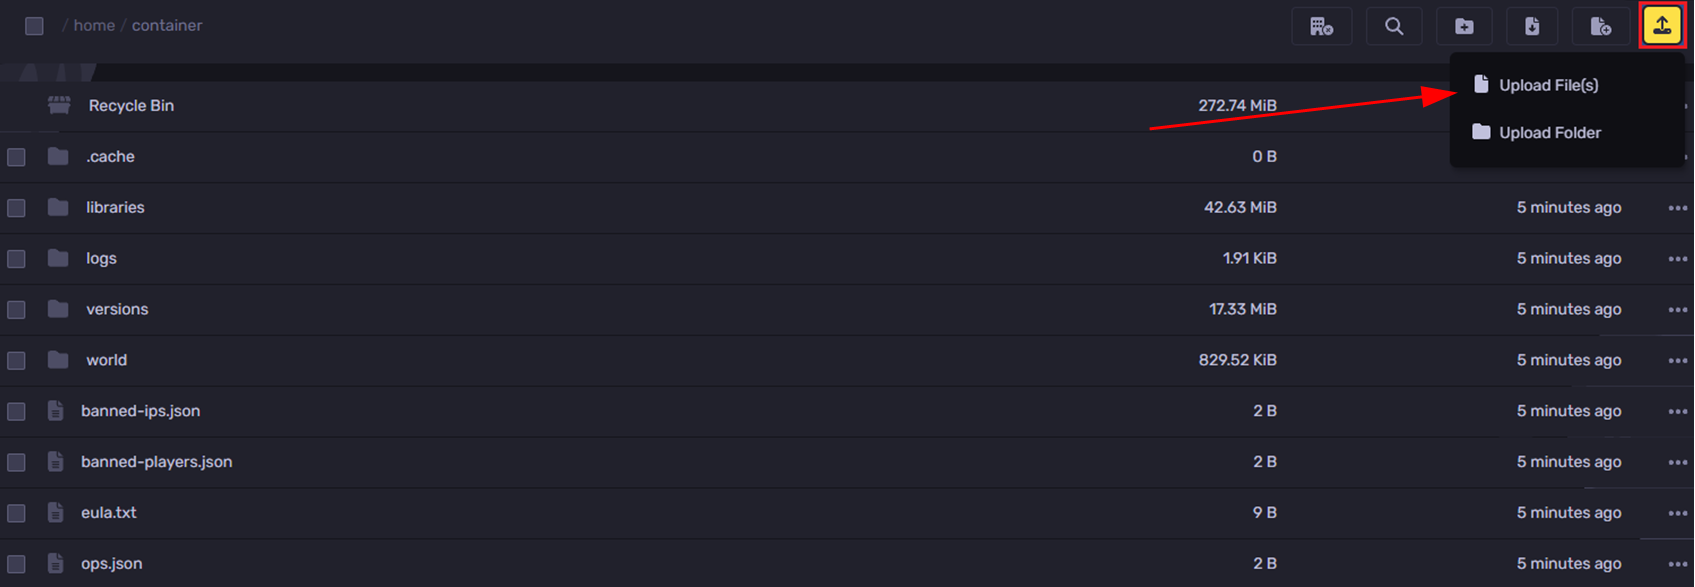
- Upload the new server.jar to the same directory by using the File Manager or drag and drop the file.
- Start your server and ensure everything is functioning correctly with the updated version.
Still Have Questions?
If you have any questions or need further assistance, feel free to submit a support ticket here.
Updated on: 03/11/2025
Thank you!