How To Update Soulmask Server
Updating a Soulmask server is key to maintaining stability, unlocking new features, and applying essential bug fixes. By keeping your dedicated server files and configuration files up to date, a Soulmask dedicated server avoids incompatible version errors and ensures smoother server settings for players. Regular updates also help with security, whether you’re running on Windows or Linux, and make sure your world delivers the best gaming experience every time someone connects. For admins, knowing how to update Soulmask server files properly is an essential part of reliable server management and long-term performance.
Enabling Auto Update On Your Soulmask Dedicated Server
- Access your game panel here.
- Navigate to the Startup tab.
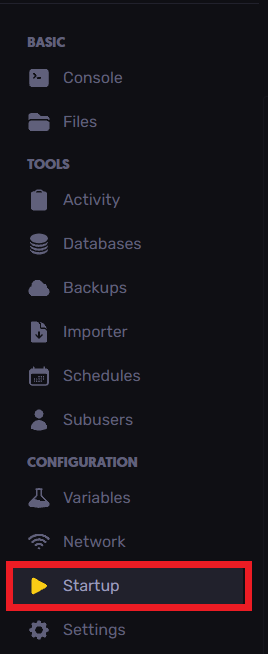
- Enable Auto Update as shown in the example below.
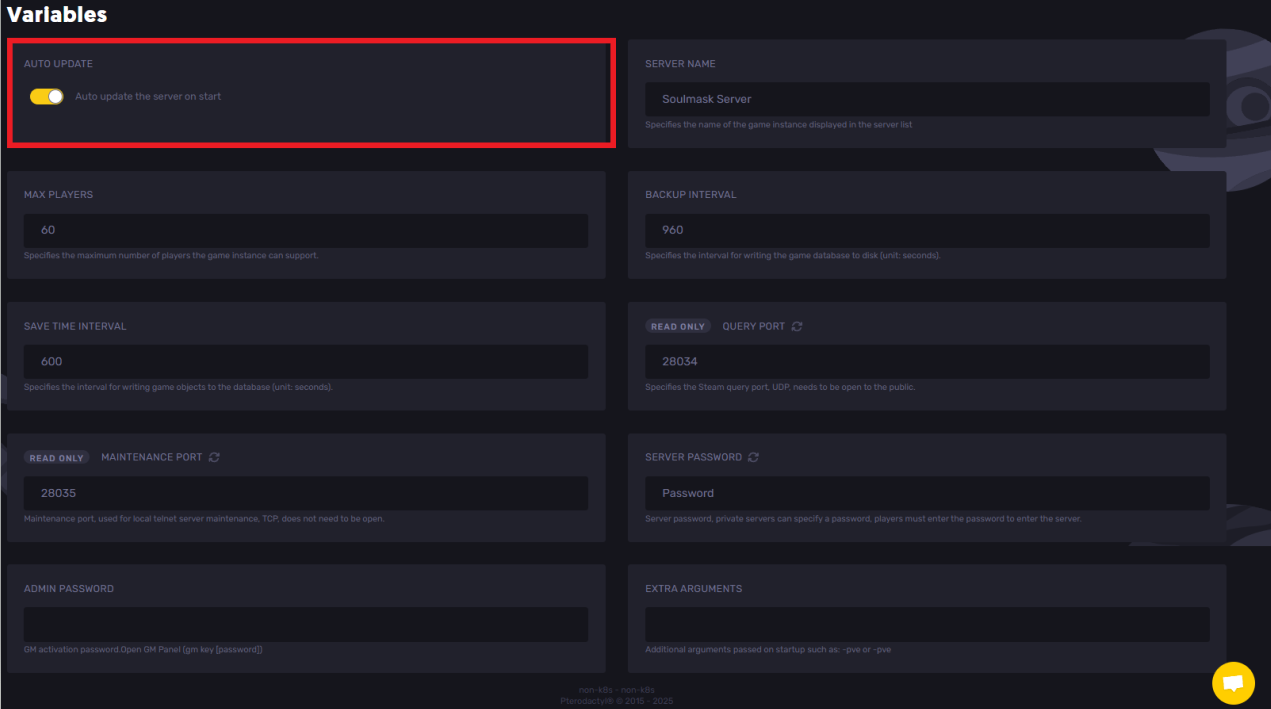
- Your server will now automatically update each time you start the server.
Updating A Soulmask Server On Linux
**Step 1: Backup Your Server**\
Before making any changes, create a full backup of your server files (especially the Saved folder where world data and player progress are stored). This way, you can restore your server if the update causes issues.
**Step 2: Launch SteamCMD**\
If you already have SteamCMD installed, navigate to its folder. If not, download and extract SteamCMD from the official Valve website.
**Step 3: Log In and Update**\
Run SteamCMD and enter the following commands one by one:
login anonymous
app_update 3017300 validate
exit
- `login anonymous` logs into Steam without needing an account.
- `app_update 3017300 validate` downloads and applies the latest Soulmask server update. The validate flag checks your files and replaces any missing or corrupted ones.
- `exit` closes SteamCMD once the update is complete.
**Step 4: One-Line Update Command (Alternative)**\
If you prefer, you can run everything in one line directly from your terminal inside the SteamCMD directory:
./steamcmd.sh +force_install_dir /home/Steam/steamapps/common/Soulmask_server +login anonymous +app_update 3017300 validate +quit
This command forces the install directory, logs in, updates the server, validates files, and then quits automatically.
Updating A Soulmask Server On Windows
**Step 1: Backup Your Server**\
Copy your server folder to a safe location before updating. This prevents data loss if the update overwrites or corrupts files.
**Step 2: Open Command Prompt in the SteamCMD Folder**\
Navigate to where you installed SteamCMD. Right-click inside the folder while holding Shift and select Open Command Window Here (or use PowerShell if Command Prompt is not available).
**Step 3: Run the Update Command**\
Enter the following line into the command prompt:
steamcmd.exe +force_install_dir /home/Steam/steamapps/common/Soulmask_server +login anonymous +app_update 3017300 validate +quit
This will download and apply the latest server update just like on Linux.
Still have some questions about updating a Soulmask server?
Don't hesitate to reach out to our support team! We're available 24/7 to assist!
By: Ali A.
Updated on: 29/09/2025
Thank you!