How to Use Simple Voice Chat in Minecraft
This guide will help you set up and use Simple Voice Chat to communicate with other players on your Minecraft server.
Don't already host with us? 10,000+ server owners trust Sparked Host for lag-free Minecraft worlds. Claim your server savings to get higher performance at less $ per month.
What is Simple Voice Chat?
The Simple Voice Chat plugin adds real-time communication to Minecraft, allowing players to talk directly with others nearby. This guide provides step-by-step instructions on how to install, configure, and use Simple Voice Chat for a seamless multiplayer experience.
Creating an Allocation
An allocation assigns specific network ports to applications or services on a server. In this case, we need to allocate a port on the service for the proximity voice chat mod to work with the client.
To create an allocation for Simple Voice Chat, you will need to do the following steps:
- Navigate to the Network Tab on the Apollo Panel.
- Click on the "Create Allocation" for the server to open a port for you.
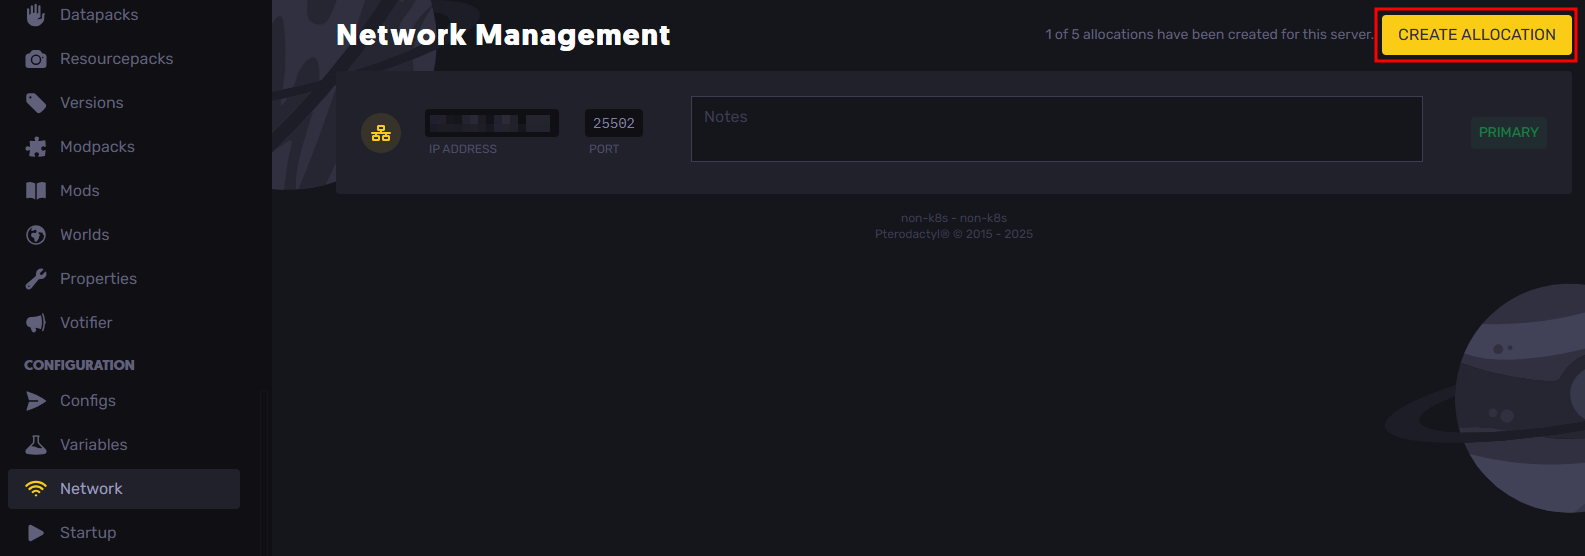
- Take note of the newly allocated port. We will use this port inside the proximity chat's config file. Feel free to add a note to the allocation so that you know what it will be used for in the future, like the example below.
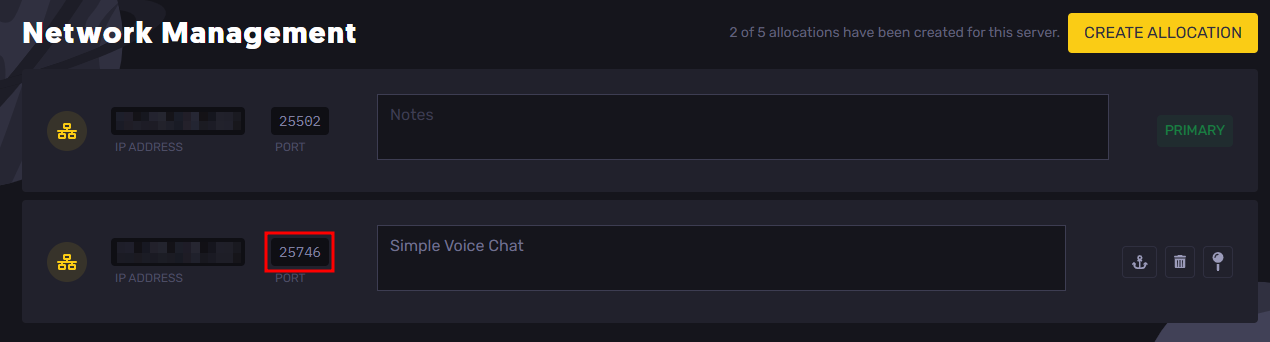
- Restart the server so that the server can utilize the newly opened port.
How to Install Simple Voice Chat
Depending on the fork of Minecraft, you will have a different method of installing Simple Voice Chat:
On Paper, Spigot, or Purpur
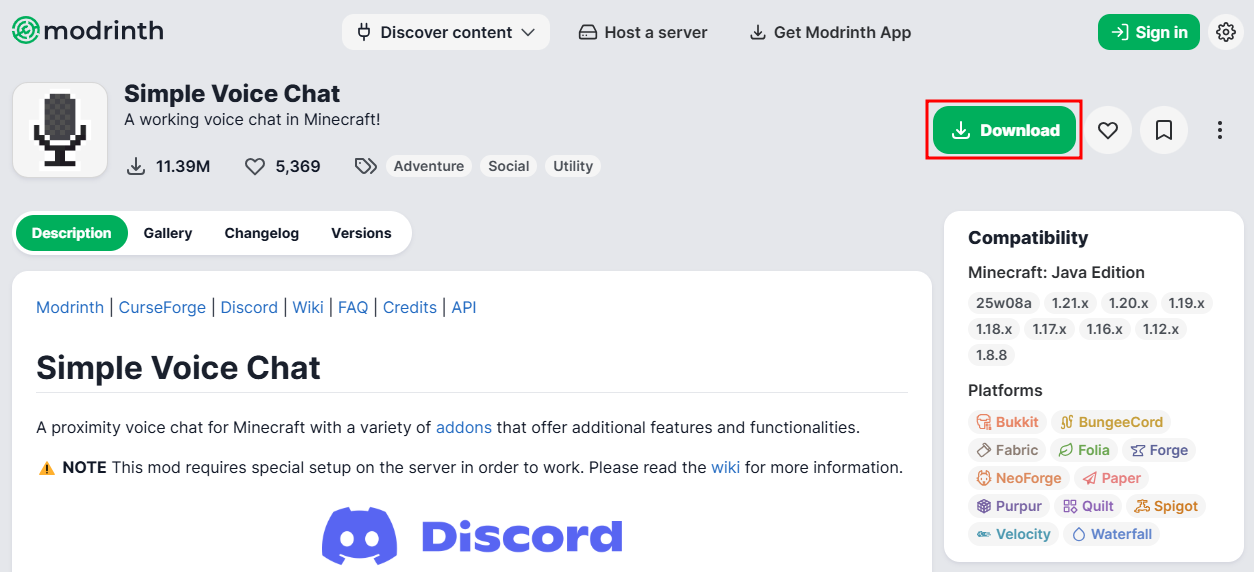
- Go to the Simple Voice Chat plugin's Modrinth page.
- Click on the download button on the top-right of the page.
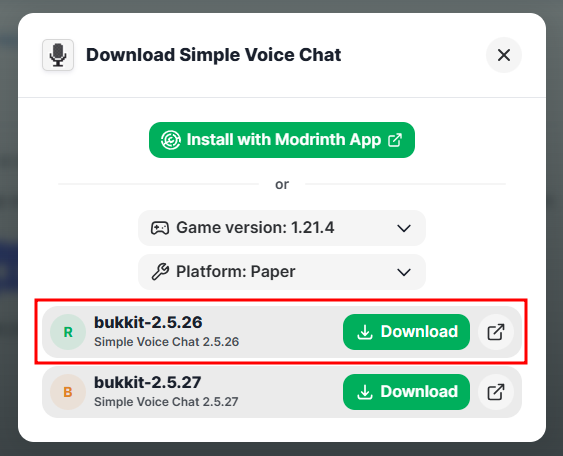
- Select the Minecraft version and platform/server software you are using and click on the download button for either the latest Release or Beta version of the plugin.
- Go to the Files Tab on the Apollo Panel and navigate to the
pluginsfolder.
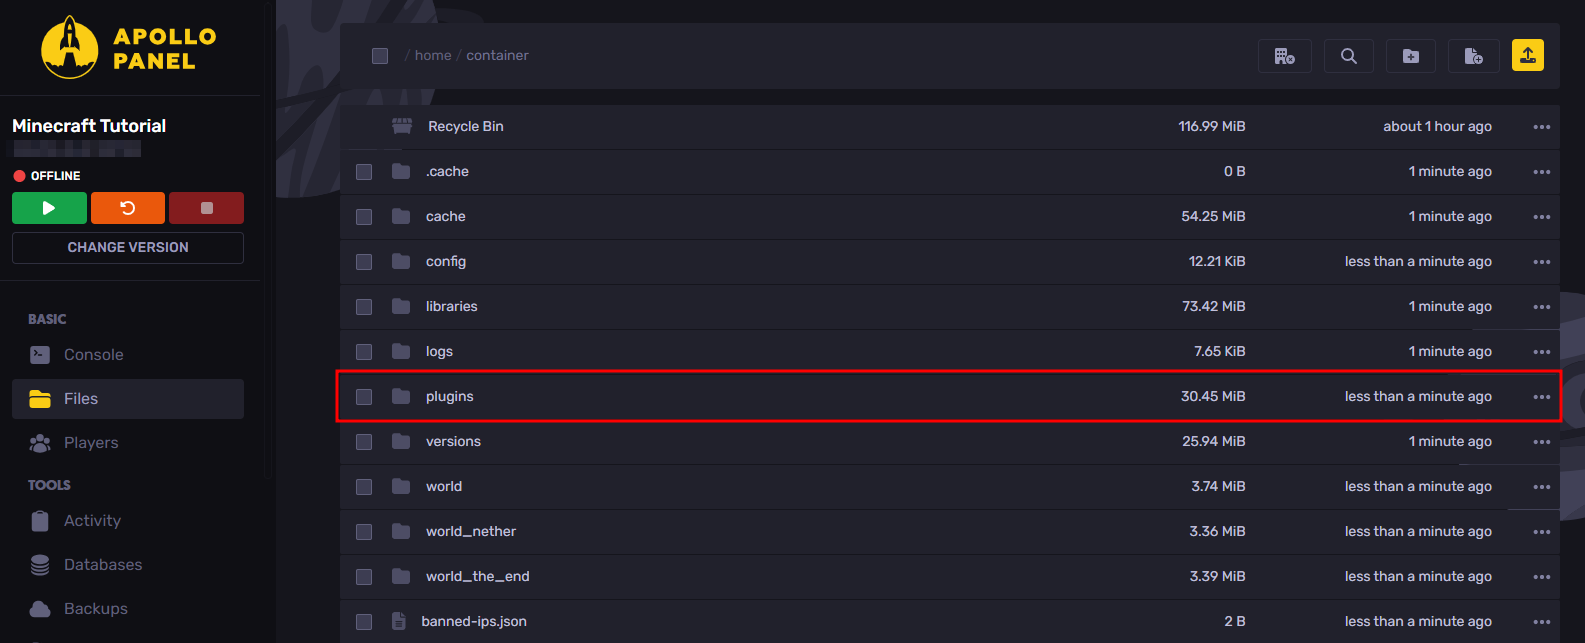
- Upload the plugin that you have downloaded earlier.
On Forge or Fabric
- Go to the Simple Voice Chat mod's Modrinth page.
- Click on the download button on the top-right of the page.
- Select the Minecraft version and platform/server software you are using and click on the download button for either the latest Release or Beta version of the mod.

- Go to the Files Tab on the Apollo Panel and navigate to the
modsfolder.
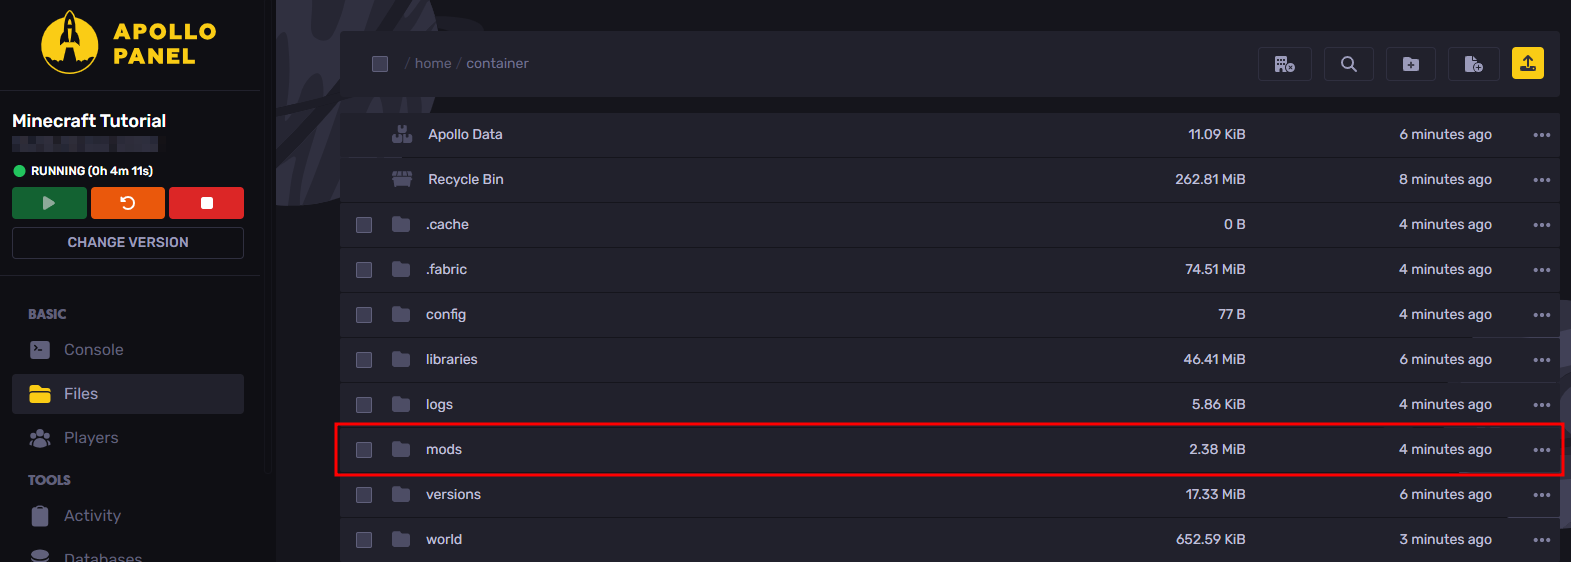
- Upload the mod that you have downloaded earlier.
How to Configure Simple Voice Chat
Based on the fork of Minecraft, there are different instructions for configuring Simple Voice Chat for the mod's features to work:
On Paper, Spigot, or Purpur
- Assuming you restarted the Minecraft server after installing the Simple Voice Chat plugin to the
pluginsfolder, proceed to the File Manager and navigate to thevoicechat/voicechat-server.propertiesfile that is inside thepluginsfolder.
- Edit the
portsetting with the port allocation that you have created in the Network Tab.
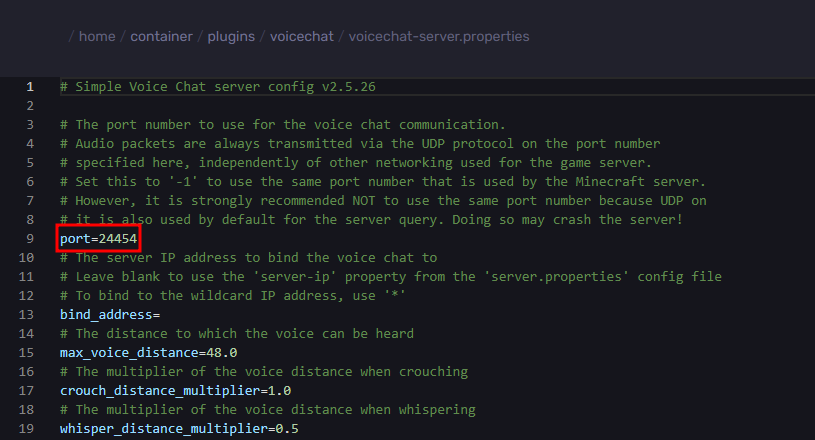
- Save the config file and restart the Minecraft server to reload the config changes you have made to the Simple Voice Chat mod.
On Forge or Fabric
- Assuming you restarted the Minecraft server after uploading the Simple Voice Chat mod to the
modsfolder, proceed to the File Manager and navigate to thevoicechat/voicechat-server.propertiesfile that is inside theconfigfolder.
- Edit the
portsetting with the port allocation that you have created in the Network Tab.

- Save the config file and restart the Minecraft server to reload the config changes you have made to the Simple Voice Chat mod.
Using Simple Voice Chat in Game
Once you have installed and setup Simple Voice Chat on your server, you can now have proximity voice chat with other players who also have the Minecraft mod installed on their clients.
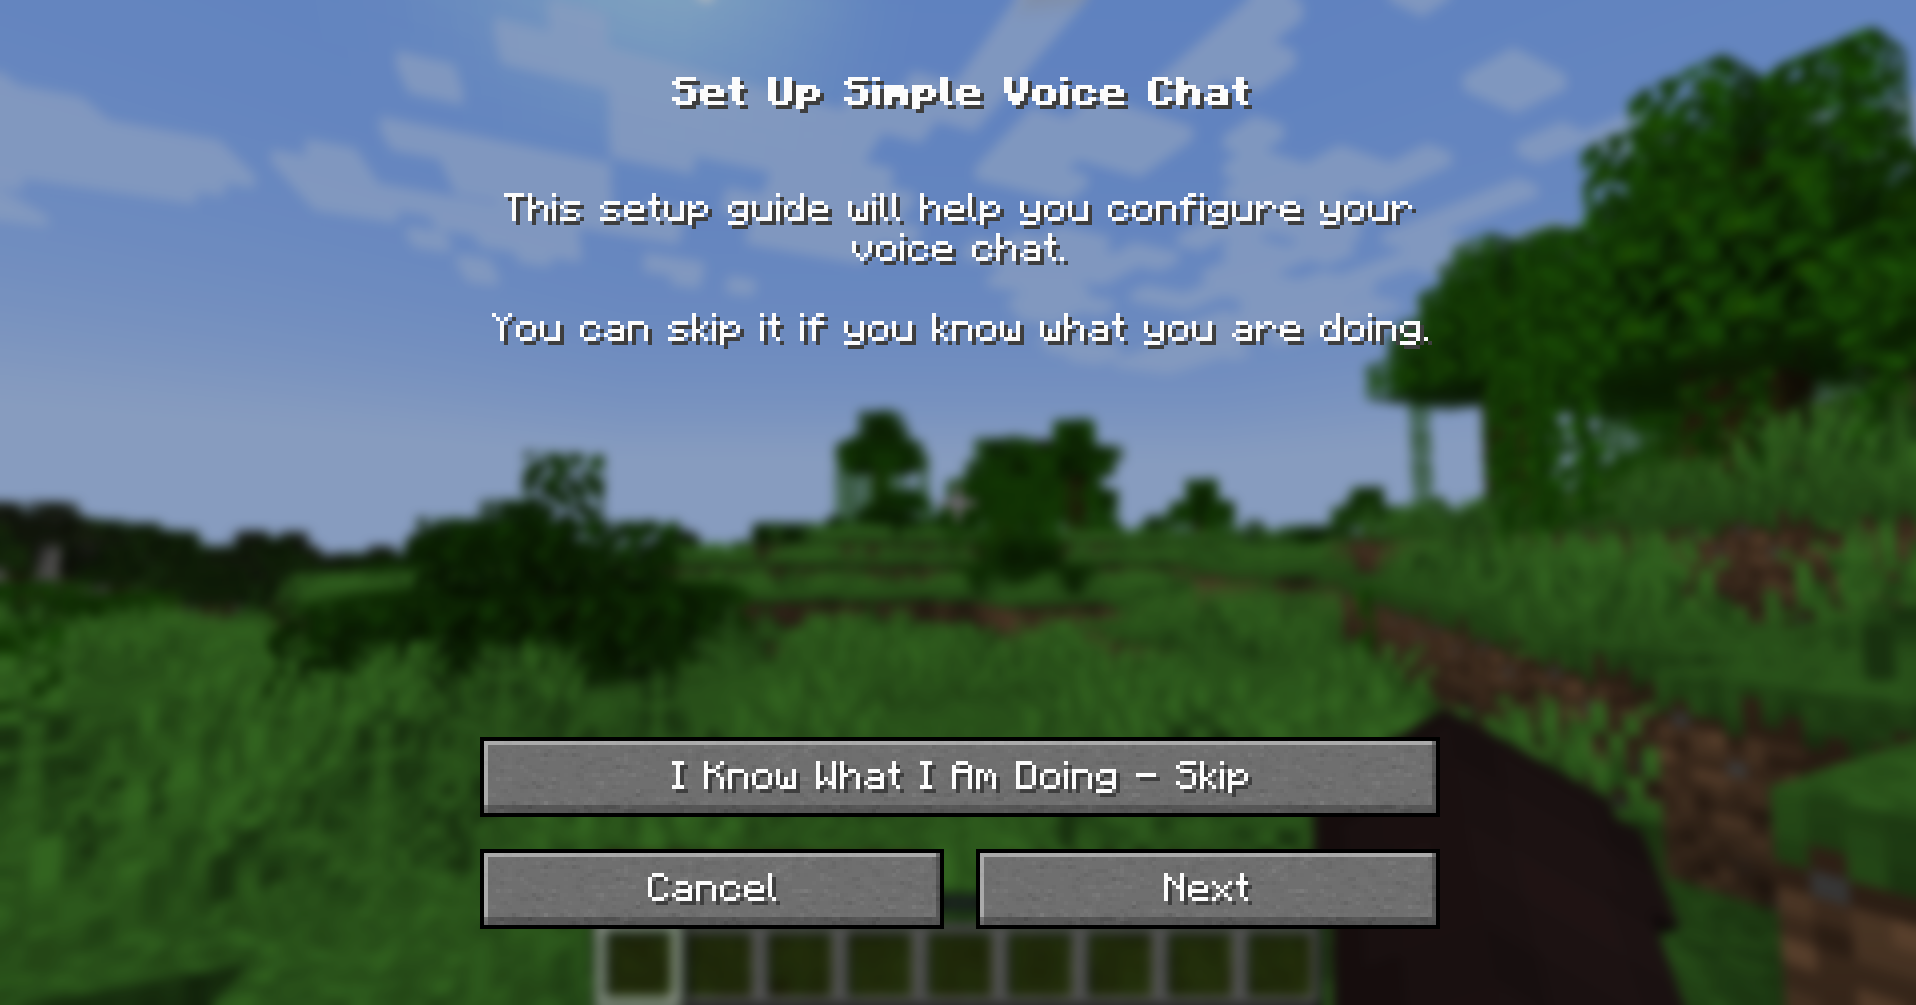
The first thing you need to configure when using the mod is your Voice Chat settings, which you can do so by pressing the V key bind on the server, or whatever keybind you have set for the "Voice Chat Menu" setting.
If you have just installed the mod for the first time in your client's mods folder, the mod will provide a setup guide that you can follow; it will ask you things such as what Microphone you want to use for speaking, the activation method, etc.
If there are players that are on the server that don't have the mod installed on their clients, then they won't be able to hear or speak with the proximity voice chat on the server until they have the mod on their client.
Still have some questions?
Feel free to reach out to our support team!
By: Alecz R.
Updated on: 03/11/2025
Thank you!