How to Add a Custom World (Map) to Minecraft Server
Want to explore a brand-new world on your Minecraft server? Whether it's an adventure map, a custom-built survival world, or a replica of your favorite location, installing a custom map can bring a fun Minecraft experience for you and other players. In this guide, we'll walk you through the step-by-step process of installing and importing a custom map on your Minecraft server.
Don't already host with us? 10,000+ server owners trust Sparked Host for lag-free Minecraft worlds. Claim your server savings to get higher performance at less $ per month.
Step 1: Downloading a Custom Minecraft World (Java Edition)
Important: Make sure the map you choose matches the version of your Minecraft server.
Upload Your World Using SFTP
You must upload your world via SFTP. Here is a guide to get FTP access on Windows, Linux, or Mac.
You can download CTM maps or any custom world you like. Planet Minecraft is a well-known website for custom Minecraft maps.
Step 2: Uploading a Custom World to Your Minecraft Server (Java Edition)
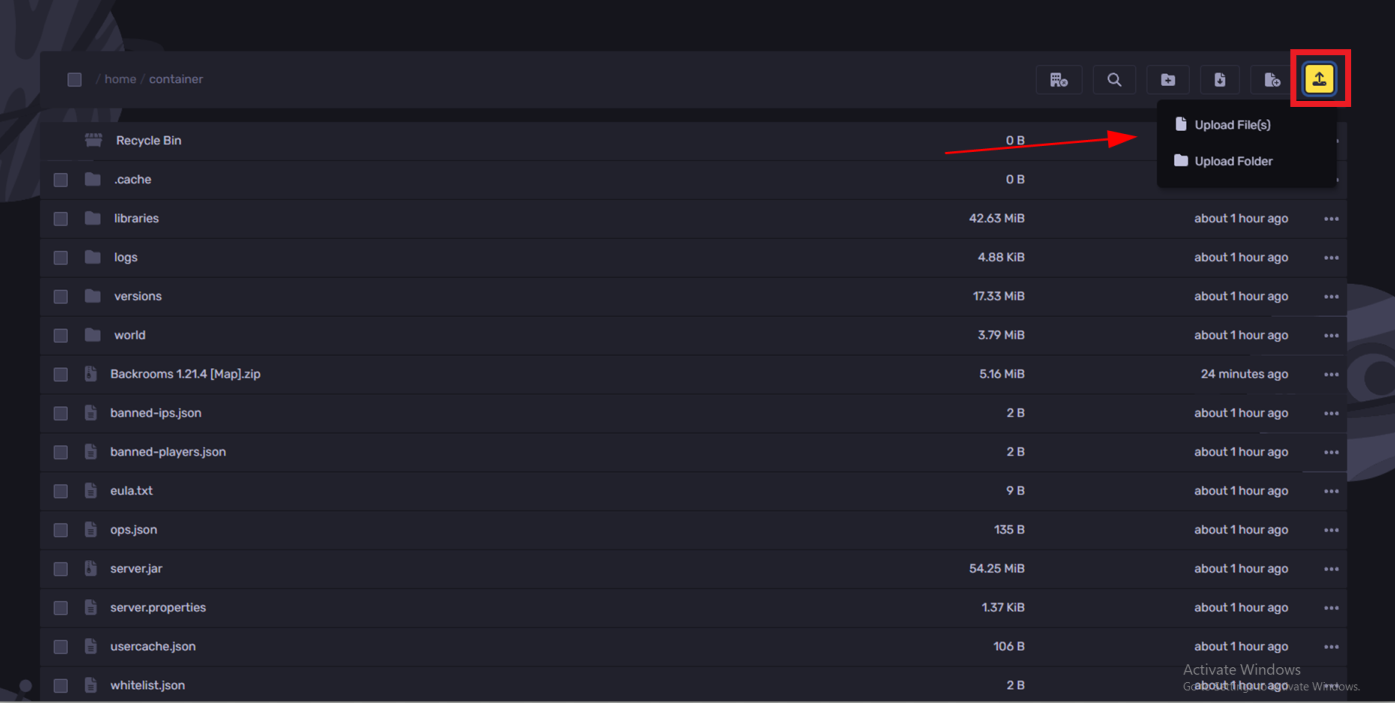
Note: Ensure your downloaded custom Minecraft map is in a .zip format or an extracted folder. (Yellow box)
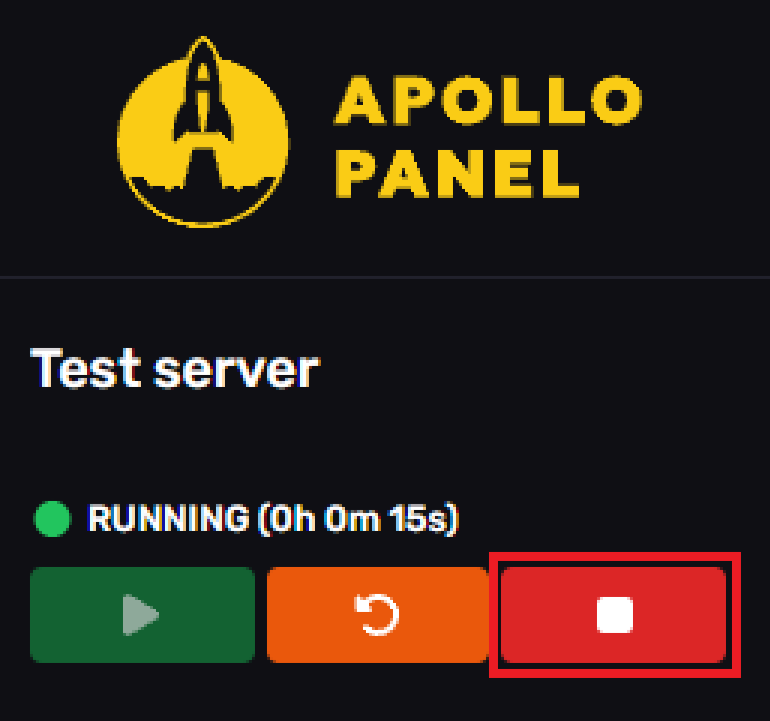
- Stop your server temporarily through the control panel to safely switch to the new map.
- Click on the "Files" tab on the left-hand side of the site.
- Click the yellow upload button and select "Upload File(s)" to locate your downloaded Minecraft world folder. Alternatively, drag your zip file into the server files to import it faster.
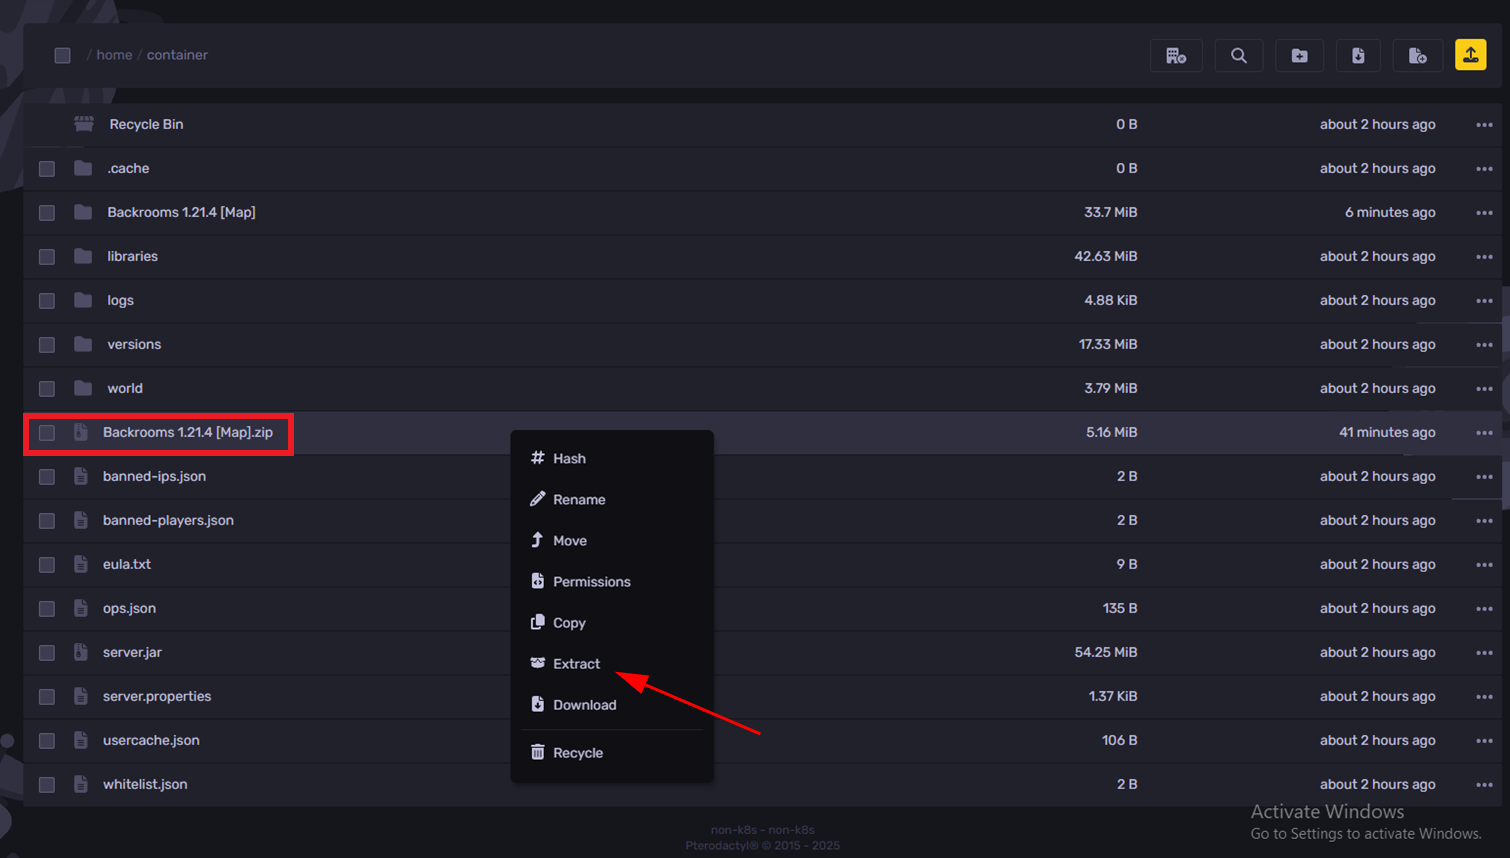
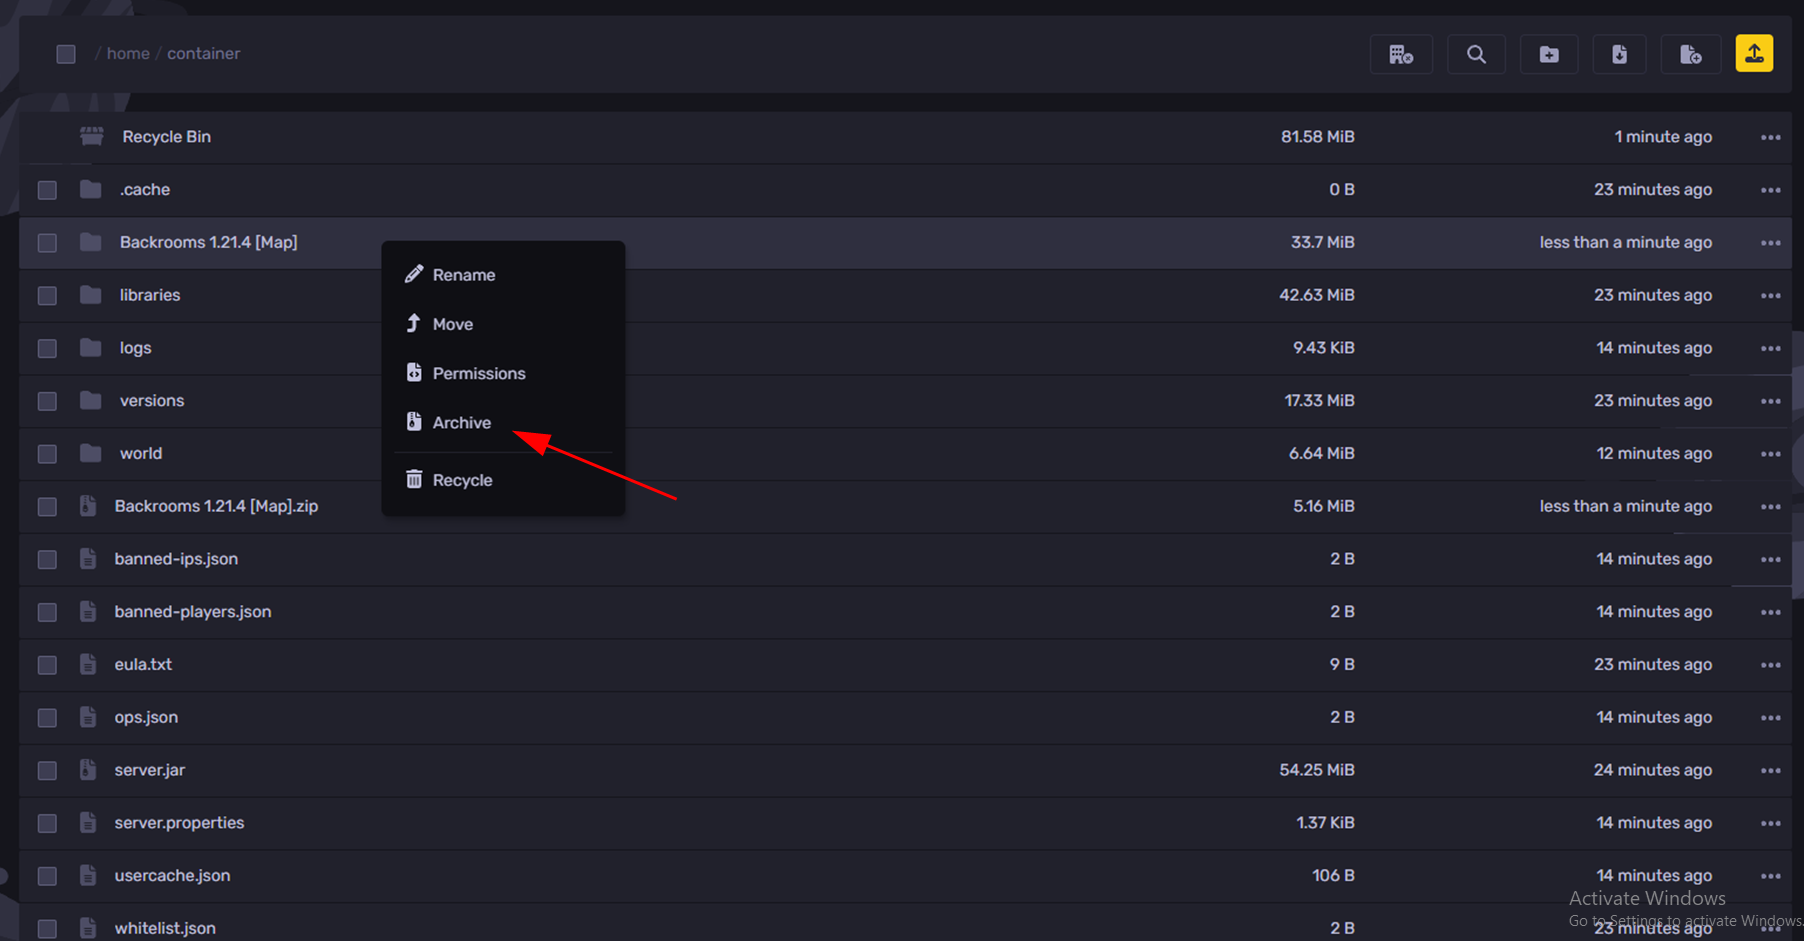
- Right-click the zipped Minecraft world folder and click "Extract" to decompress the file.
Step 3: Configuring Your Minecraft Server to Use the Custom World
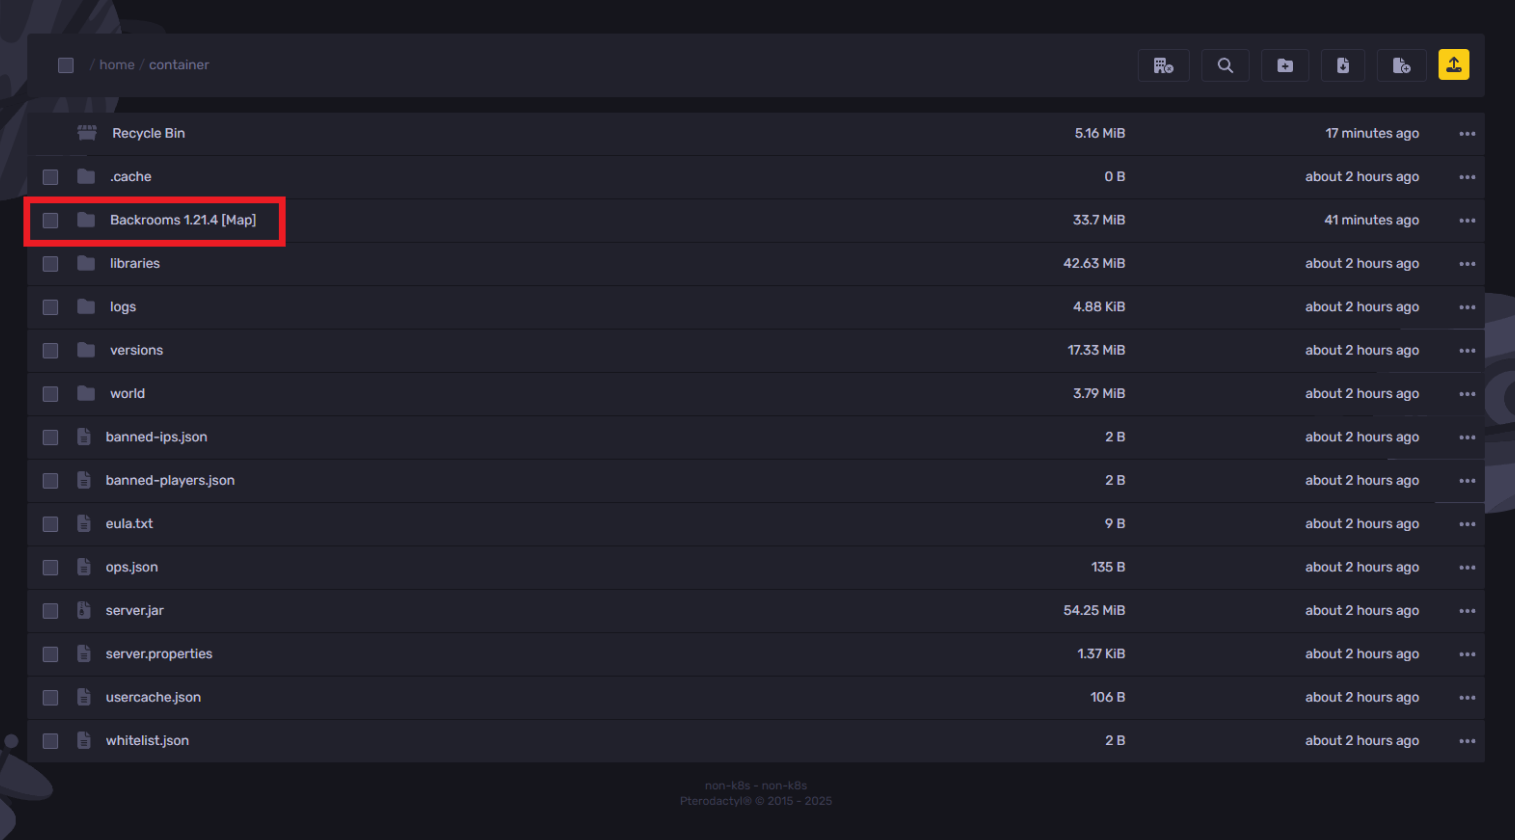
- Delete the .zip file after extraction since the unzipped map folder is now available.
- In the "Files" tab, delete the existing world folder named "world". This will ensure your custom map loads correctly.
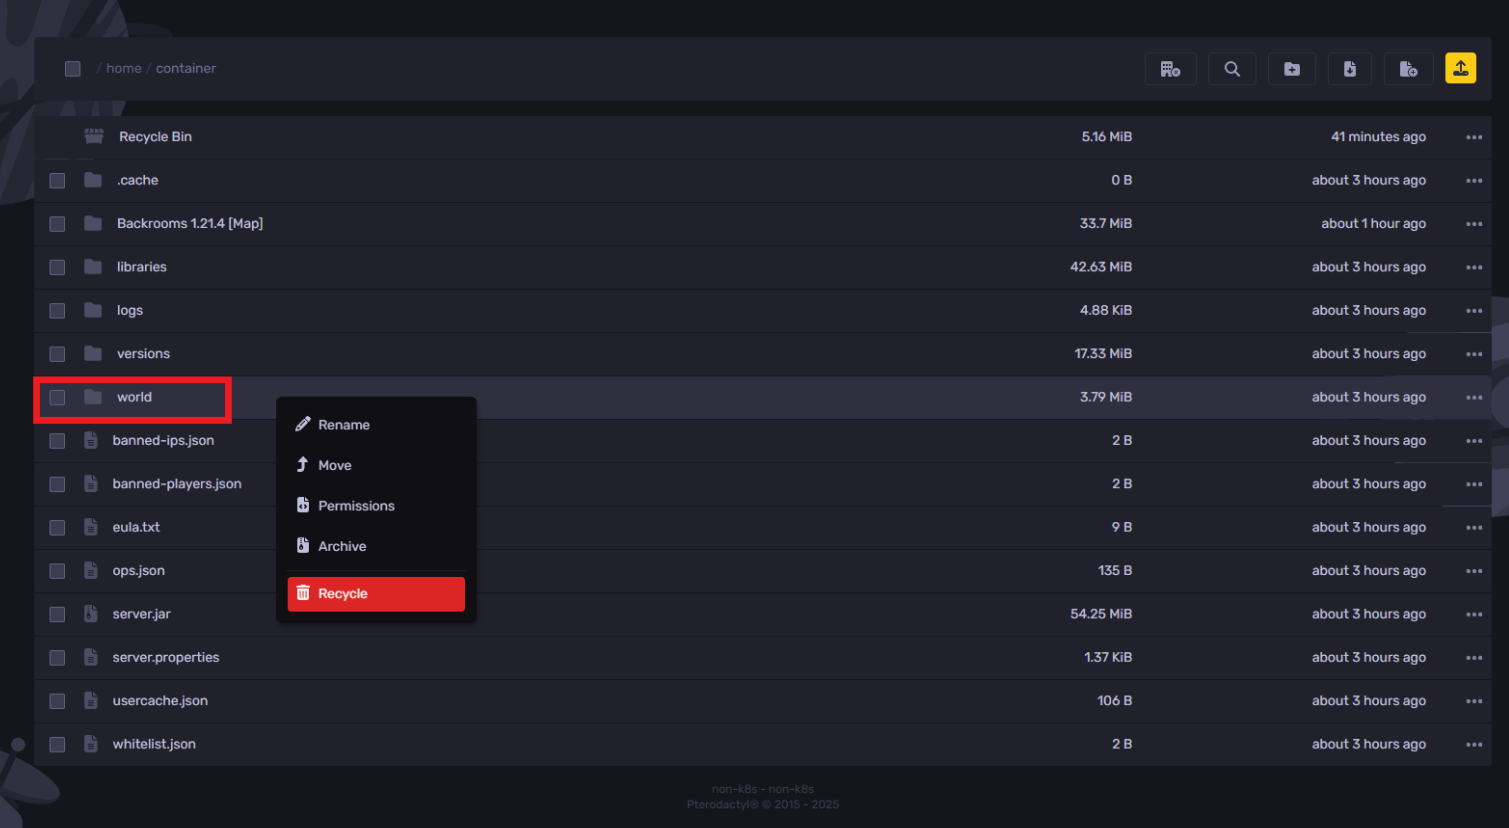
- To save your old Minecraft world, right-click the current world folder and choose to archive it.
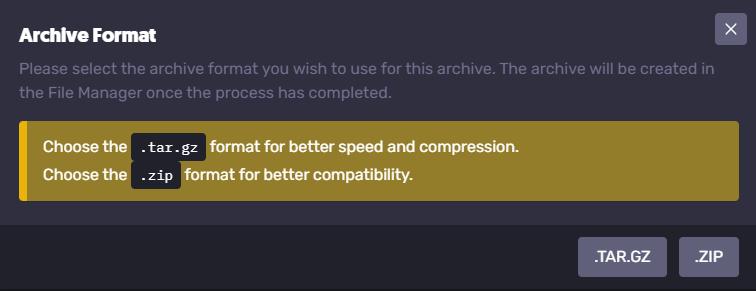
- Choose to save the folder as either .tar.gz (for Linux/Unix users) or .zip (for Windows/Mac users).
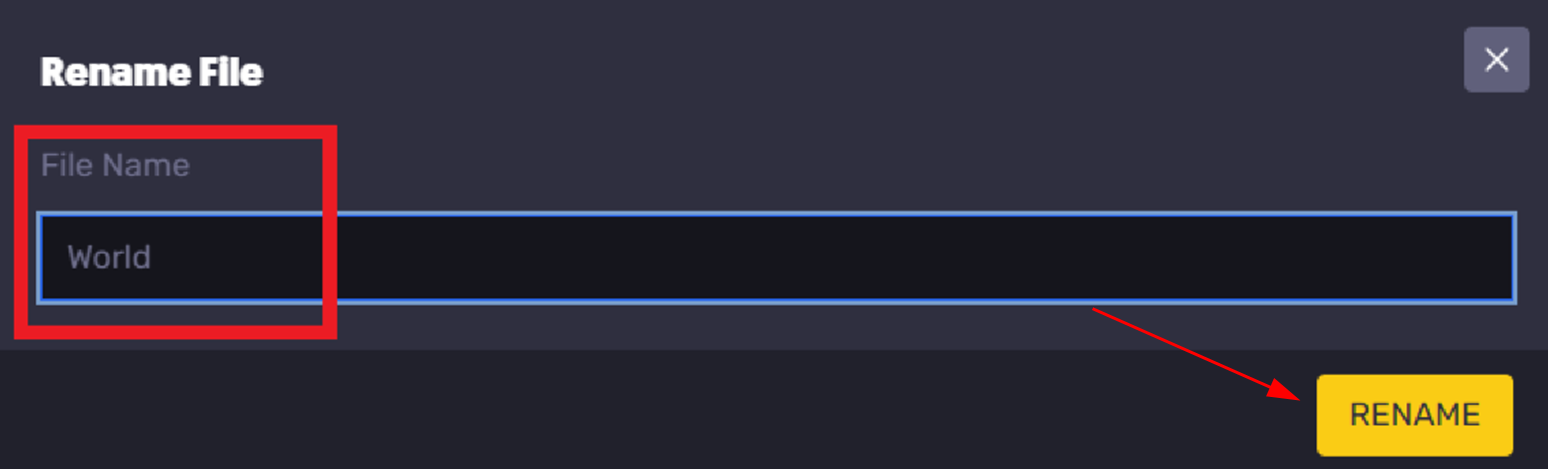
- Rename your custom map folder to "world" and confirm the change.
- Start the server and log in using the same server address to enjoy your newly installed custom map.
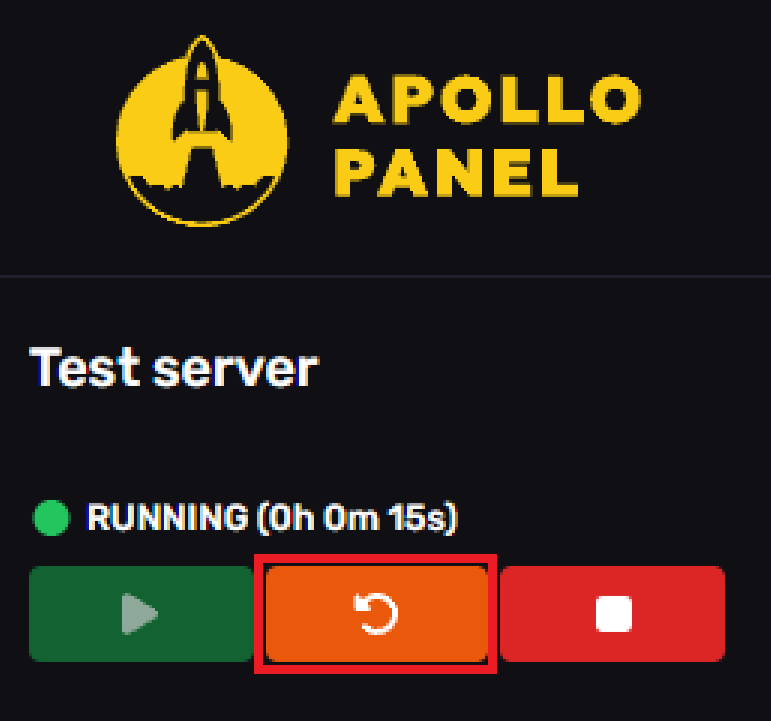
If your server was running during this process, restart it through the control panel to load the new Minecraft map.

How to Upload a Custom Map to a Minecraft Bedrock Edition Server
Note: This method works only with .mcworld files.
To upload a custom map to a Minecraft Bedrock server:
- Stop your Bedrock server.

- Click on the "Files" tab on the left-hand side.
- Click "Upload File(s)" and select your .mcworld file.
- Once uploaded, right-click the map folder, click "Move", and enter "worlds/" to move the file to the worlds directory.

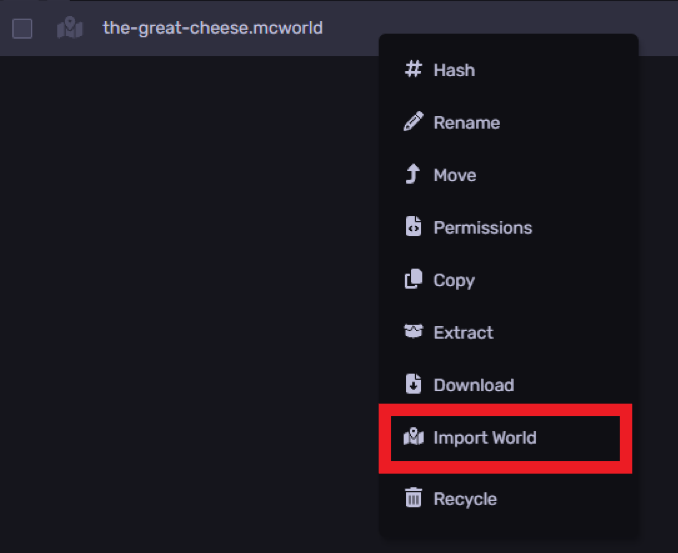
- Open the "worlds" folder, right-click your custom map, and select "Import World".
If your server was running during this process, restart it via the control panel to load the new map.
You’re now ready to explore your custom map!
Need Some More Help?
If you have any questions or need further assistance, feel free to file a support ticket here.
By: Ali A.
Updated on: 03/11/2025
Thank you!