How to install custom maps on a BeamMP server
How to install custom maps on a BeamMP server
Installing custom maps on a BeamMP server is popular because it allows players and communities to go beyond the default maps and refresh the overall gameplay experience. Many server owners add a custom map to support unique map mods, explore new environments, and give users and friends more variety when joining the server. Understanding how to install custom maps on a BeamMP server helps ensure the map is compatible with the game and loads correctly for all players, making it a common choice for BeamMP servers focused on long-term engagement and community growth.
To install a custom map, follow the steps below:
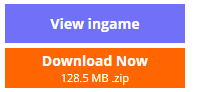
- Download a map here.
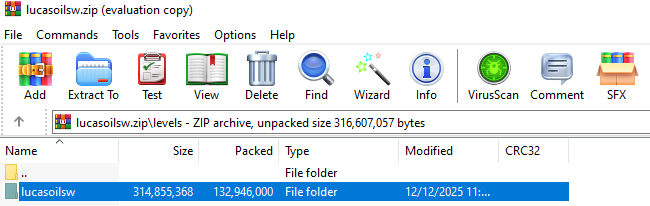
- Open the installed zip file, select the levels folder.
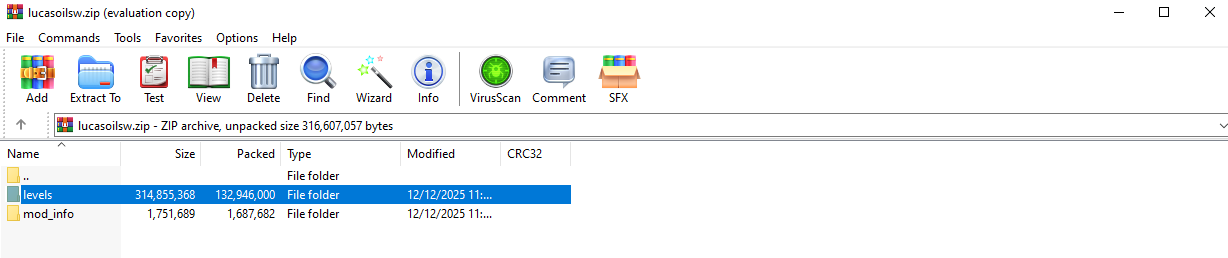
- Note or ensure you remember the map name.
- Open your Apollo Panel here.
- Click on the Files tab.
- Navigate to the following directory:
Resources/Client
- Upload the map's zip file.

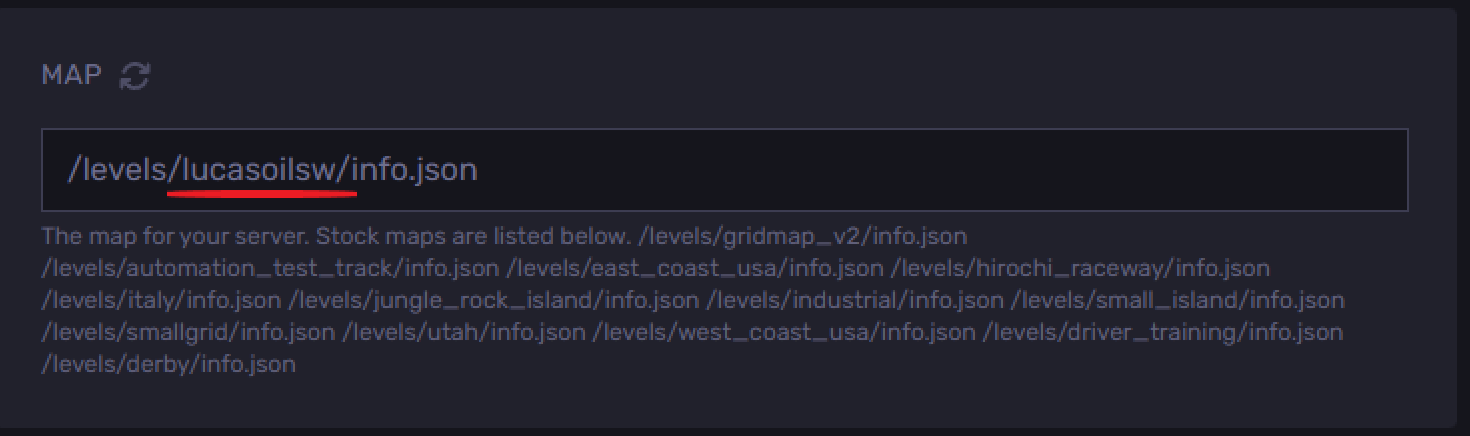
- Go to the Startup tab.
- Find the Map field, and change and replace the map name with the one you've copied, as shown in the example below.
- Start or restart the server.
Still have some questions?
If you require any further assistance or instructions, feel free to log in or create a support ticket here to contact us.
Updated on: 26/12/2025
Thank you!