How To Make A Minecraft SMP
Starting your own Minecraft SMP (Survival Multiplayer) server is a fun way to bring friends together for a shared survival experience. The idea and point of a Minecraft SMP is to build a community-engaged world where players can PVP, build, and customize their experience. There's a lot to create and maintain, from handling food at night, fall damage, death, and mobs to setting up rules and managing events.
In this guide, we'll show you how to make a Minecraft SMP and also how to setup and configure your game.
Don't already host with us? 10,000+ server owners trust Sparked Host for lag-free Minecraft worlds. Claim your server savings to get higher performance at less $ per month.
To make a Minecraft SMP server, you'll need to:
- Choose your server type: Vanilla, Spigot, or Fabric
- Pick a reliable shared host or self-host the server on your PC or a VPS/Dedicated Server.
- Set the server properties and whitelist players
- Add plugins or datapacks for extra SMP related features
This guide will show you how to make a Minecraft SMP on a Sparked Host Minecraft server. With our plans, you can start for as little as $2.20 a month.
Required Plugins
- EssentialsX
- LuckPerms
- Vault
- PlaceholderAPI
- GriefPrevention
- CoreProtect
- WorldGuard
- WorldEdit
Changing Your Server Type
To make your SMP work with all the plugins we will be installing today, make sure you change your server type to Spigot. Check out our guide on how to make a Spigot Minecraft server if you need some help.
Install the Plugins
To make your own Minecraft SMP, you will need to install a few plugins:
CoreProtect
CoreProtect is a powerful and widely-used plugin for Minecraft servers that provides advanced logging, rollback, and anti-griefing capabilities. It enables server administrators to monitor player activities, investigate incidents, and restore the world to a previous state when necessary.
You can check out this guide on How to Use CoreProtect for information on installing this plugin
WorldGuard
WorldGuard is a powerful protection plugin for Minecraft servers, typically used alongside WorldEdit. It allows server owners and admins to define and manage regions to control what players can and cannot do in specific areas of the world.
You can check out this guide on How to Use Worldguard for information on installing this plugin.
WorldEdit
WorldEdit is one of the most powerful and widely used Minecraft plugins/mods for building and editing large structures quickly. It’s a tool primarily used by server admins, map makers, and builders to save time and automate repetitive building tasks.
You can check out this guide on How to Install WorldEdit for information on installing this plugin.
EssentialsX
EssentialsX is a comprehensive plugin suite for Minecraft servers, providing core commands and features that are considered "essential" for running and moderating a multiplayer server.
You can check out this guide on How to Install and Configure EssentialsX for information on installing this plugin.
Vault
Vault is a permissions, chat, and economy API plugin for Minecraft servers. It doesn’t do anything on its own that players will notice—but it's required by many other plugins to handle permissions, in-game currency, and chat formatting.
Download the Vault plugin from the Spigot page (or use the plugin manager), then proceed to the next step.
Placeholder API
PlaceholderAPI (PAPI) is a powerful plugin for Minecraft servers that allows placeholders (dynamic variables) to be used in other plugins. It’s especially useful for showing player-specific data like name, health, balance, ping, rank, and more—automatically updated in real-time.
Download PlaceholderAPI plugin from the Spigot page (or use the plugin manager), then proceed to the next step.
GriefPrevention
GriefPrevention is a Minecraft server plugin designed to stop griefing before it happens—by allowing players to claim land and protect their builds automatically without needing constant admin oversight. It’s lightweight, easy to use, and very helpful for survival and semi-vanilla servers.
Download GriefPrevention plugin from the Spigot page (or use the plugin manager), then proceed to the next step.
Uploading Your Plugins To Your SMP Server
Once you have all the Plugins installed on your computer:
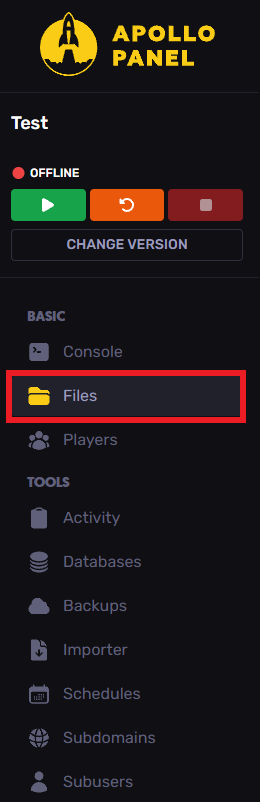
- Access your Apollo Panel
- Head over to the "Files" tab
- Locate the "plugins" folder
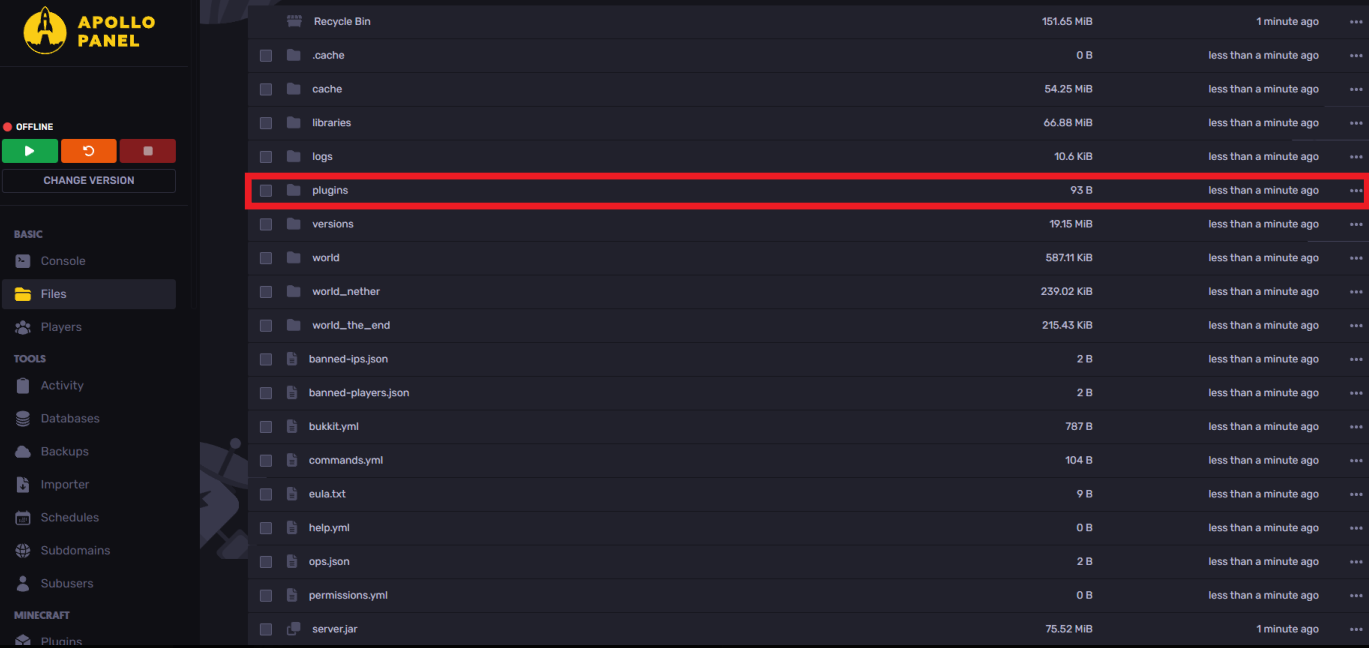
- Drag and drop or upload the installed plugins

Congratulations, you have successfully made an SMP Minecraft server, simply restart your server and join it to continue!
Still have some questions about making a Minecraft SMP?
If you need any more help, you can open a ticket here! We're available 24/7 to assist!
By: Ali A.
Updated on: 03/11/2025
Thank you!