How To Save Project Zomboid Server
Keeping your Project Zomboid server progress safe is crucial—especially when you're hosting multiplayer worlds with friends or a growing community. Fortunately, saving your server is straightforward, and knowing how to do it properly helps avoid data loss during crashes or unexpected shutdowns. There are a few key ways to save manually or trigger autosaves.
How To Backup A Project Zomboid Server
To backup a Project Zomboid server:
- In the Apollo Panel, turn off the server to ensure that the current state of the server is properly backed up.
- Go to the Backups Tab and click on the "Create Backup" button.
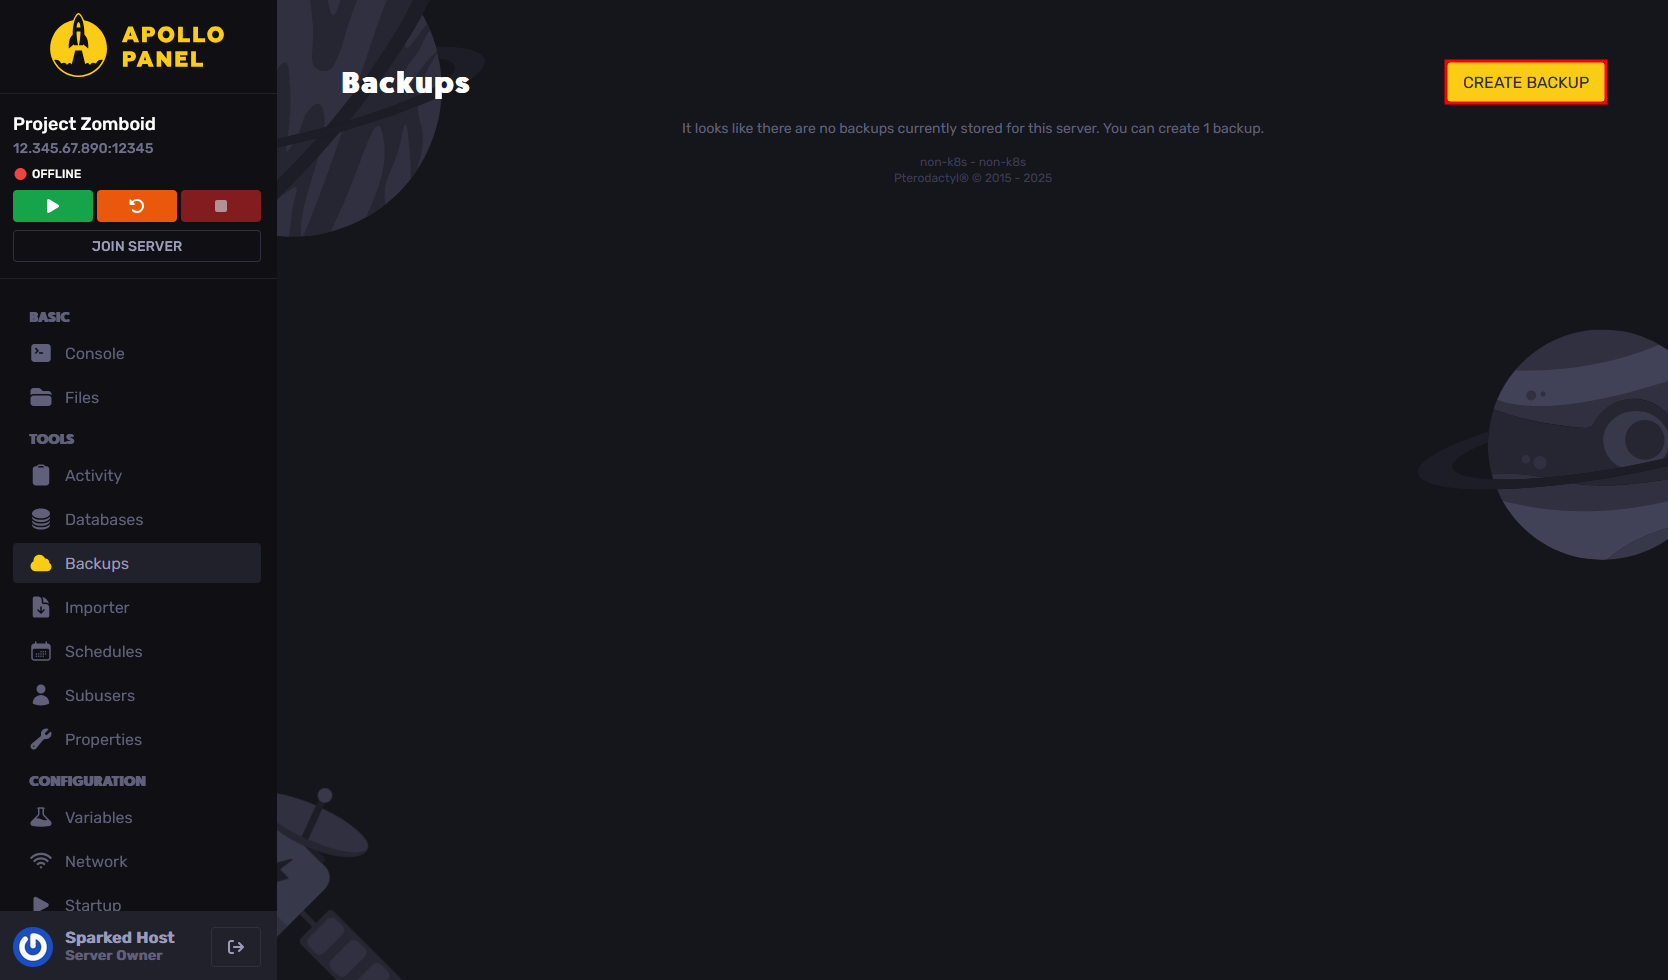
- Come up with a name for the backup, and optionally, you can lock it so that you can't accidentally delete the backup unless it was intentionally unlocked.
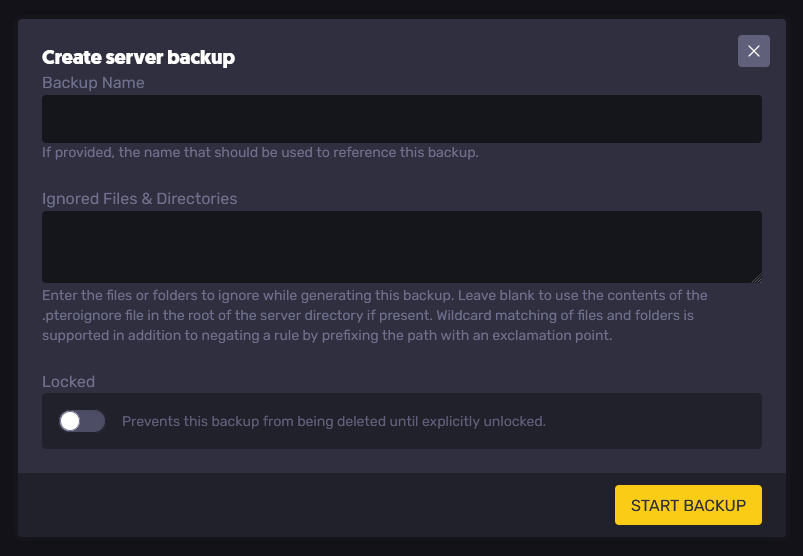
- Now, click on "Start Backup" and the panel will start making a backup of all of the server files.

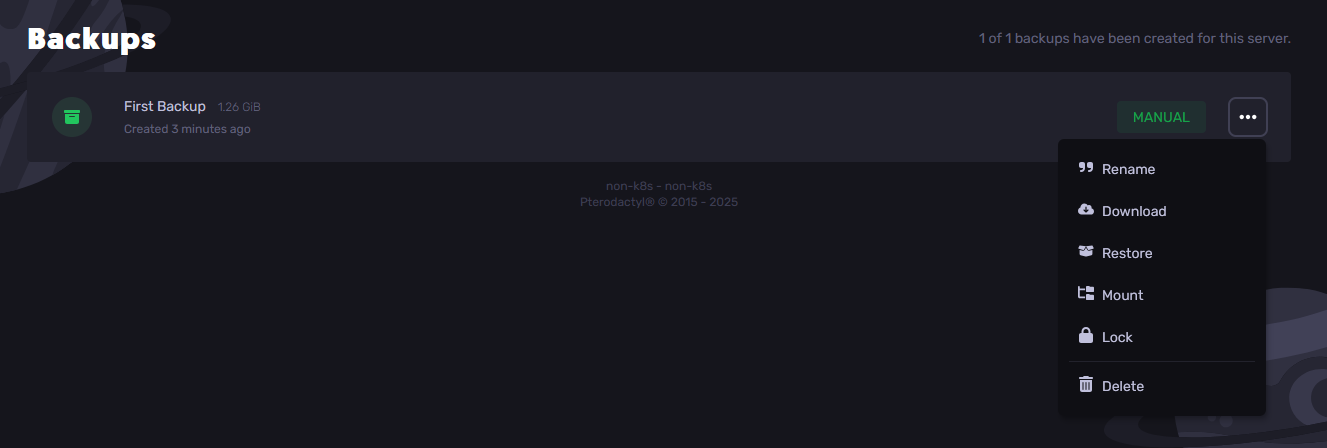
After backing up the service, you can perform various actions, such as renaming the backup, downloading it, restoring or mounting the backup, or deleting it if the backup is unlocked.
How To Download A Save For A Project Zomboid Server
To download a save for a Project Zomboid server:
- In the Apollo Panel, turn off the server to ensure that the current state of the server is properly saved.
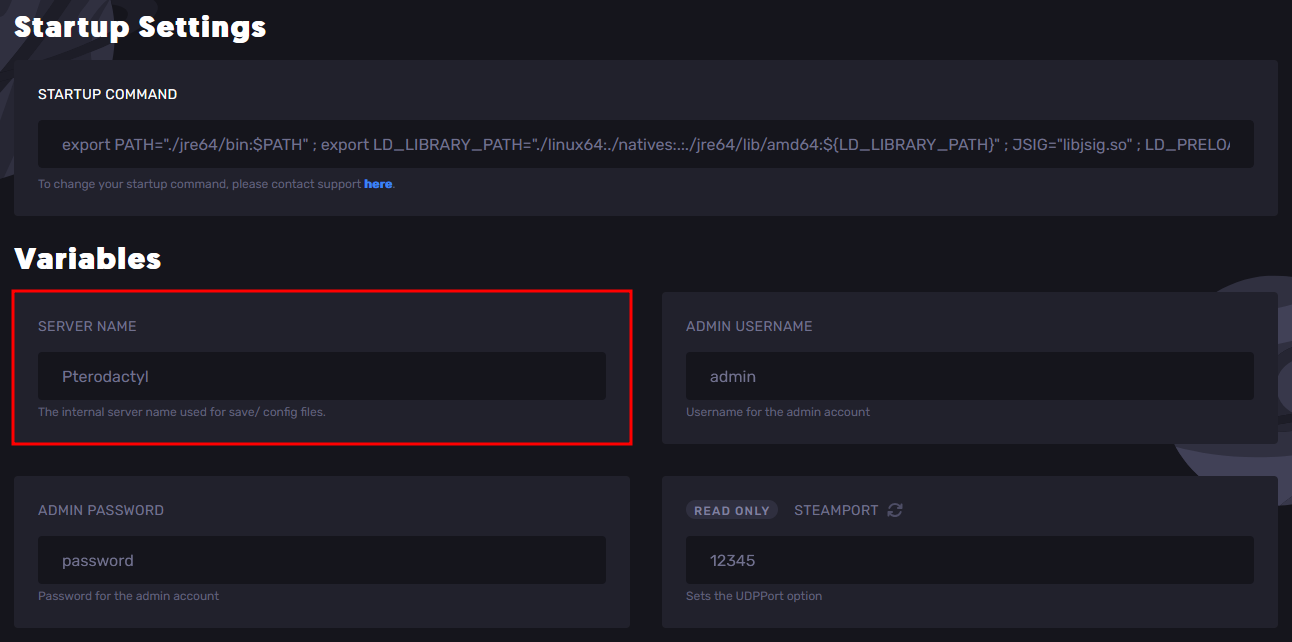
- Go to the Startup Tab, and take note of the value of the "Server Name" setting, as it will also be the name of the save on the server.
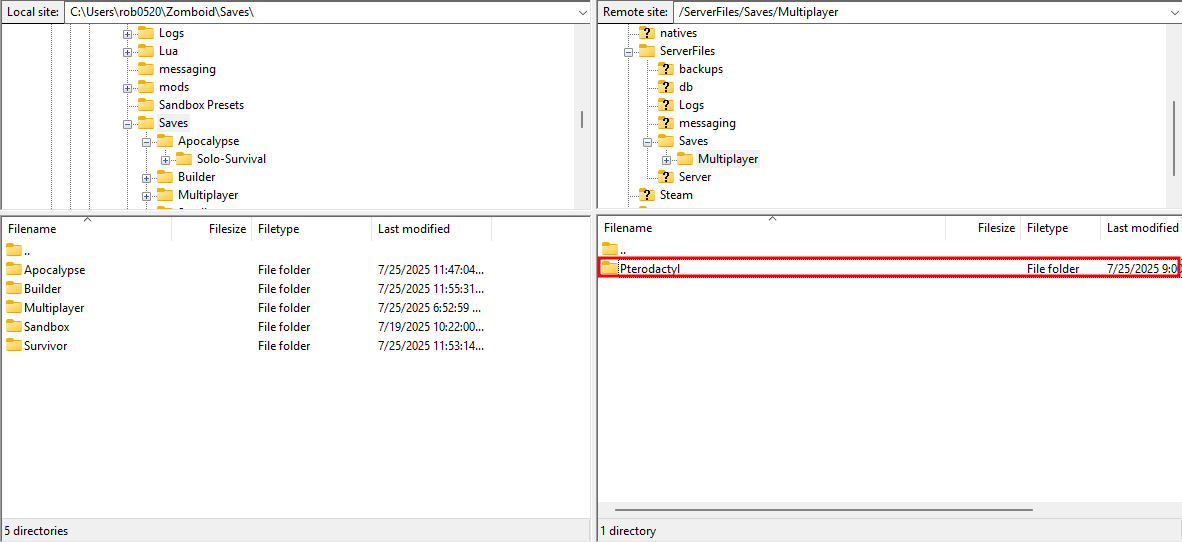
- Connect to your server via SFTP, which can be done using FTP software like FileZilla. You can follow this FileZilla guide on how to install and use it.
- On the FTP remote side (which, for FileZilla, is the right side). Navigate to "ServerFiles/Saves/Multiplayer" and you should see the folder named after the Server Name in the Startup Tab. For this guide, the name of the multiplayer save folder is "Pterodactyl".
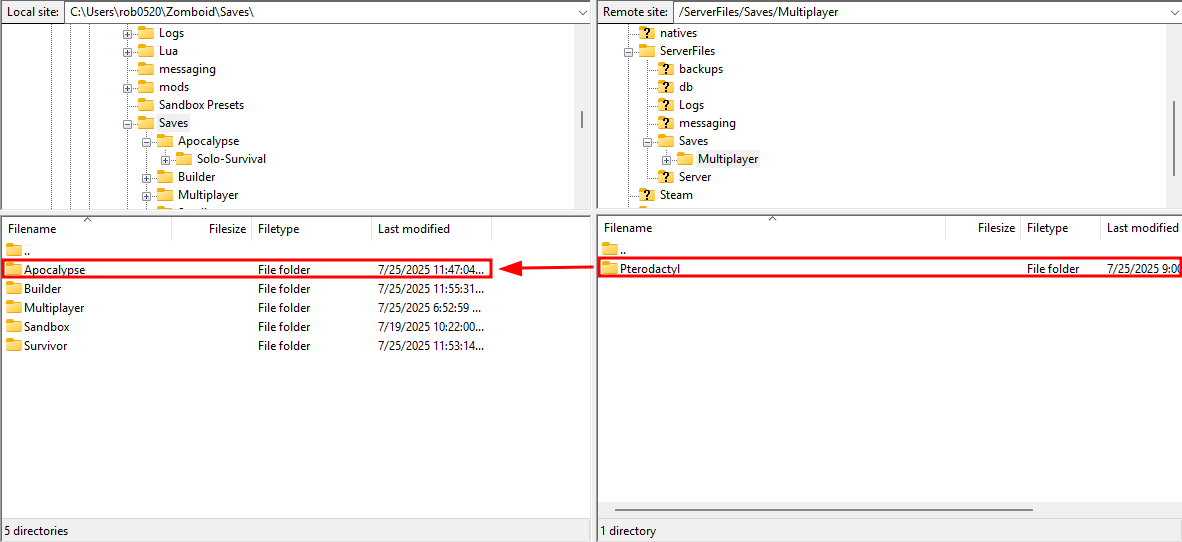
- Download the multiplayer save folder, and on your computer, go to your computer's Project Zomboid saves folder located at "C:/Users/YOUR_USERNAME/Zomboid/Saves", then choose any of the playstyle folders other than "Multiplayer" and paste it there. For this guide, we will paste the multiplayer save folder into the "Apocalypse" playstyle folder.
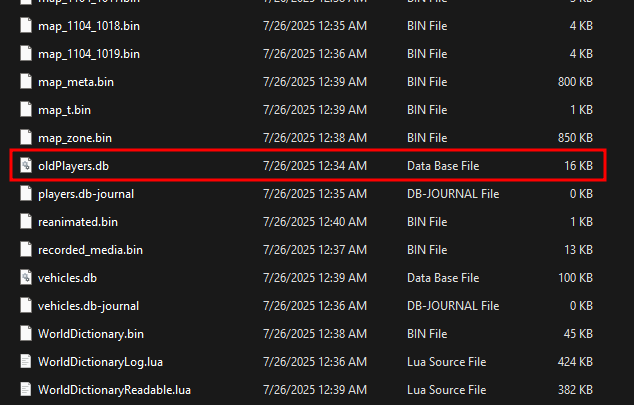
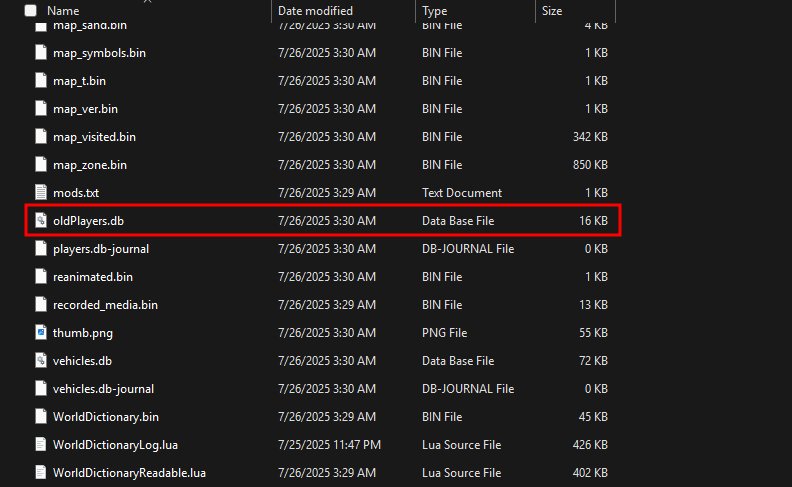
- Open the multiplayer save folder that you have downloaded to your computer, and rename the "players.db" file to "oldPlayers.db". You can delete the "oldPlayers.db" file after downloading your save.
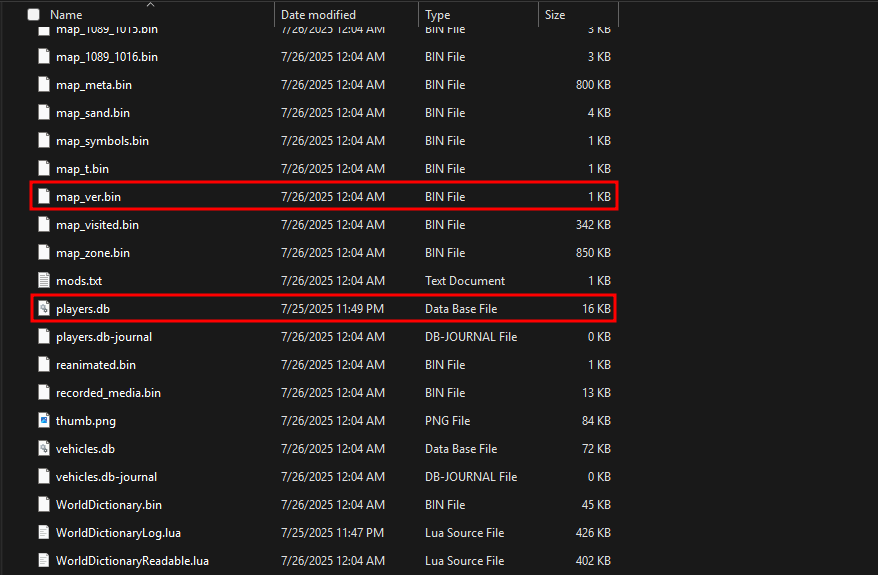
- Inside your computer's Project Zomboid saves folder, copy the "players.db" and "map_ver.bin" files from any of the singleplayer worlds and paste them in the multiplayer save folder you downloaded earlier.
- Install DB Browser for SQLite and open the "oldPlayers.db" file in the multiplayer save folder.
- Go to the "Browse Data" tab, and make sure to select the "networkPlayers" Table.
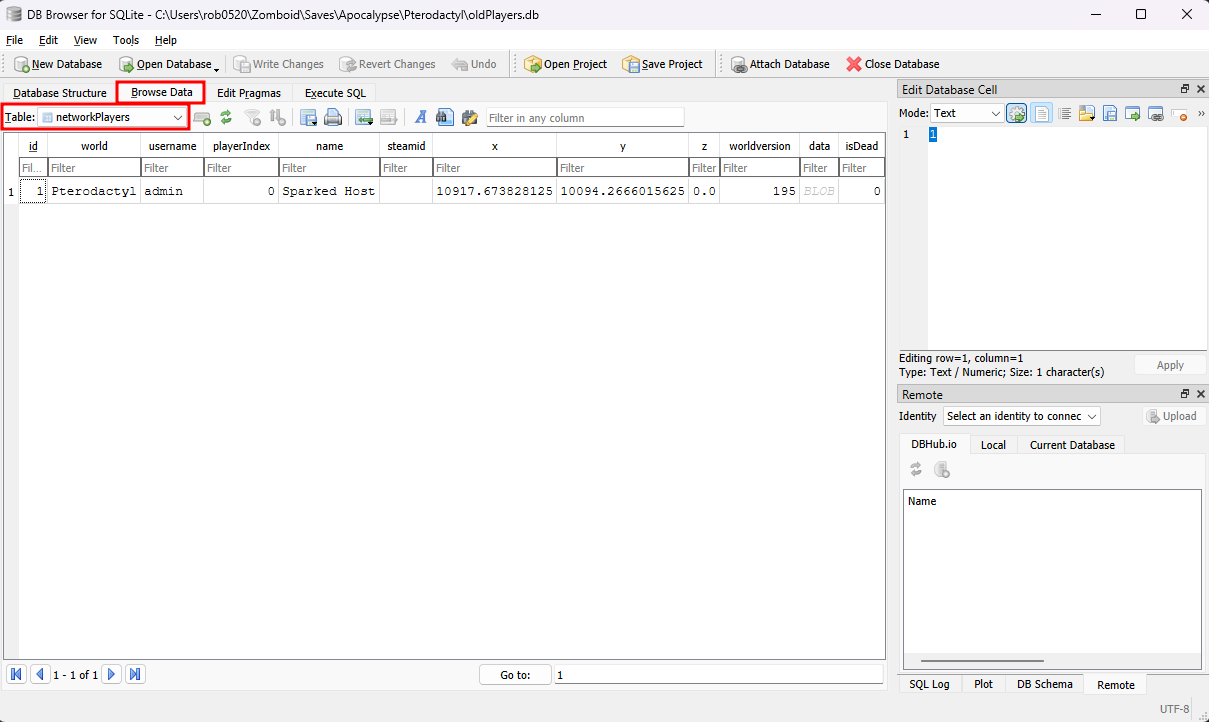
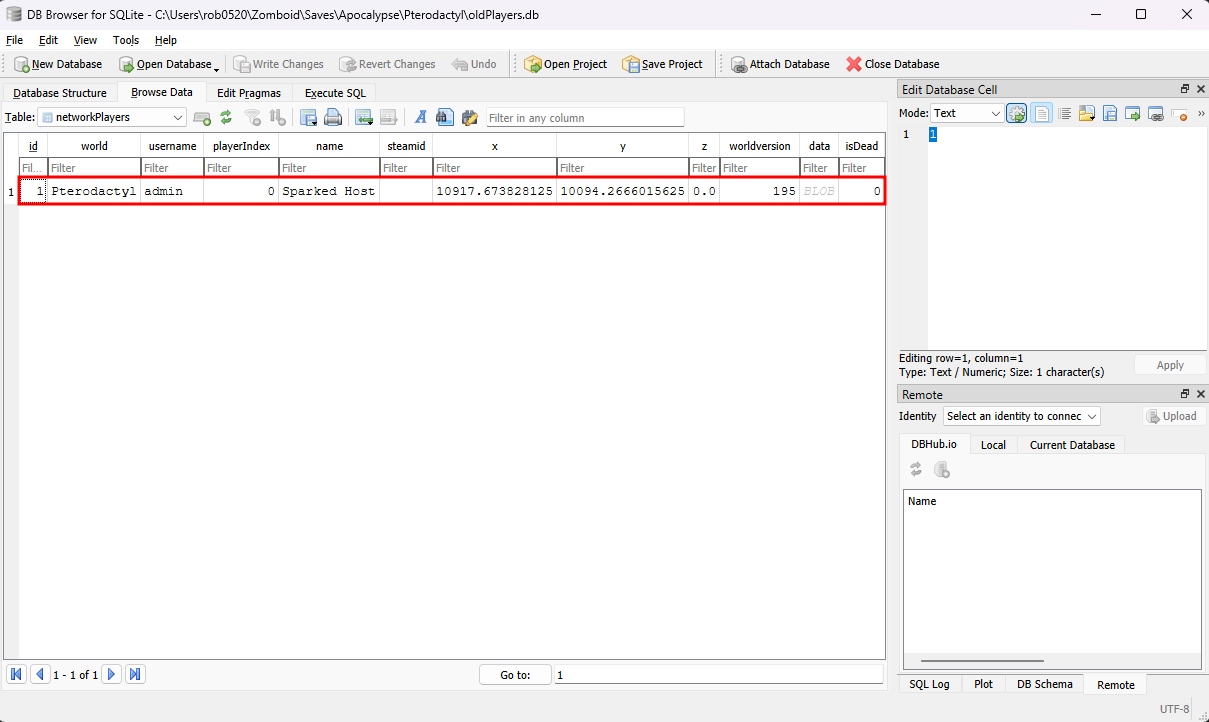
- Determine which player account you want to copy from based on the username under the "username" column. For this guide, we will be copying from the "admin" account.
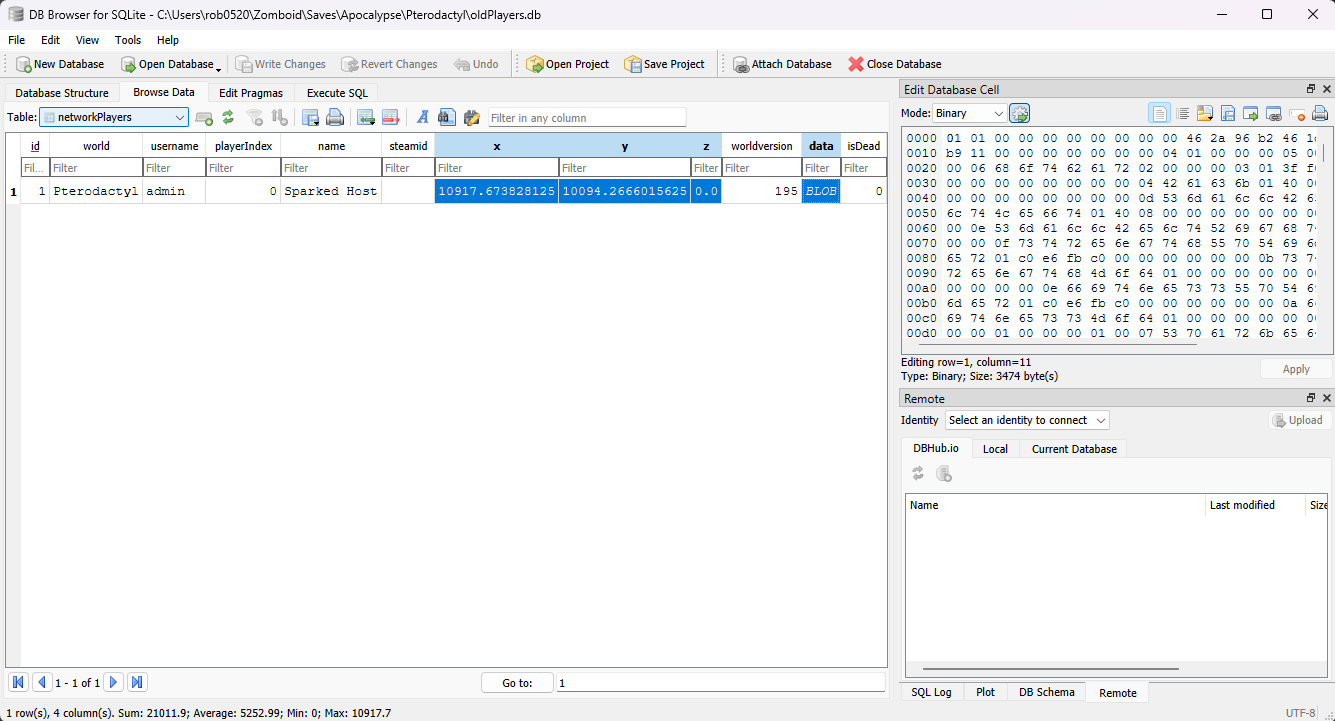
- Select the x, y, z, and data values in the account row by holding Ctrl, then click on the values under the "x", "y", "z", and "data" columns. If selected, they should be highlighted in blue.
- Right-click on any of the selected values, and click on the "Copy as SQL" option.
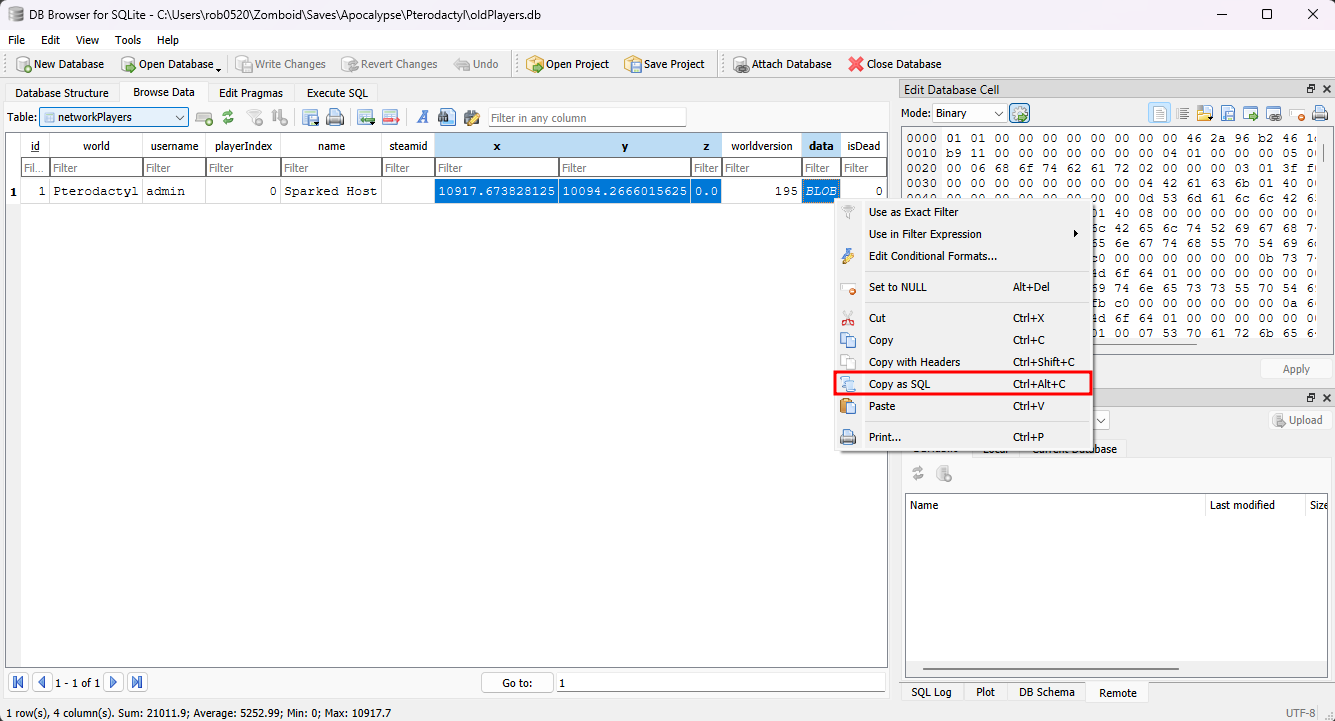
- Paste the copied SQL statement in a text editor like Notepad, and it should look something like the following.
INSERT INTO "main"."networkPlayers" ("x", "y", "z", "data") VALUES (10917.673828125, 10094.2666015625, 0, X'01010000000000000000462a96b24...');
The main things you need to note are the values in the "VALUES" parenthesis, wherein the first value is the "x" (which for this guide, it is "10917.673828125"), the second value is the "y" value (which for this guide, it is "10094.2666015625"), the third value is the "z" value (which for this guide, it is "0"), and the last value is the data value (which is the extremely long value, but for this guide, we will call it "X'01010000000000000000462a96b24...'").
- Open a text editor like Notepad, and paste the following SQL Statement. Ensure that you replace the values with the ones you copied earlier.
    UPDATE "main"."localPlayers"
    SET
      "x" = X_VALUE,
      "y" = Y_VALUE,
      "z" = Z_VALUE,
      "data" = DATA_VALUE
    WHERE "id" = 1;
- Now, using the DB Browser, open the "players.db" file in the multiplayer save folder.
- Go to the "Execute SQL" tab, and paste the modified SQL Statement.
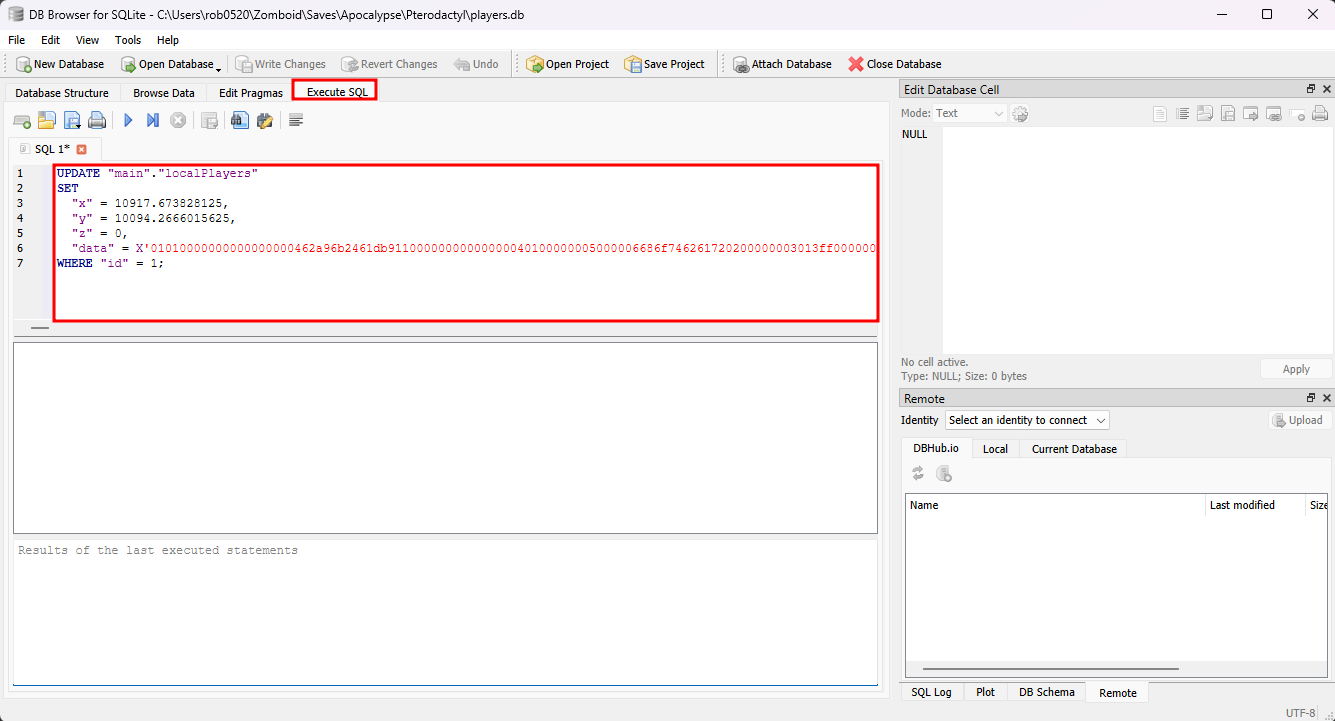
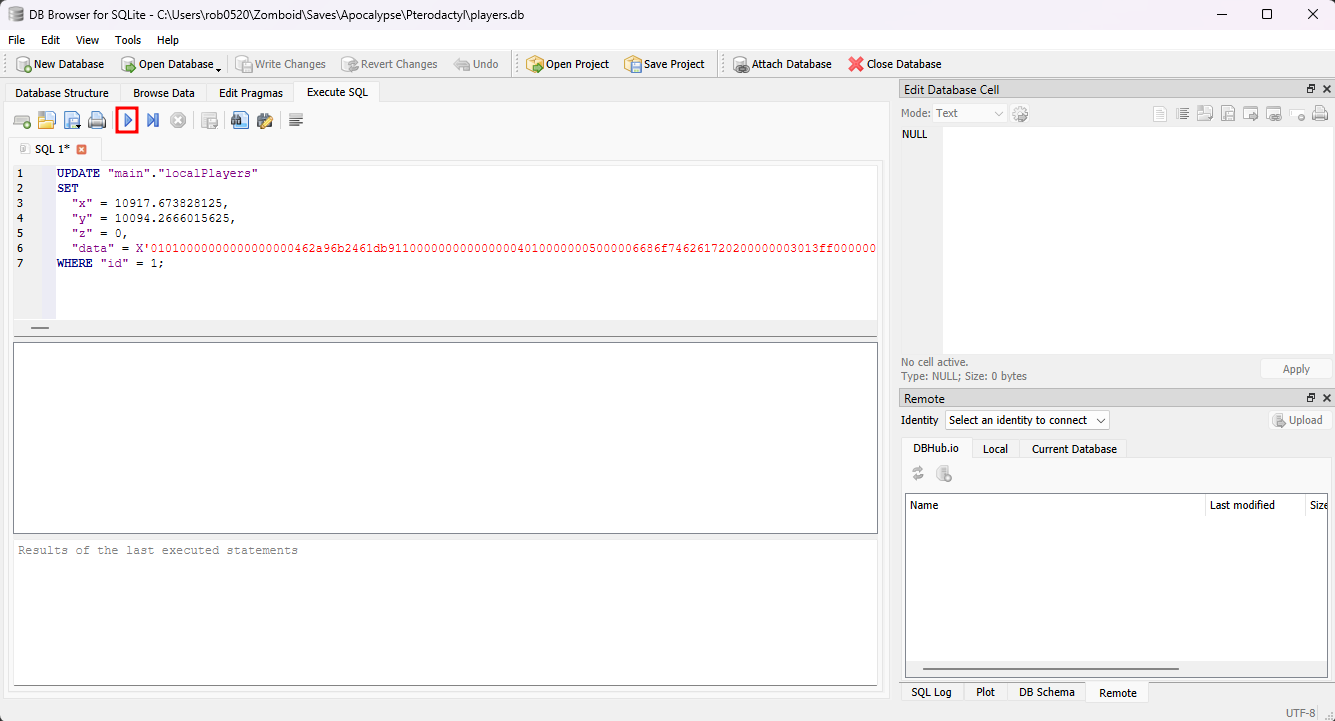
- Click the "Execute all/selected SQL" button.
- Go to the File menu, then select "Write Changes", then "Save All".

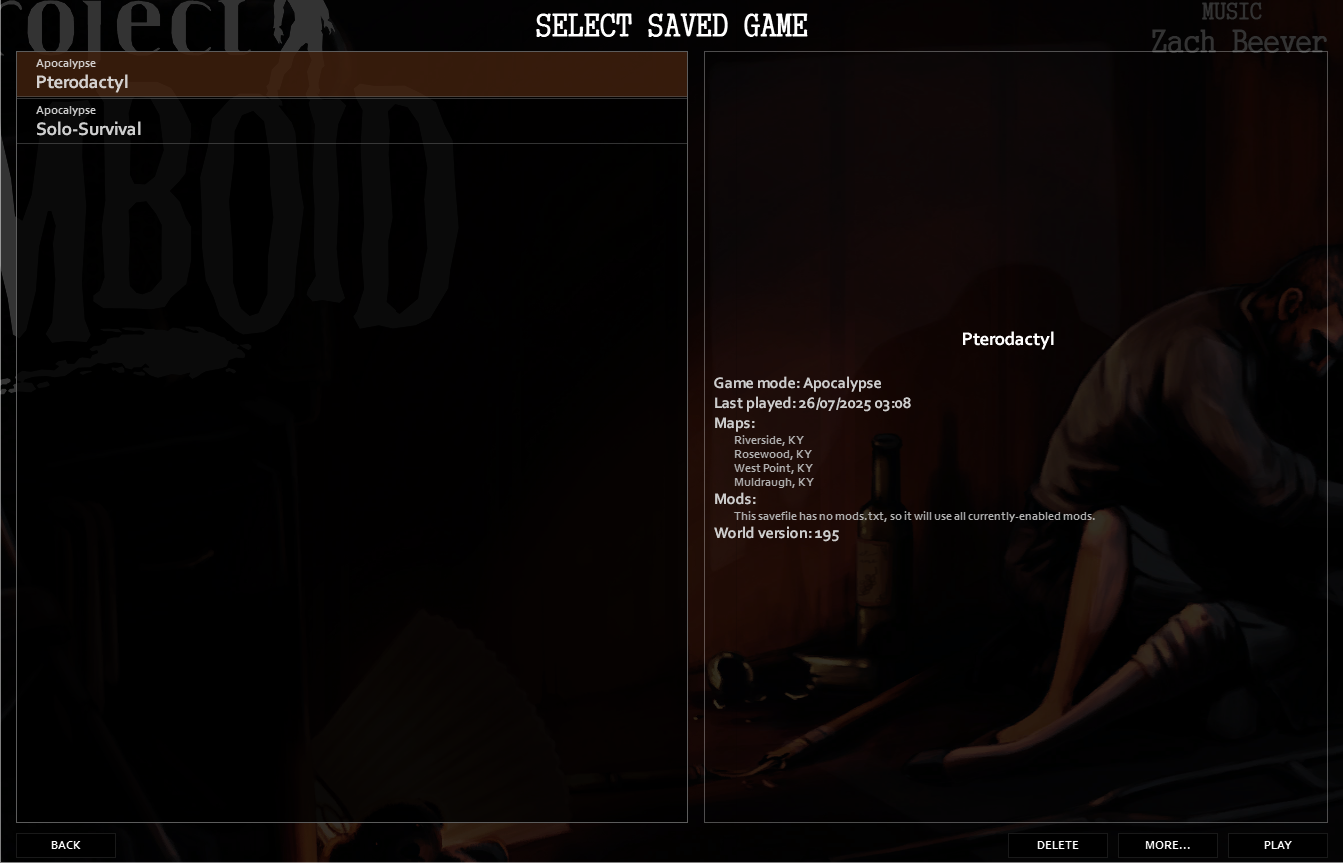
- Re-open Project Zomboid, and when you go to the "Load" Menu, you should now be able to load the server in single player.
How To Upload A Local Save To A Project Zomboid Server
To upload a local save to a Project Zomboid server:
- In the Apollo Panel, turn off the server to ensure that the current state of the server is properly saved.|||
- Go to the Startup Tab, and take note of the value of the "Server Name" setting, as it will also be the name of the save on the server.
- Go to your computer's Project Zomboid saves folder, located at "C:/Users/YOUR_USERNAME/Zomboid/Saves". Then, choose any of the playstyle folders other than "Multiplayer". Inside them, you should see a folder named after the save that you want to upload. For this guide, we will upload the save called "Solo-Survival" under the "Apocalypse" playstyle folder.
- Rename the "players.db" file to "oldPlayers.db". Optionally, once you have uploaded the files, you can then delete the "oldPlayers.db" file.
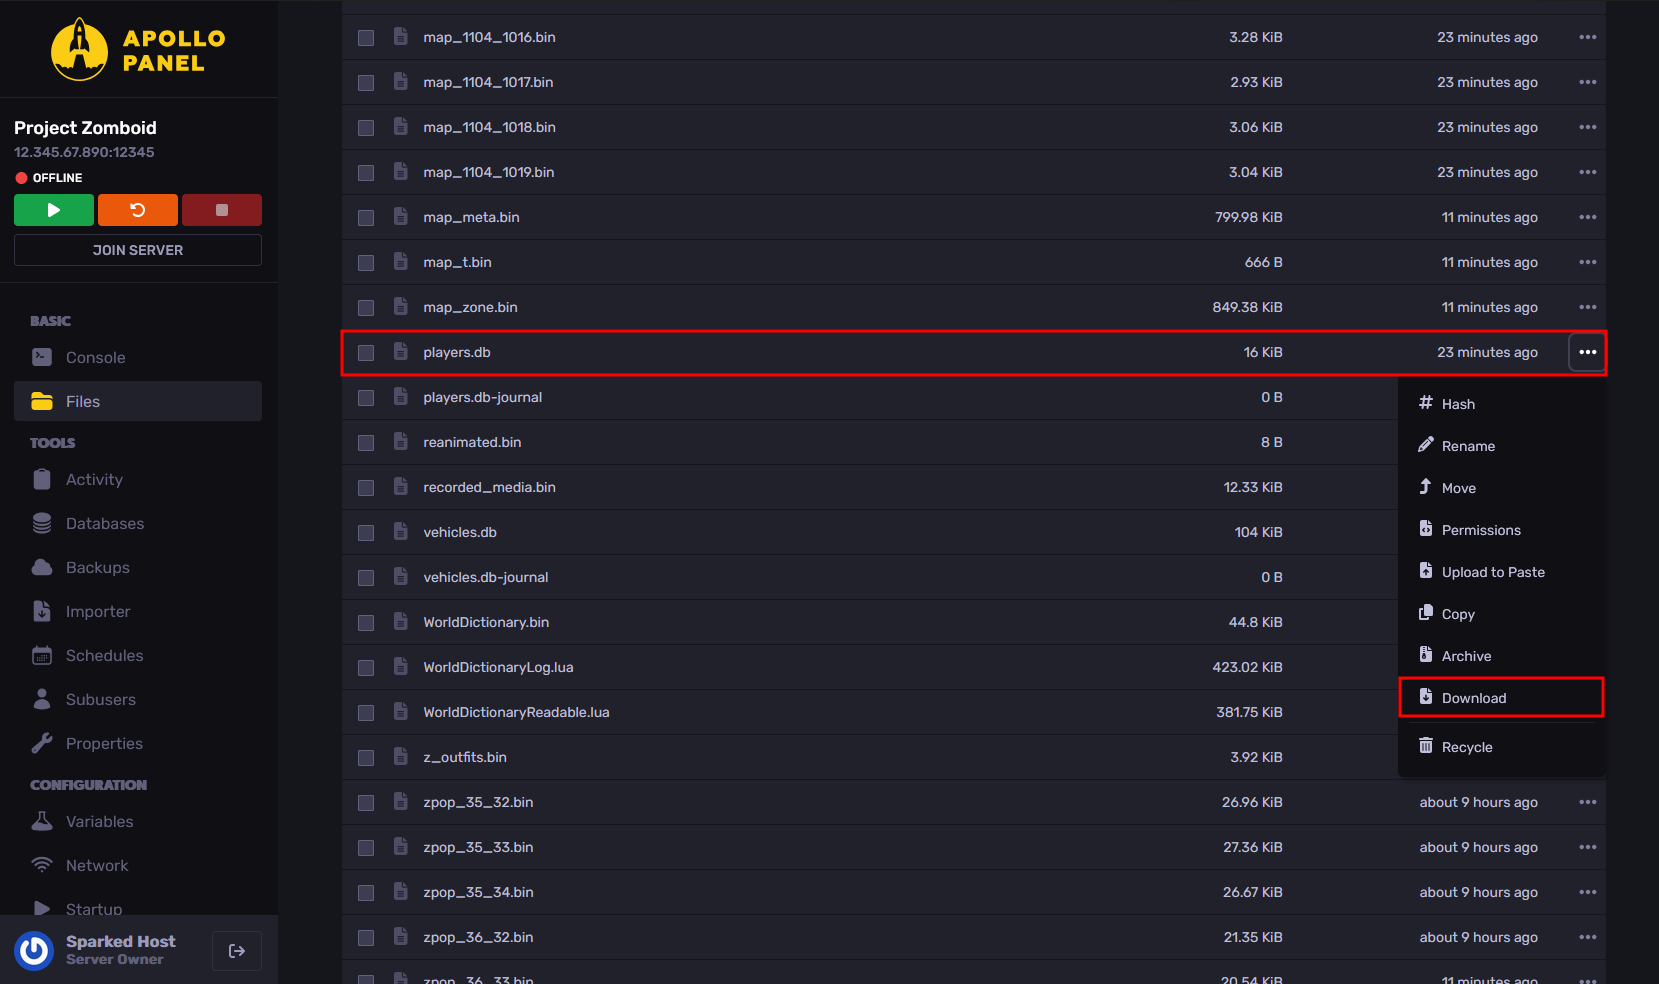
- Back in the Apollo Panel, navigate to the Files tab and open the "ServerFiles/Saves/Multiplayer" folder. Then, enter the folder named after the Server's Name in the Startup Tab. From here, download the "players.db" file.
- Move the "players.db" file into your single-player save folder.
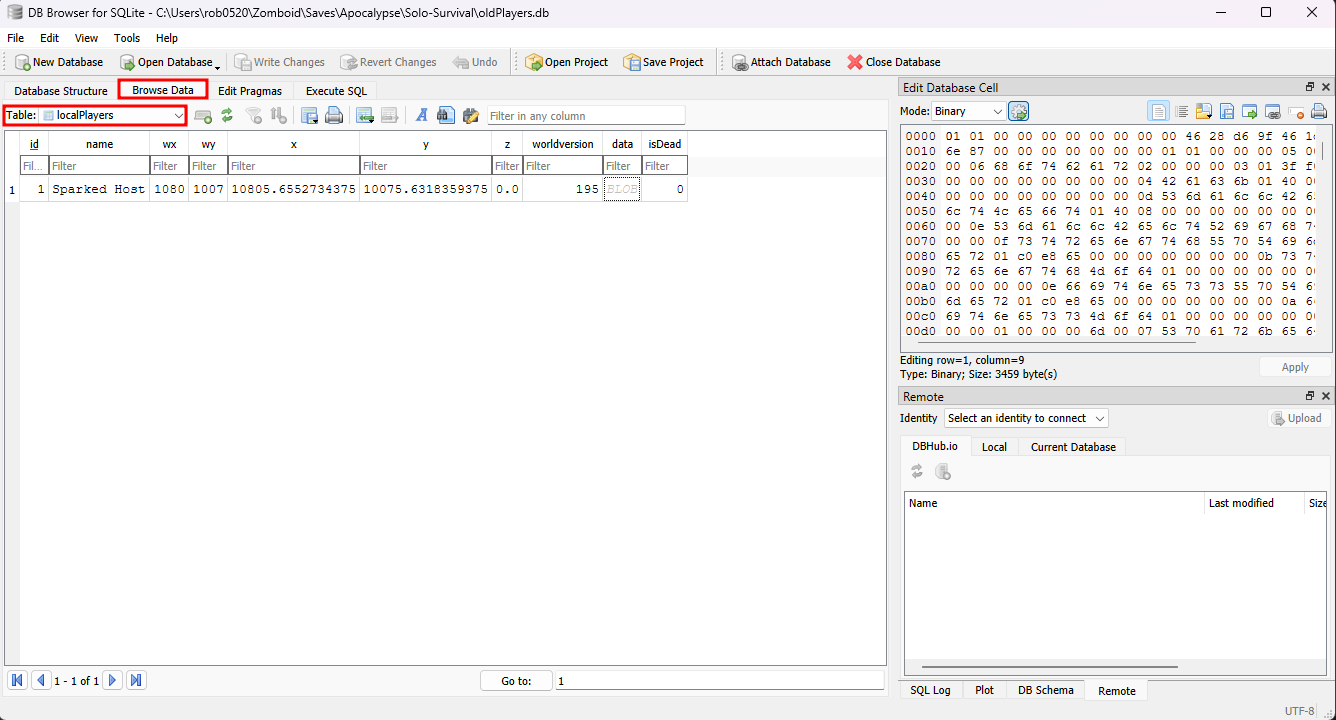
- Install DB Browser for SQLite and open the "oldPlayers.db" file in the single-player save folder.
- Go to the "Browse Data" tab, and make sure to select the "localPlayers" Table.
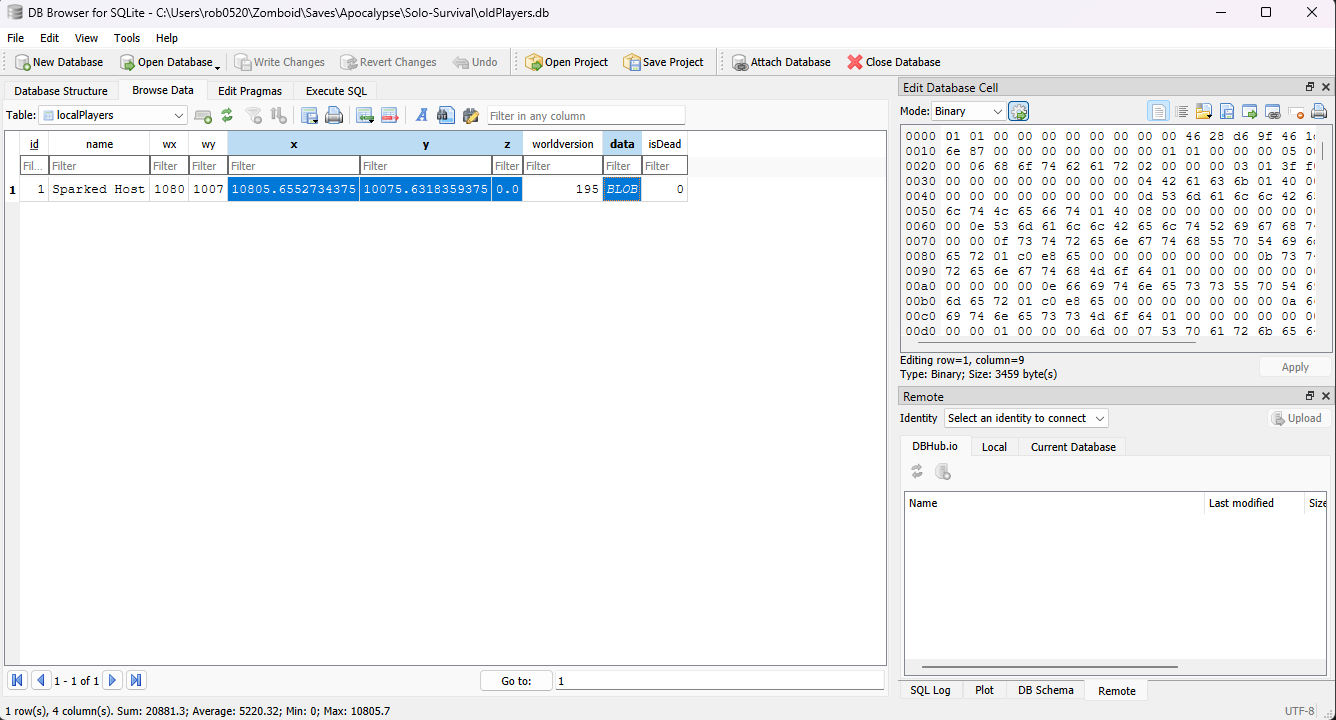
- Select the x, y, z, and data values in the account row by holding Ctrl, then click on the values under the "x", "y", "z", and "data" columns. If selected, they should be highlighted in blue.
- Right-click on any of the selected values, and click on the "Copy as SQL" option.
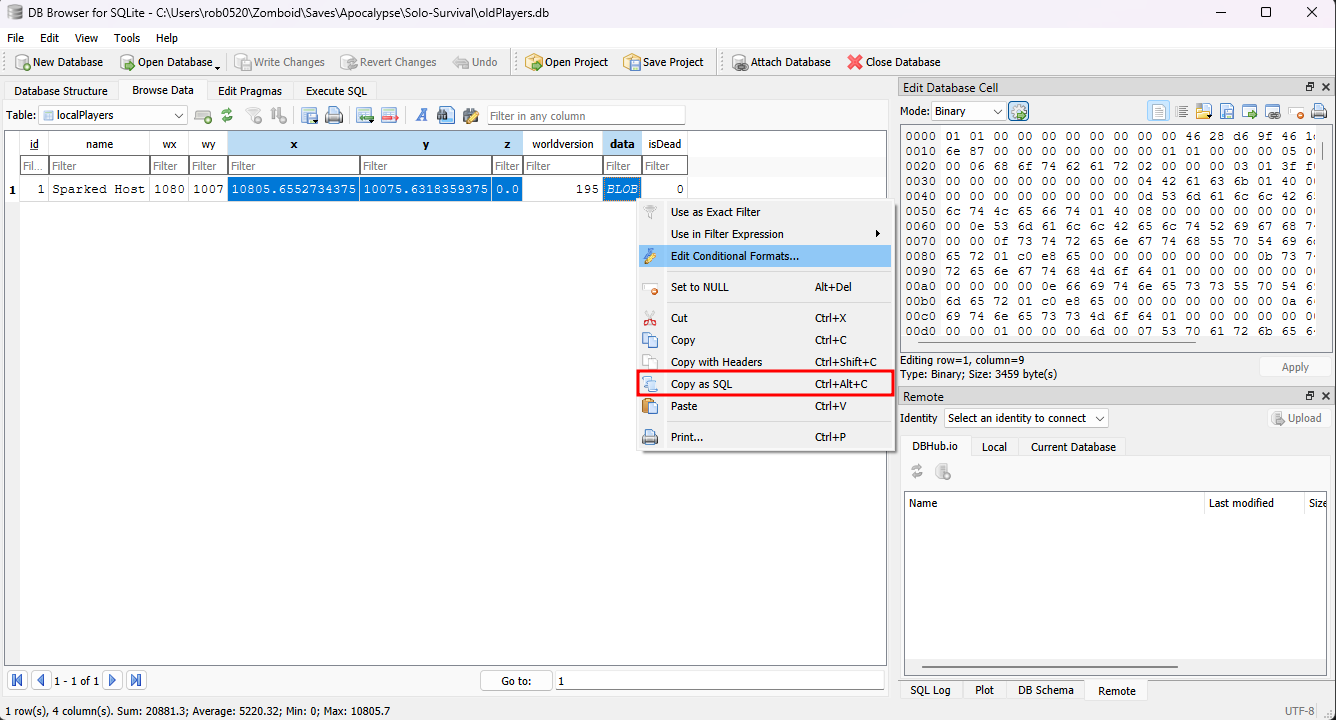
- Paste the copied SQL statement in a text editor like Notepad, and it should look something like the following.
INSERT INTO "main"."localPlayers" ("x", "y", "z", "data") VALUES (10805.6552734375, 10805.6552734375, 0, X'010100000000000000004628d69f46...');
The main things you need to note are the values in the "VALUES" parenthesis, wherein the first value is the "x" (which for this guide, it is "10805.6552734375"), the second value is the "y" value (which for this guide, it is "10805.6552734375"), the third value is the "z" value (which for this guide, it is "0"), and the last value is the data value (which is the extremely long value, but for this guide, we will call it "X'010100000000000000004628d69f46...'").
- Open a text editor like Notepad, and paste the following SQL Statement. Ensure that you replace the values with the ones you copied earlier.
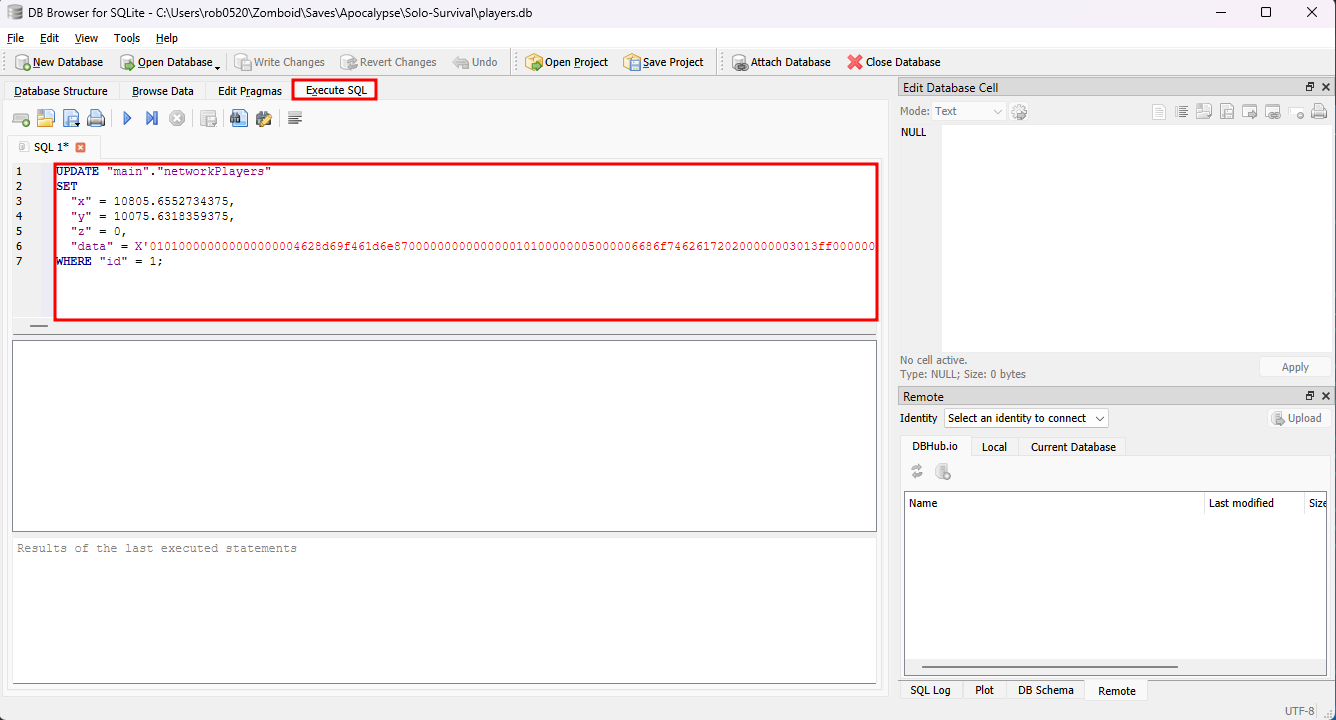
    UPDATE "main"."networkPlayers"
    SET
      "x" = X_VALUE,
      "y" = Y_VALUE,
      "z" = Z_VALUE,
      "data" = DATA_VALUE
    WHERE "id" = 1;
- Now, using the DB Browser, open the "players.db" file in the single-player save folder.
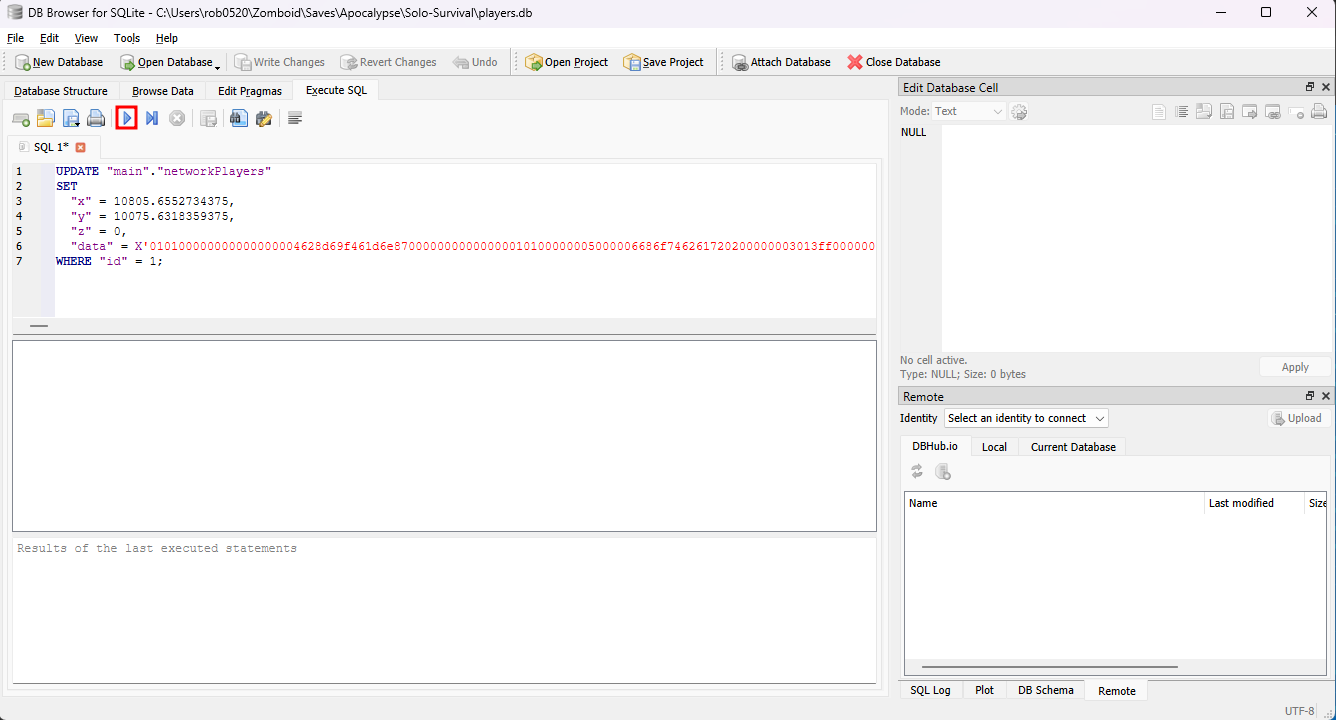
- Go to the "Execute SQL" tab, and paste the modified SQL Statement.
- Click the "Execute all/selected SQL" button.
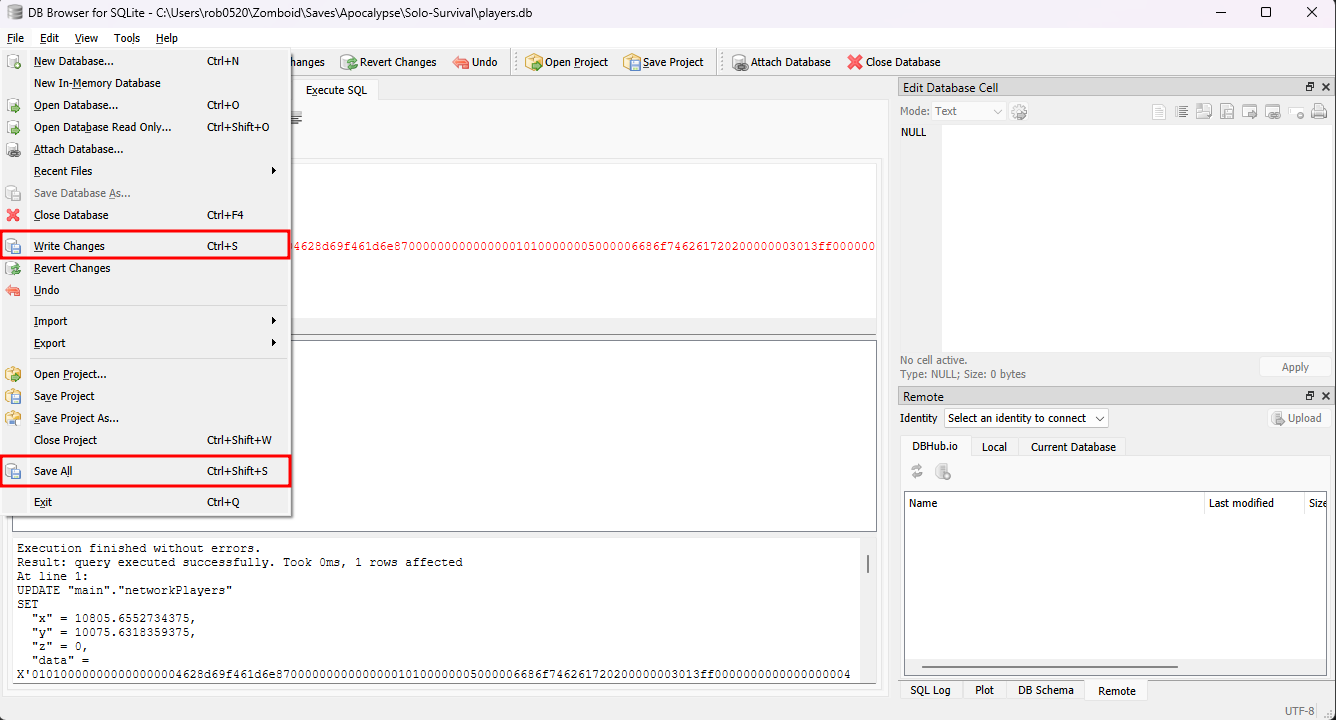
- Go to the File menu, then select "Write Changes", then "Save All".
- In the Apollo Panel, go to the Files tab and open the "ServerFiles/Saves/Multiplayer" folder. Then, delete the folder named after the Server's Name in the Startup Tab.
- Connect to your server via SFTP, which can be done using FTP software like FileZilla. You can follow this FileZilla guide on how to install and use it.
- Upload your single-player save from your computer to the "ServerFiles/Saves/Multiplayer" folder on the server.
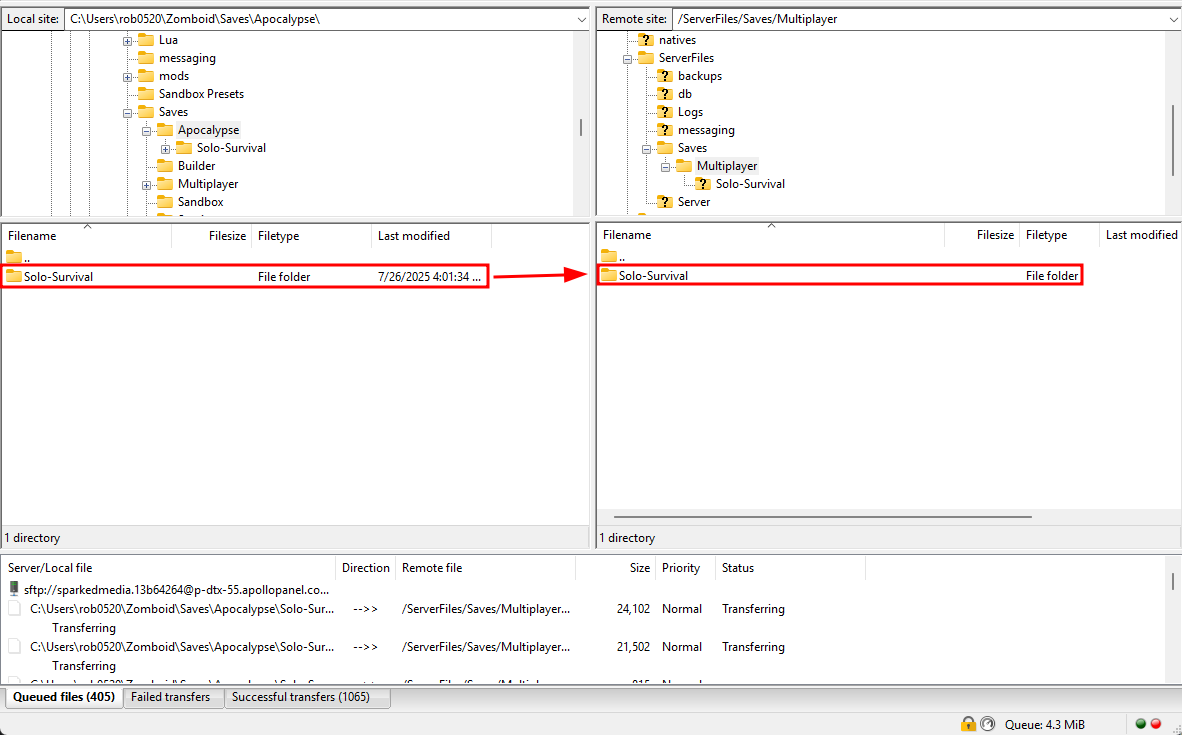
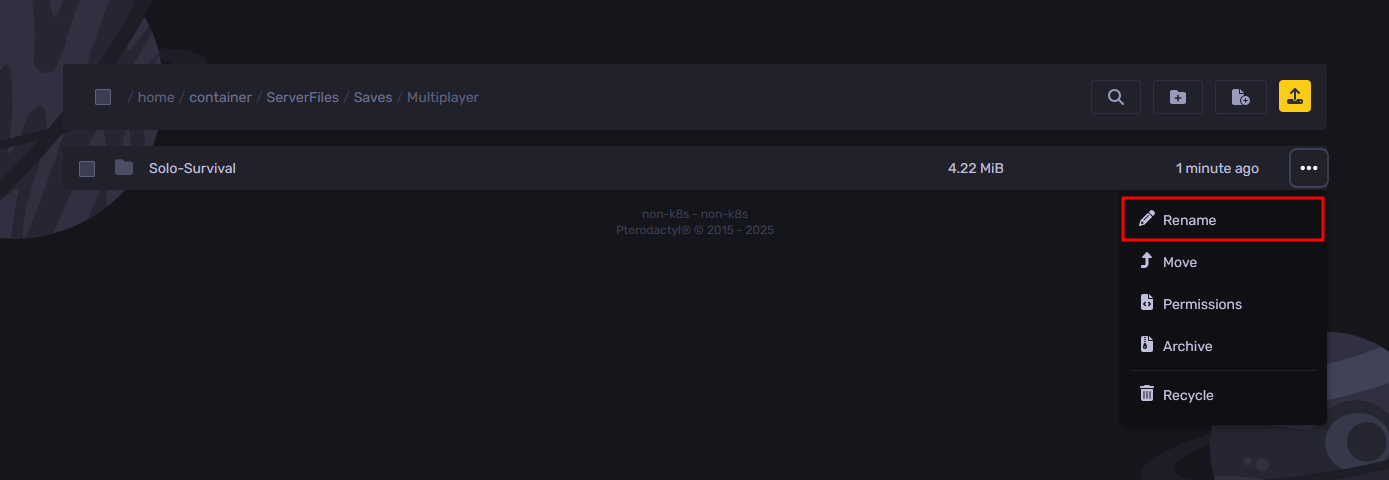
- On the panel, rename the single-player save folder to the Server Name in the Startup Tab, which, for this guide, is "Pterodactyl".
- Start the server, and you should now be able to load your single-player world on the server.
Still have some questions about managing your Project Zomboid save?
Don't hesitate to reach out to our support team! We're available 24/7 to assist!
By: Alecz R.
Updated on: 28/07/2025
Thank you!