How to Add Weapons to FiveM Server
Enhancing your FiveM server with custom weapons is a great way to create a more unique experience for your players. This guide will walk you through the process of adding weapons, from installation to configuration.
To add weapons to a FiveM server:
Step 1: Login to Apollo Panel
Click here to navigate to the sign in for Apollo Panel.
Step 2: Stop your FiveM server.
Stoping your FiveM server ensures that no files are being written to or read whilst you are editing your server. This prevents data corruption from occurring. It is also just good practice when making changes to a server like this.
Step 3: Gather your Weapons files.
If you don't have any, there are plenty of places online to find them. For example click here. This will be the pack that we use in our demonstration. Not only is it a great weapons pack, if you want to accurately equip your police department then look no further.
Step 4: Navigate to the File Manager
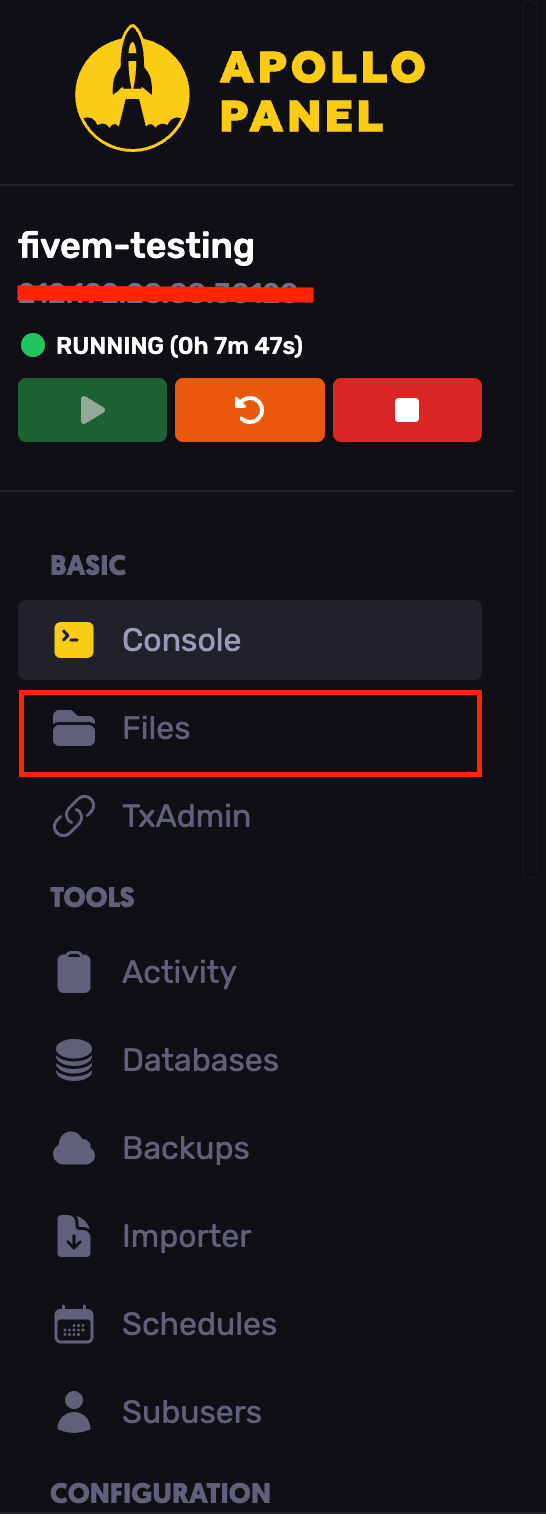
Once you are in the files tab your page will look something like this.
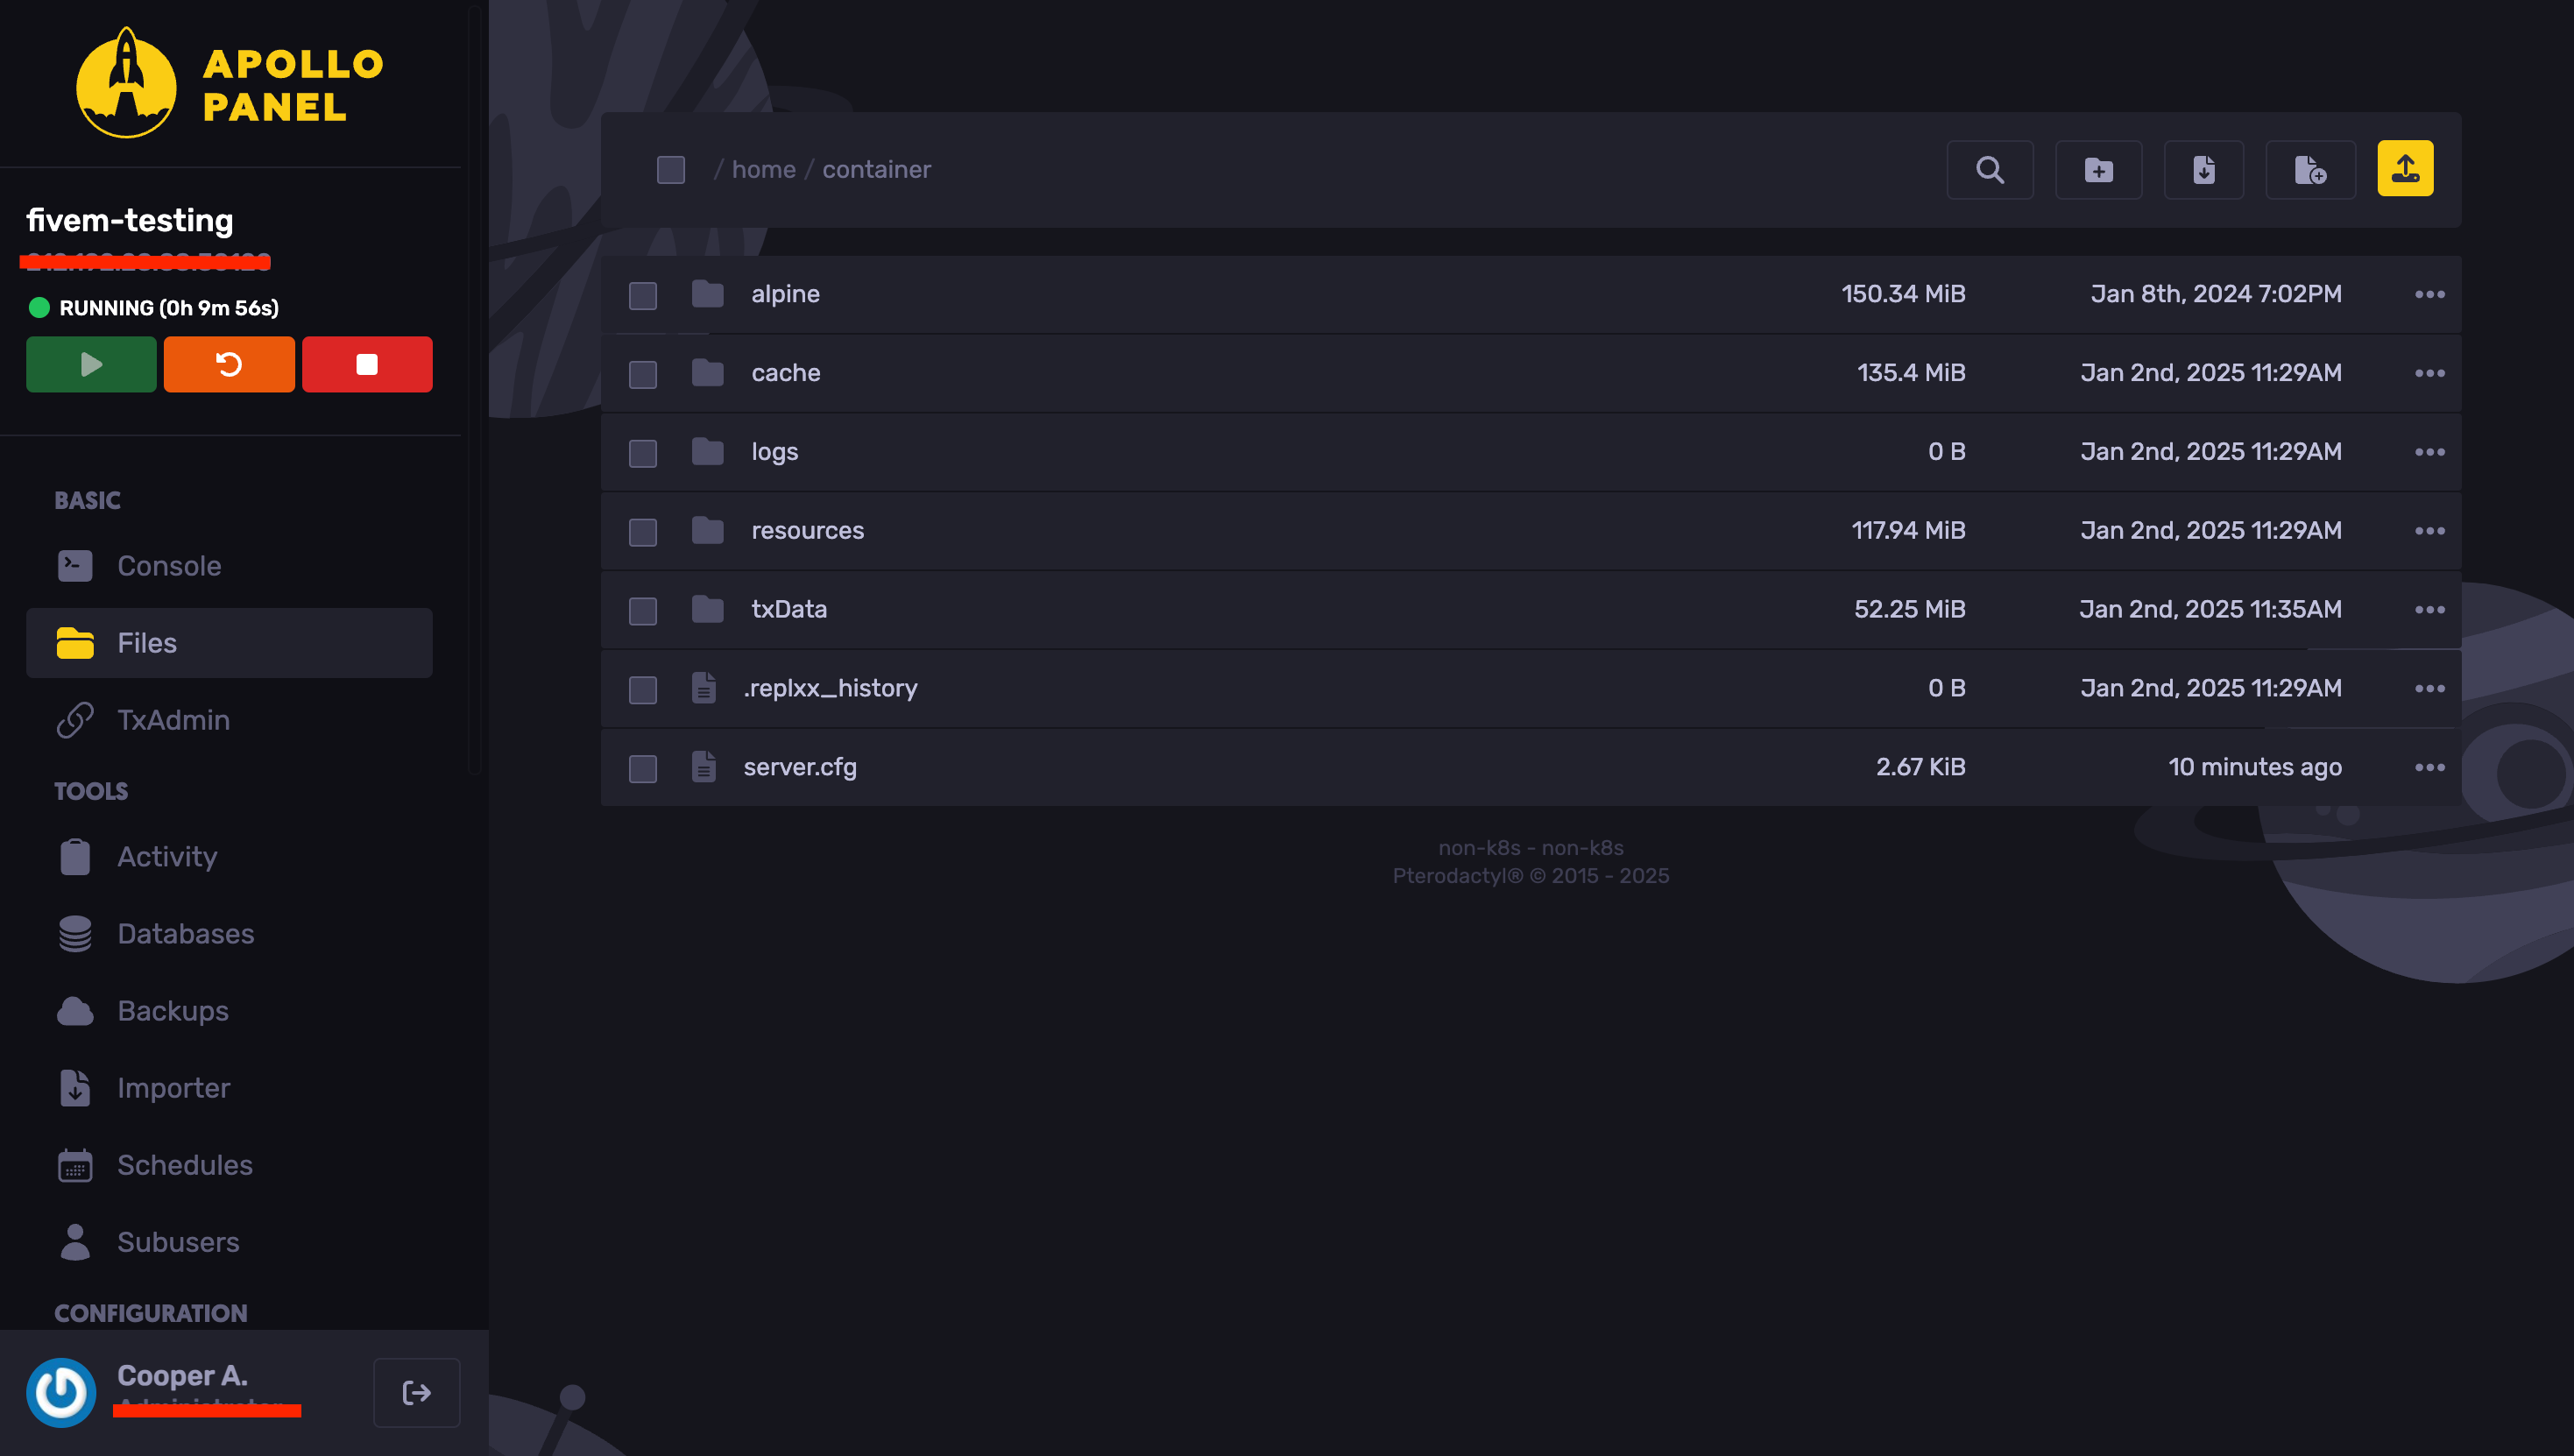
Open txData folder
Open the folder ending in ".base" For example see the image below.
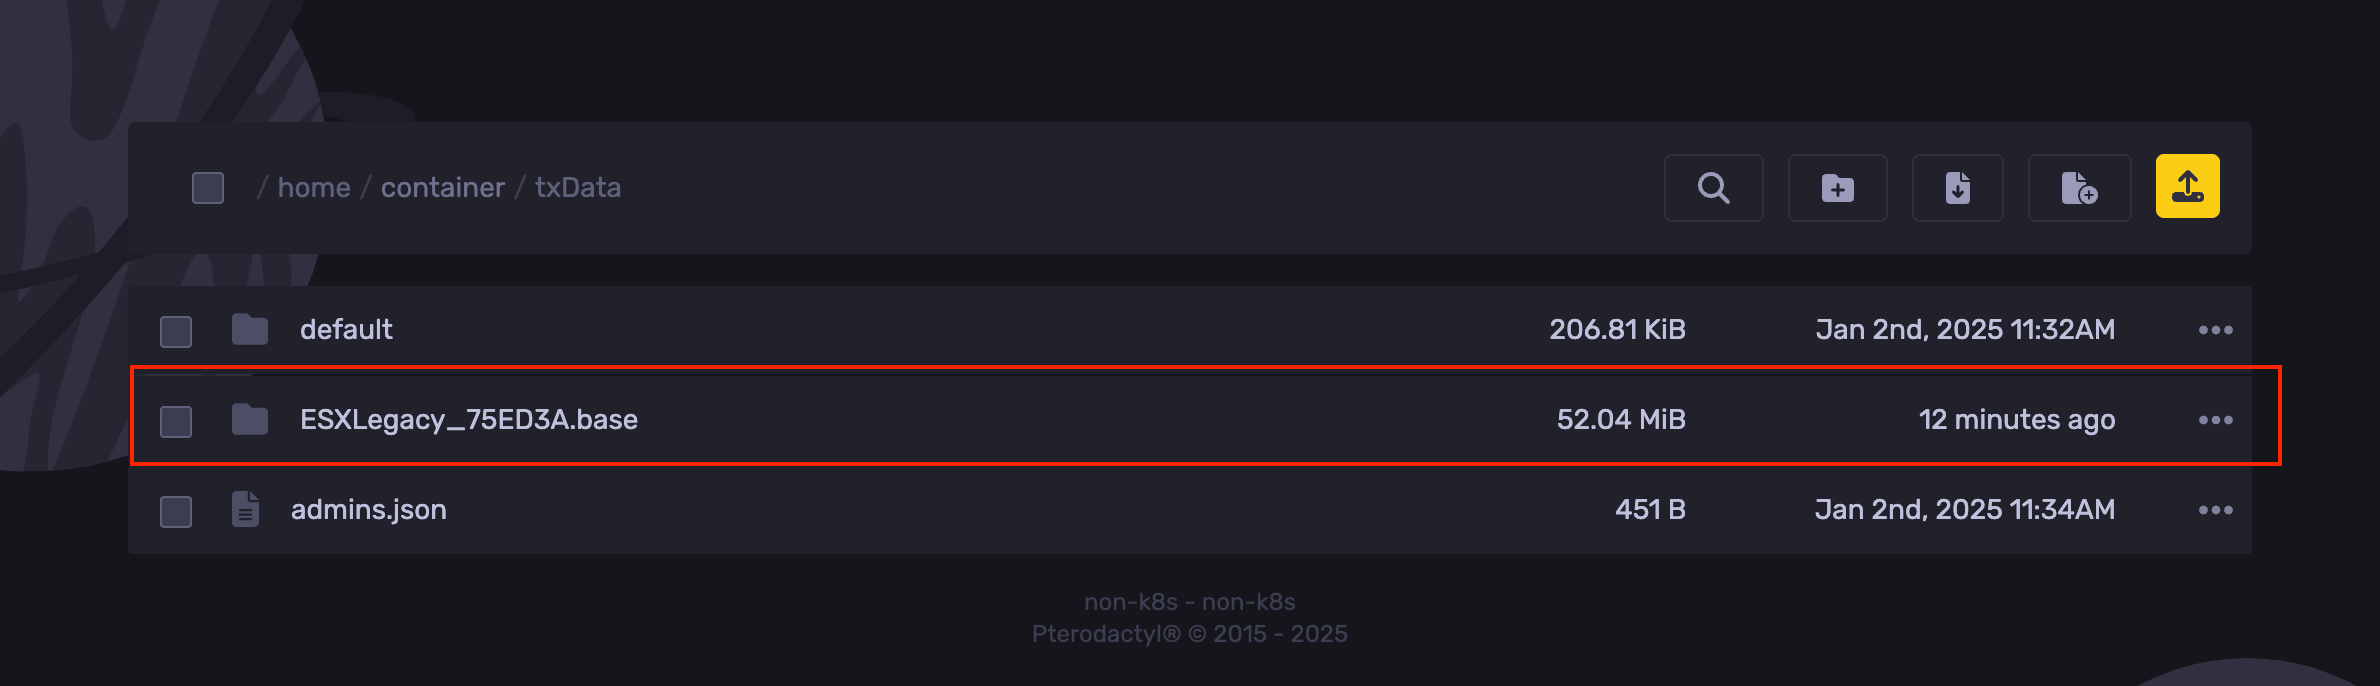
Then open the resources folder.
Step 5: Processing the Weapons Folder
Now on your computer, we will open the folder with your weapons in it. If you are using the provided weapons above below is a photo of how to download them.
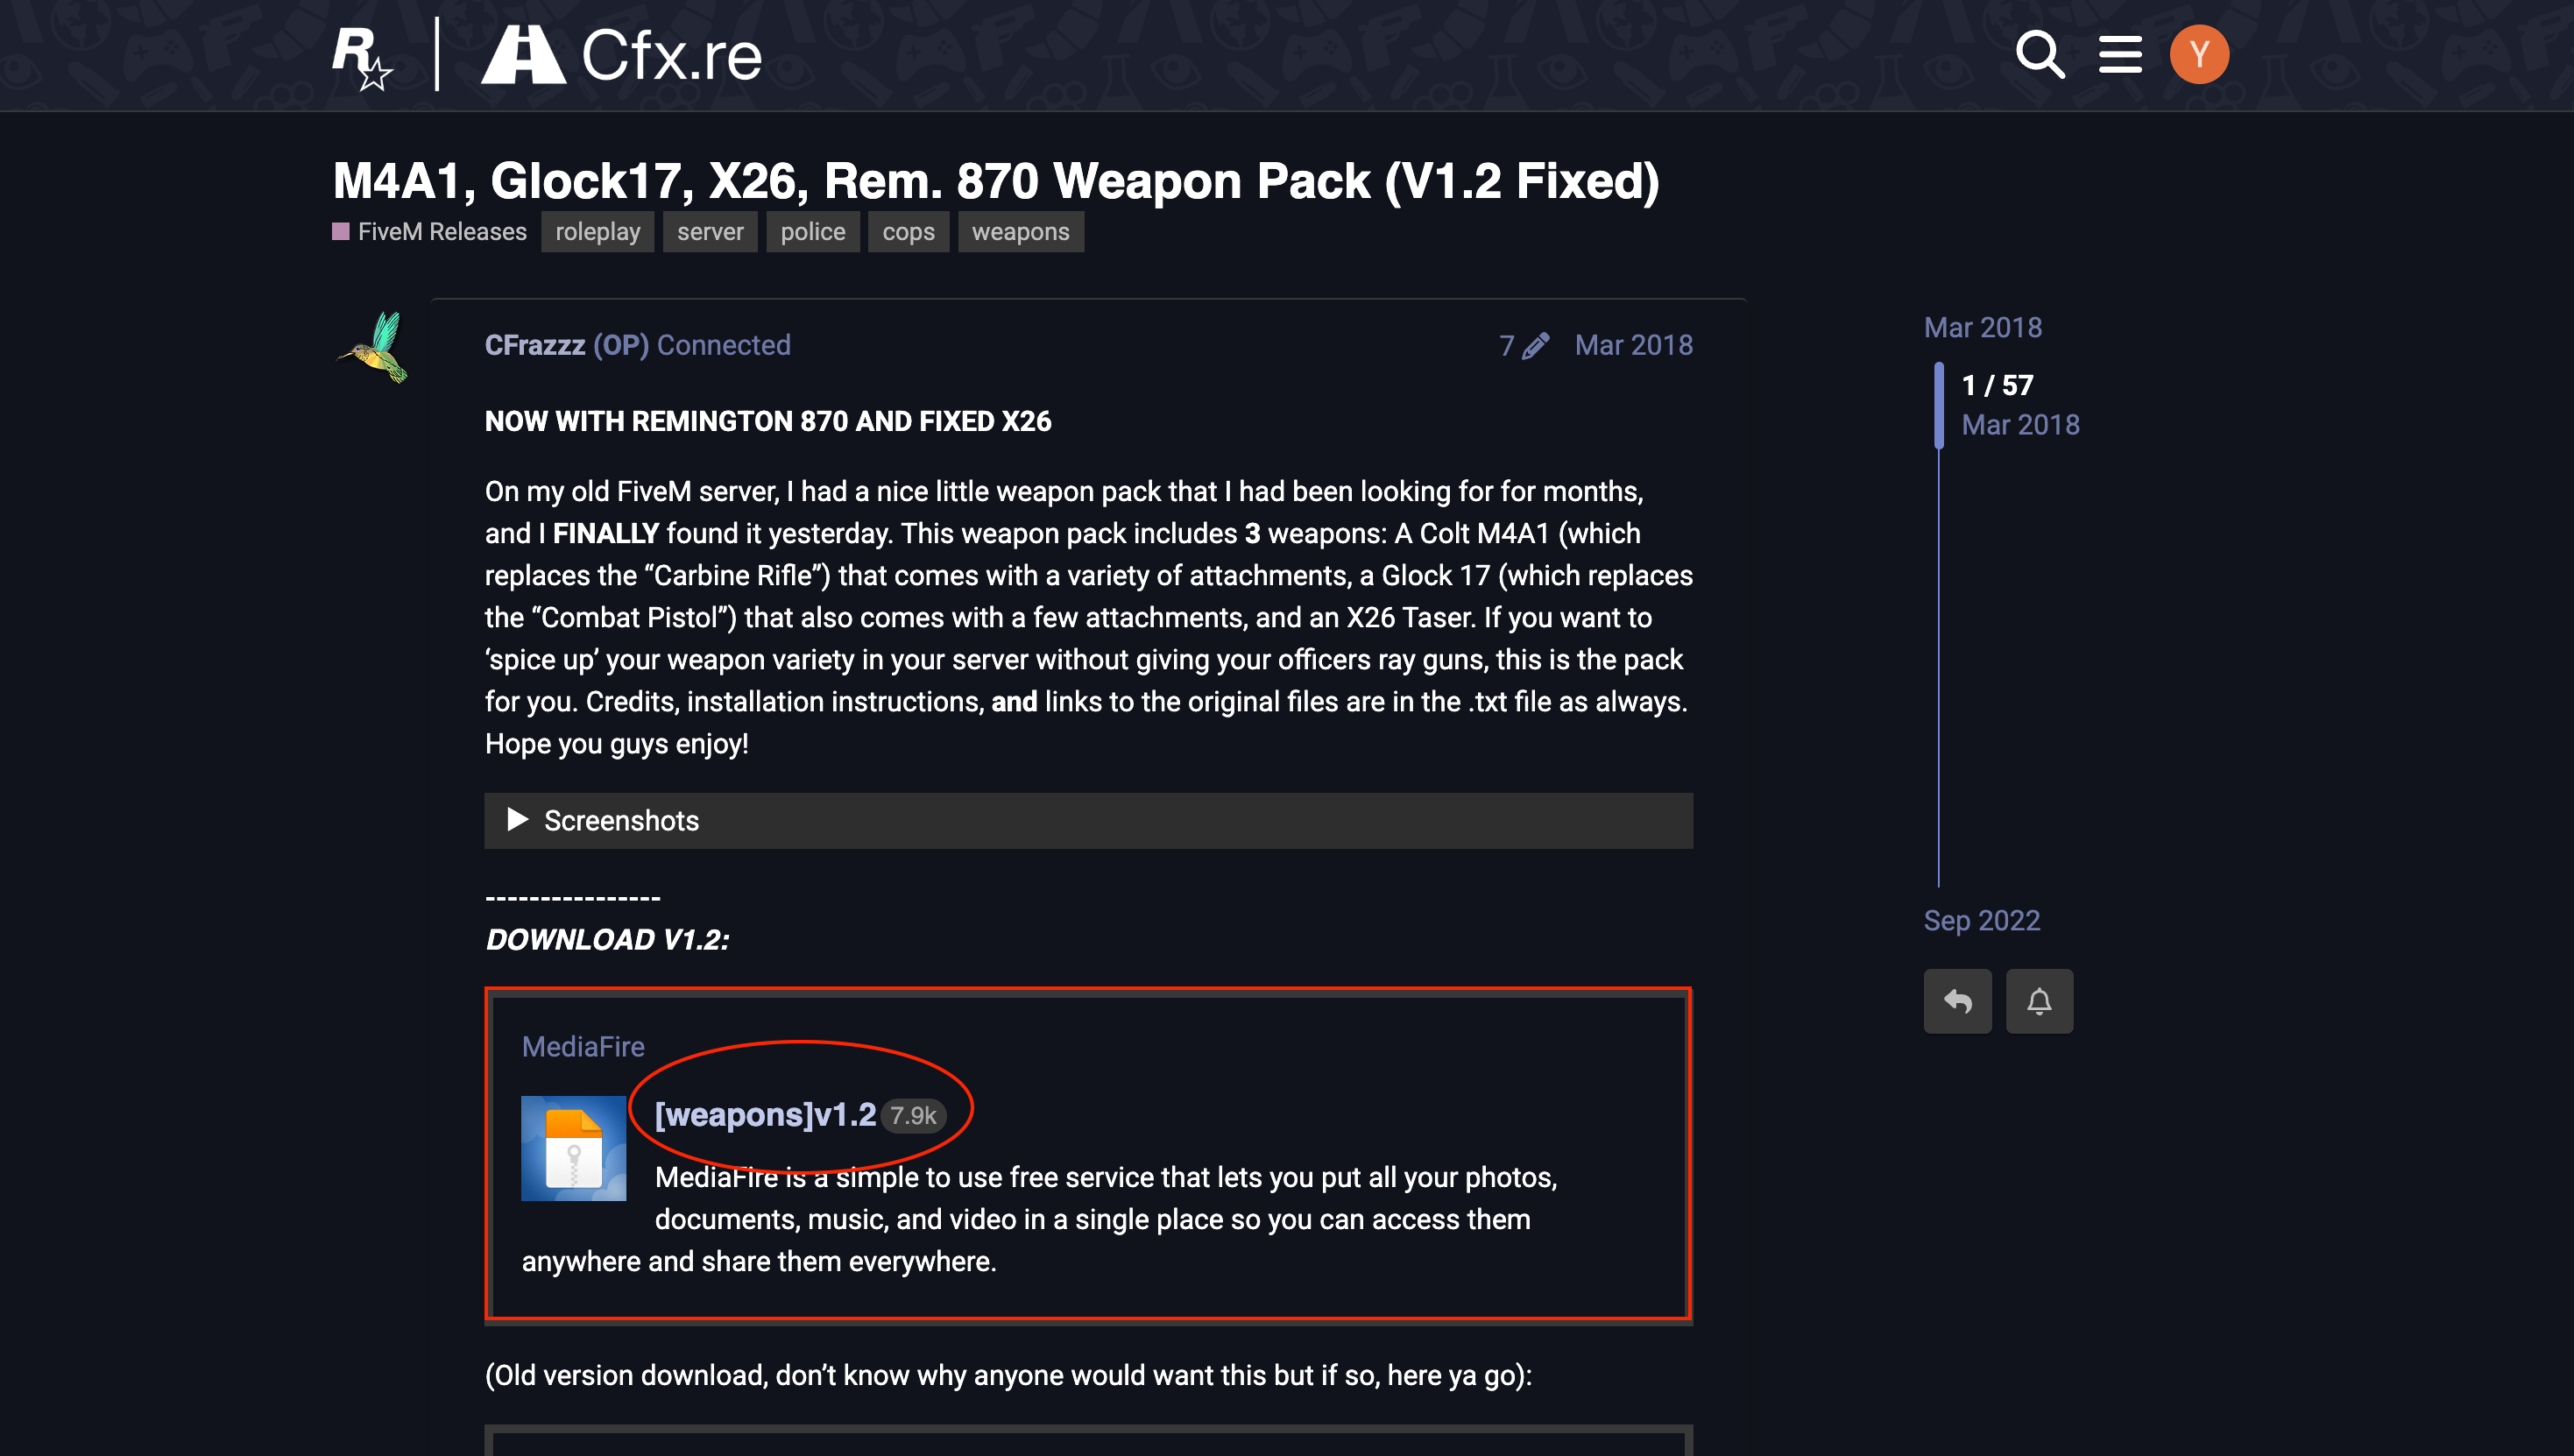
I have circled the name in a red circle. Clicking the name of the file i.e. "[weapons]v1.2", will start the download of the file. The file will be downloaded in a .rar format, meaning that you may need a program to extract it. There are plenty of options available online to do this. Opening the file will look like this;

Opening this file will show 2 contents inside
[weapons]
> Credits, Links, Install.txt
Open the [weapons] folder.
For my pack I have 4 weapons inside, each contained in their own folder but appropriately named.
870
> g17
> m4
> x26
Step 6: Uploading to your server
To upload these files to your server you need to be in the resources folder we navigated to in step 4.
Your resources folder will look something like this.
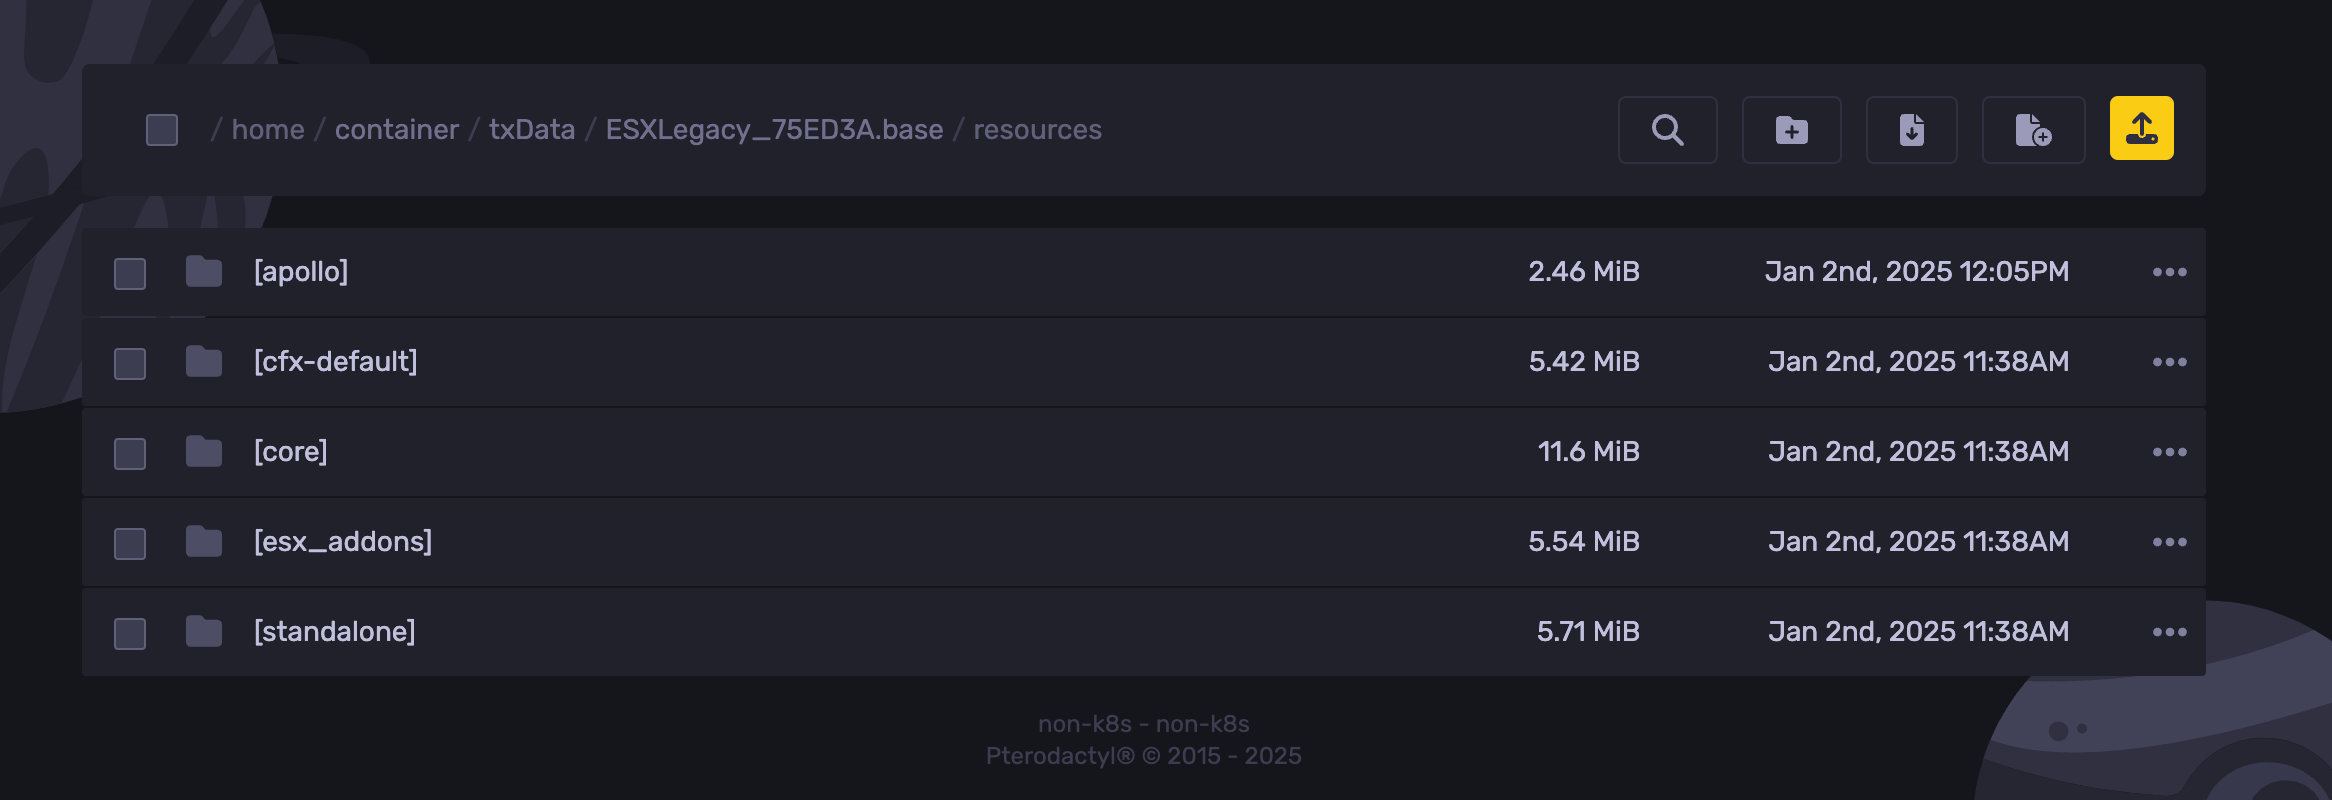
You will need to upload the [weapons] folder into this directory. Make sure it is the [weapons] folder that has only the weapons folders in it.
To do this select the yellow upload button in the top right corner. Then select upload folder and find the folder on your computer. This may take a second, for me I had to upload a total of 32 files.
Step 7: Modifying the server.cfg file
Once the files are installed we will need to navigate back a few directorys to the server.cfg file. It will be in the same folder as to where you found the resources folder. Click it top open it using our inbuilt text editor.
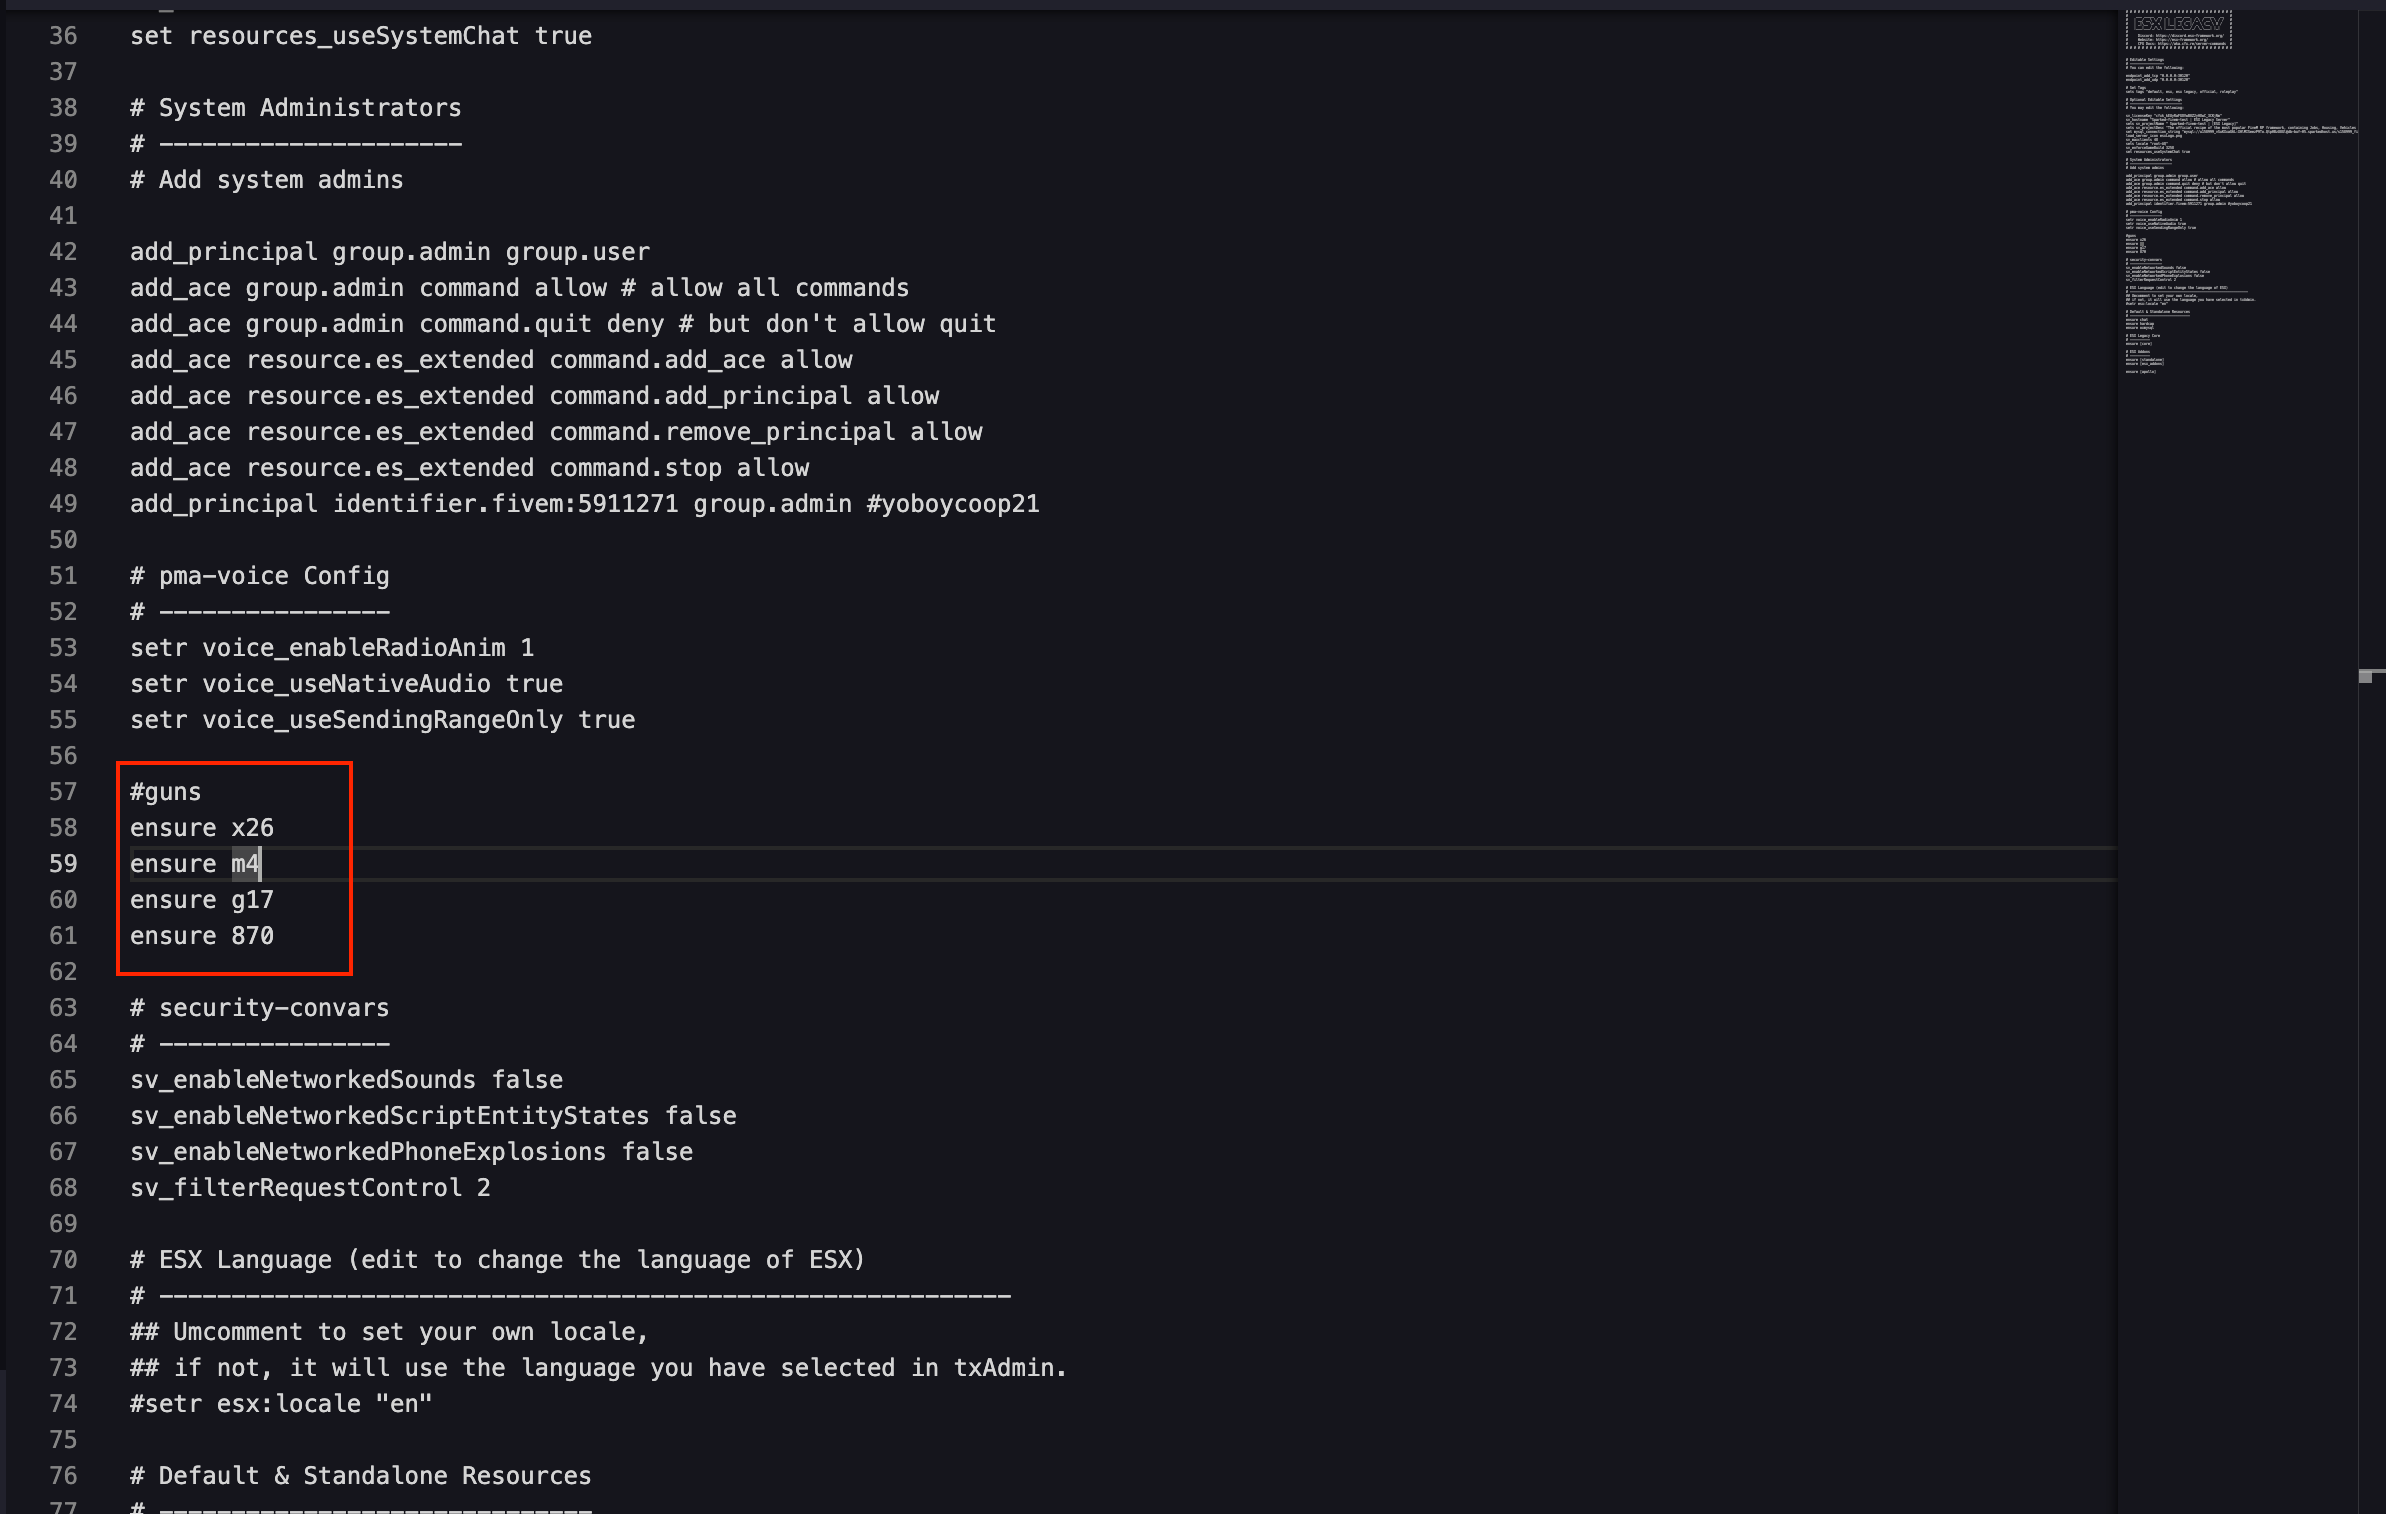
Once in the folder create a comment called guns
#guns
Below this comment you will need to run a command called "ensure". This lets the server know that you want it to load the new weapons that you have installed onto your server. Followed by the ensure command you need to type the name of the firearm you want it to install. For example one of mine is called the "x26" So i will need to add the command,
ensure x26
Below is a photo of what is will look like once you have finished.
Once you have made the changes to the config file you will need to save it. You can do so by pressing the "Save Content" button at the top right of your screen.
Step 8: Configuring vMenu
If you want to spawn the weapons in via your menu, you will need to configure vMenu.
To do so you will need to navigate to the following directory.
In the .base folder, open
resources
then
[appolo]
then
config
then
addons.json
This file will look like
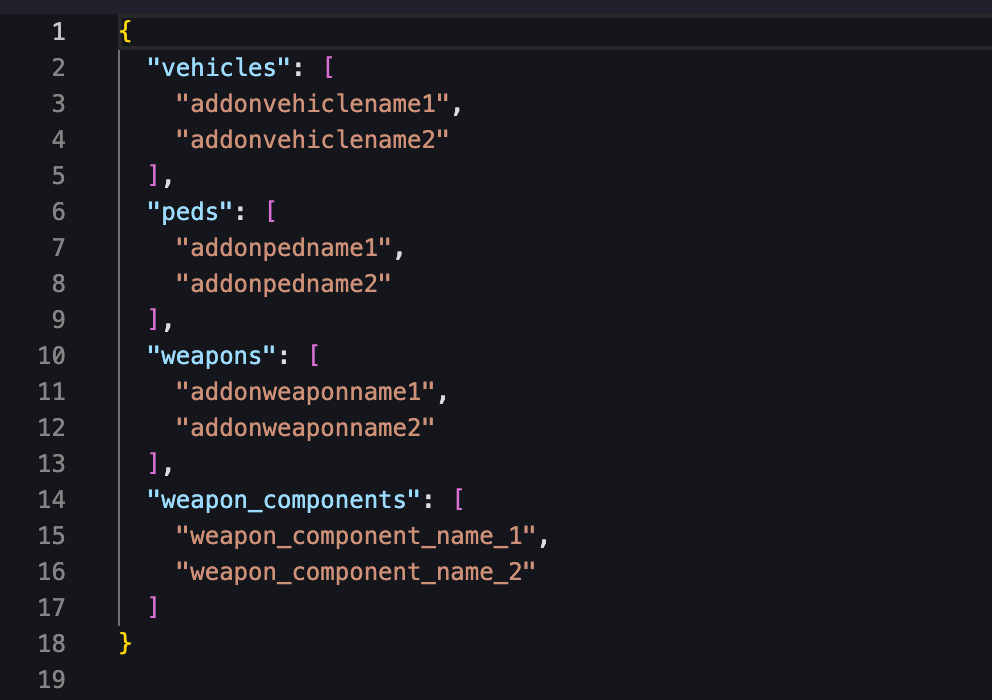
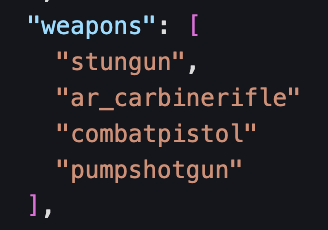
Under "weapons" you will need to add the names of your weapons files. To find these you will need to open the folder of the weapon, then open the "stream" folder. Inside should look like this.

I have highlighted the name of the weapon in the red box. When you add this to your weapons section, you will need to replace the placeholder of "addonweaponname1" with this, i.e. "stungun" in our instance.
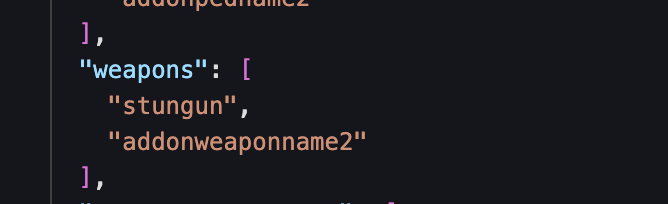
it should look like this. You will then need to do this for each and every addition weapon in the pack. Ensure to press the "save content" button at the top of the page before closing it. For our pack we are using in the end it should look like this.
Head back to the console tab and ensure to restart your server.
You have now uploaded custom weapons to your FiveM server. Adding them to the vMenu config allows you to access them via the in game menu.
If you require any further assistance, please create a support ticket here.
Created By: Cooper A.
Updated on: 10/03/2025
Thank you!