How to Add Vehicles to FiveM Server
How to Add Vehicles to FiveM Server
This guide will run you through how to install addon vehicles to your FiveM server. Addon vehicles are a great way to customize your game by adding more variety to your FiveM server, and they are relatively easy to use.
To start, make sure you have your vehicle's files downloaded to your local machine. For this tutorial, the vehicle we will be using is a 2018 Unmarked Tahoe Police Car.
- A link to this vehicle is available here.
- Extract the vehicle's zip file locally.
- You will now see the "Vehicle" folder, which you can rename to anything you like.

- Open the Apollo Panel.
- Stop the server.
- In the Files tab, navigate to the
txData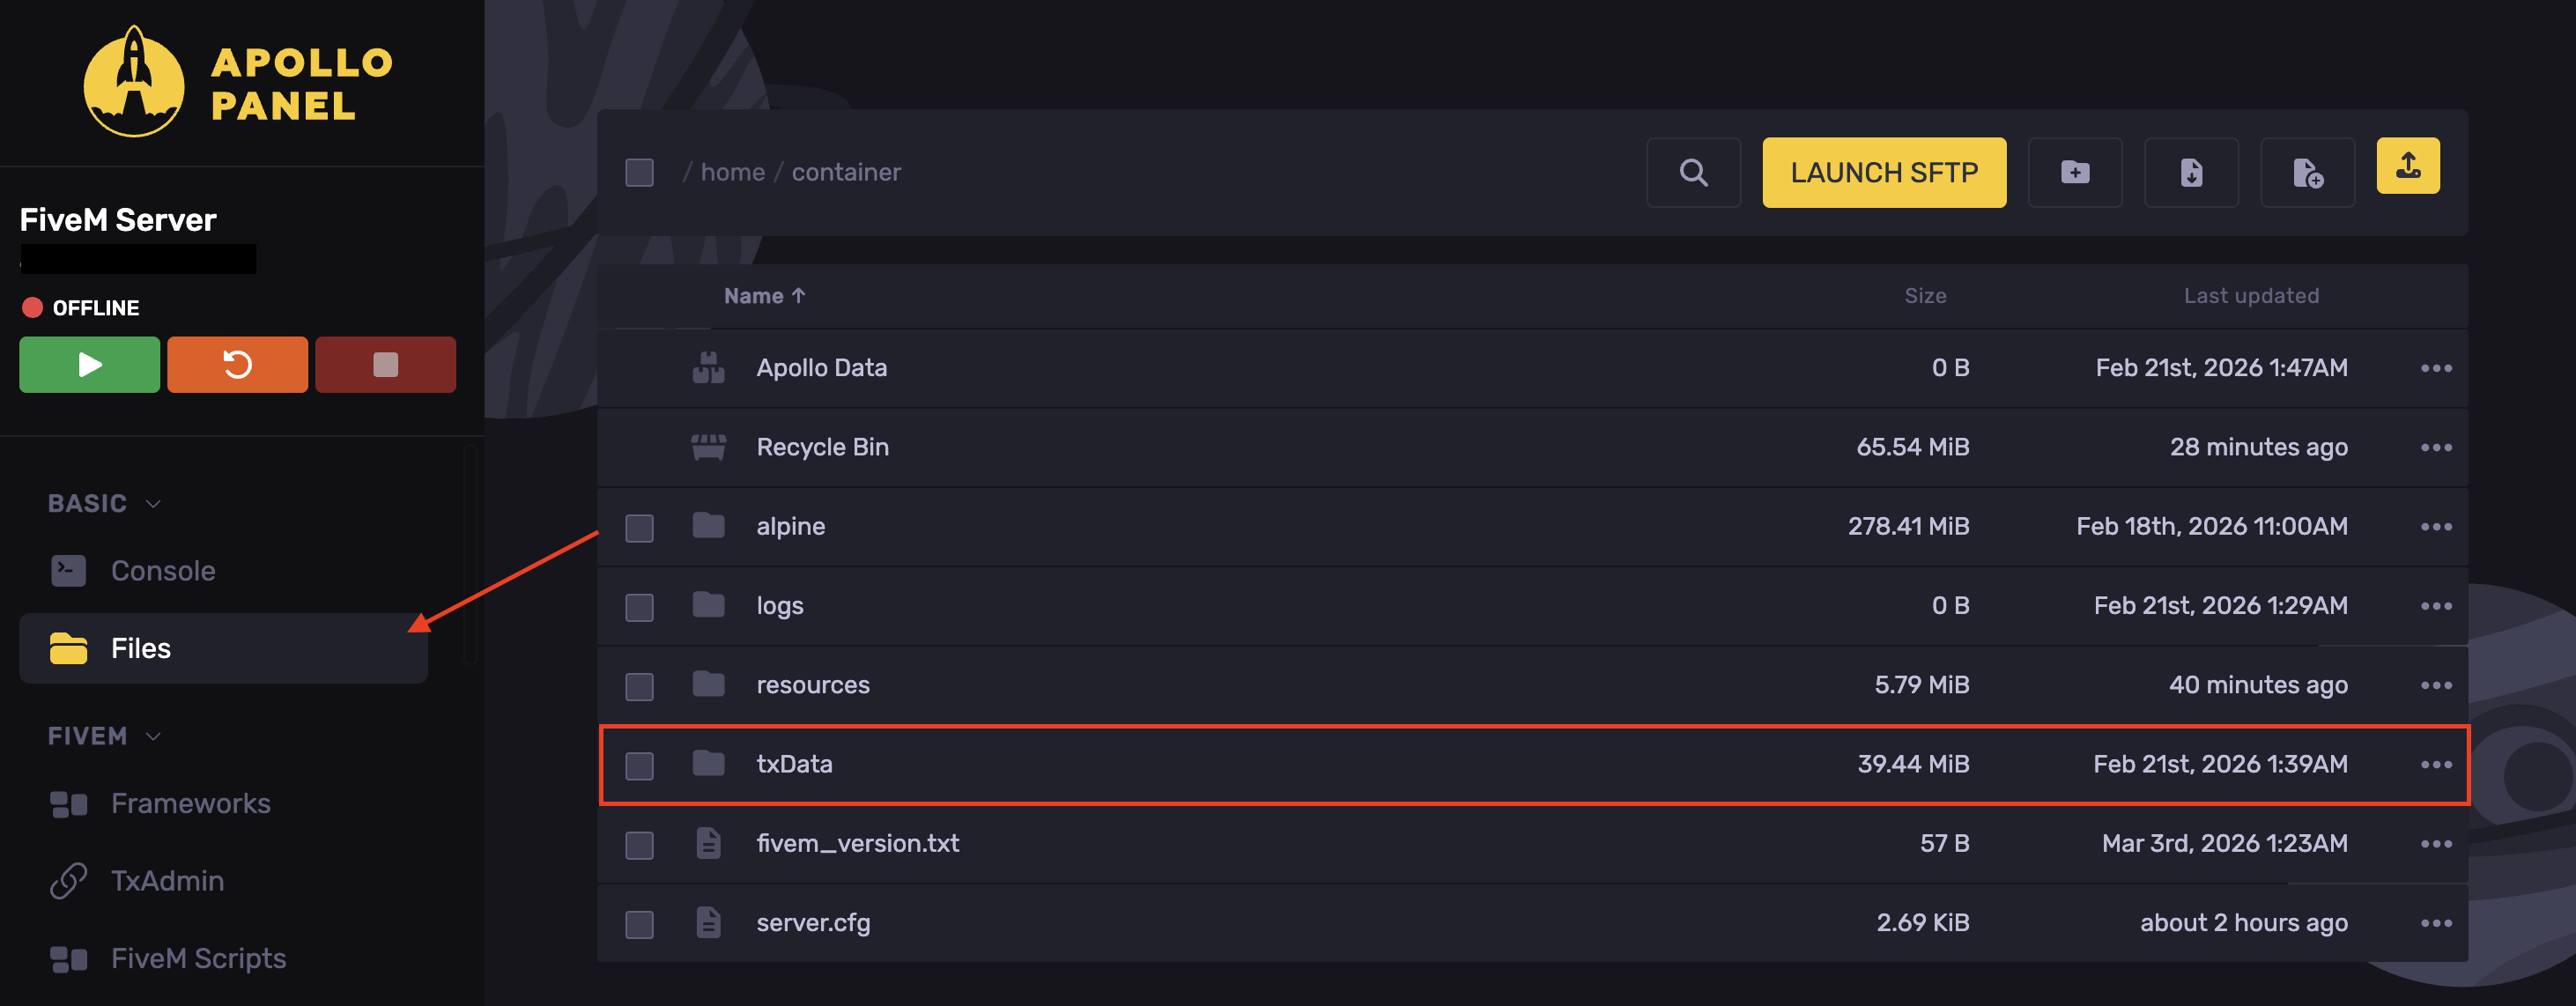
- Open the folder ending with .base
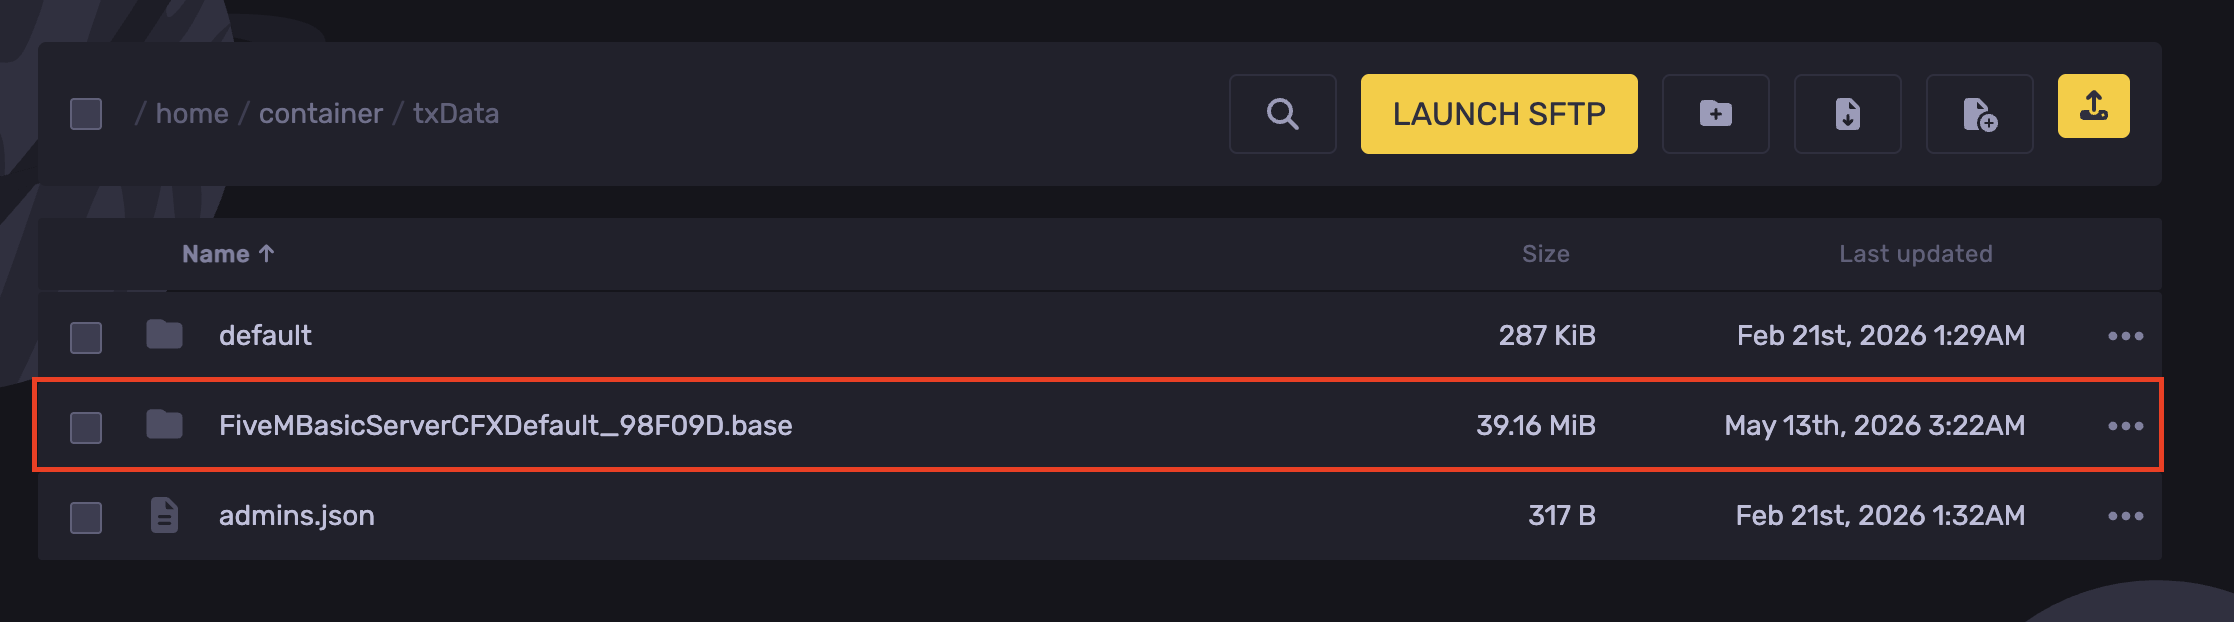
- Open the
resourcesfolder
- Create a new folder named
\[cars\]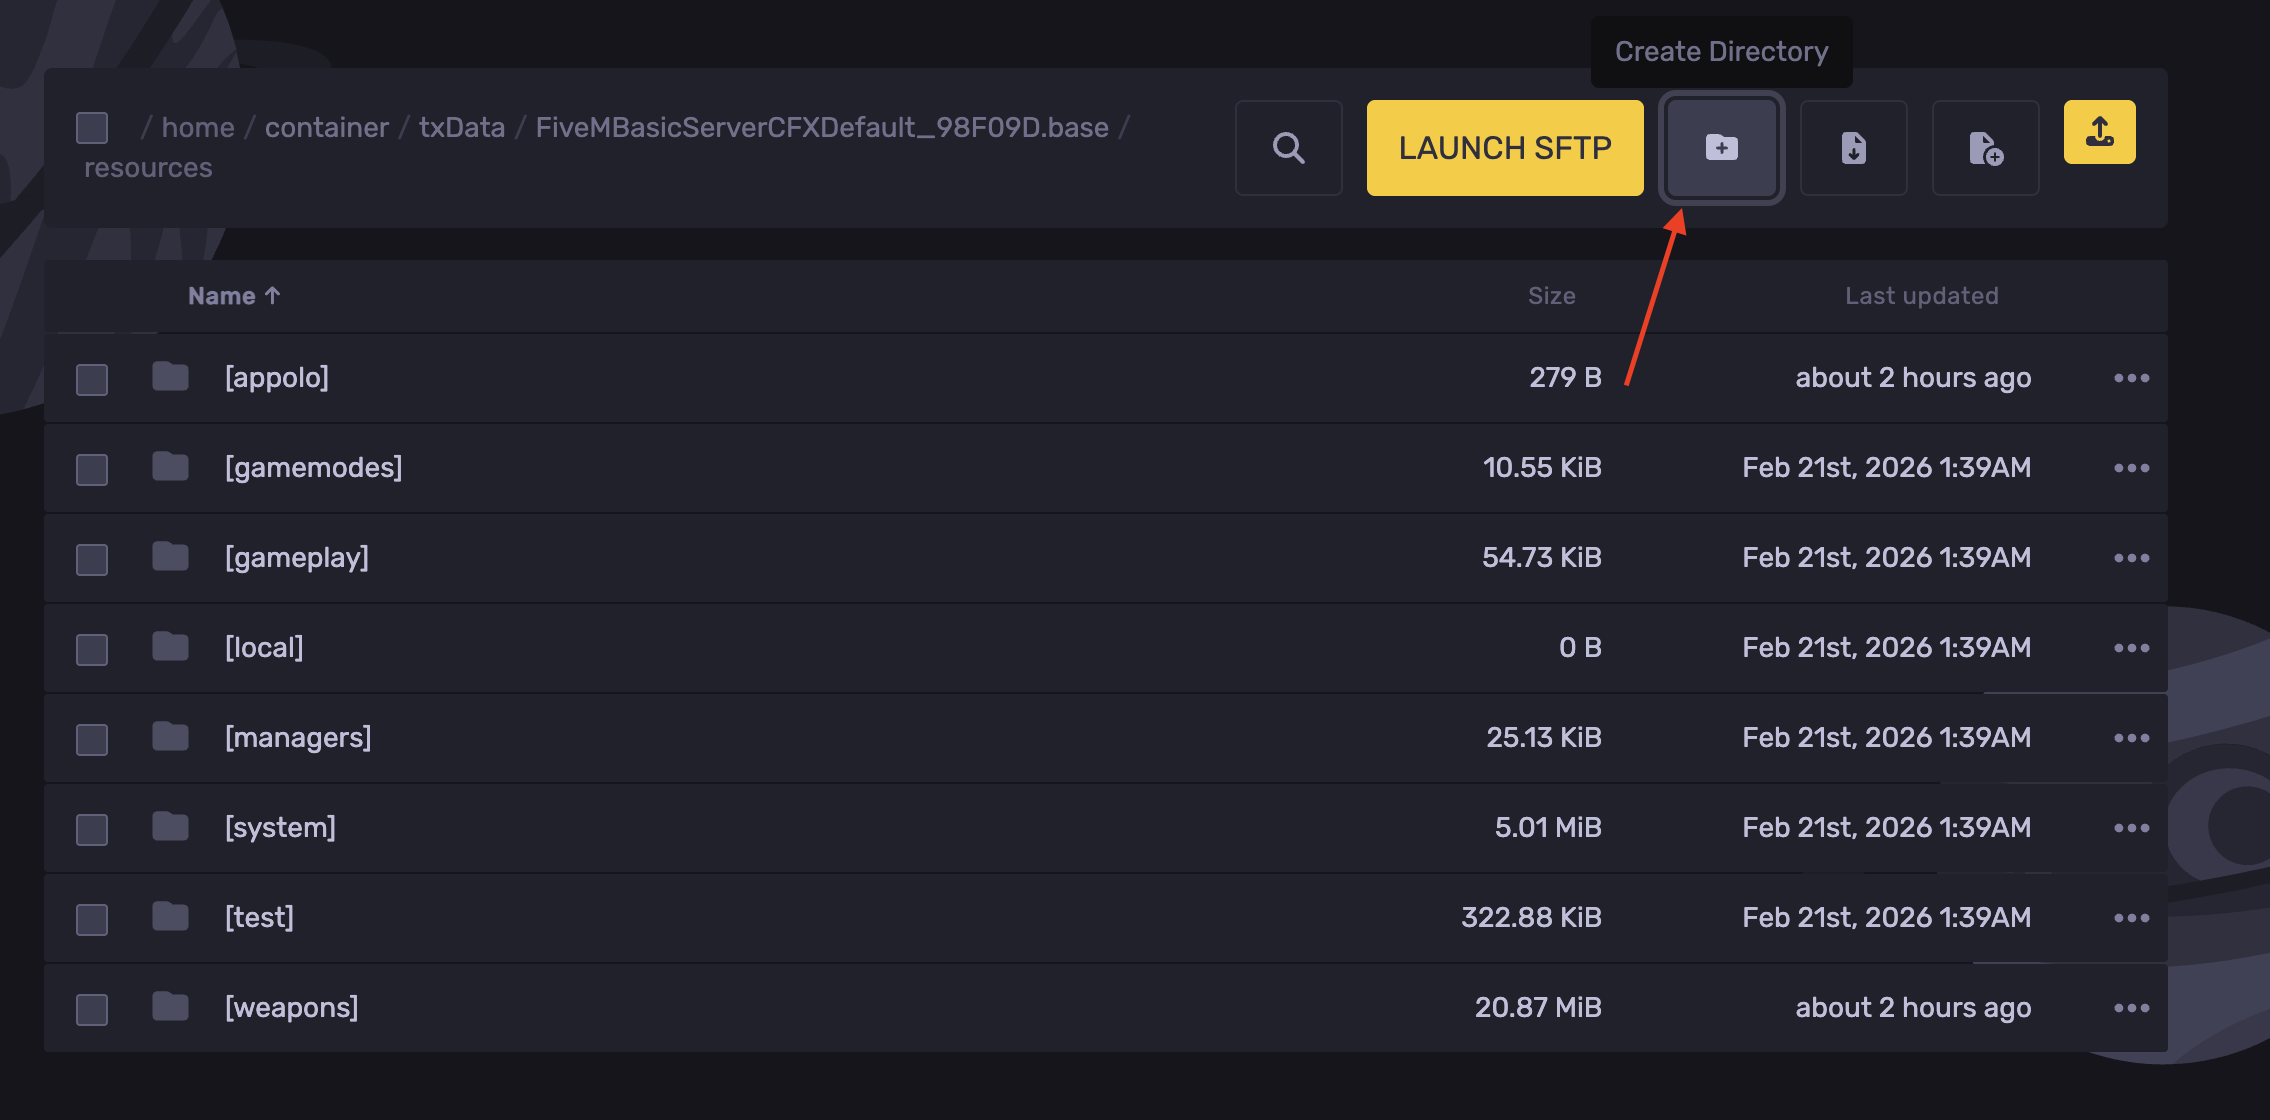
The [] stops your FiveM server from reading the folder's name and goes straight to the files inside it.
- Now, in your
[cars]folder, upload the vehicle folder.
- Head back to the .base folder.
- Access the
server.cfgfile.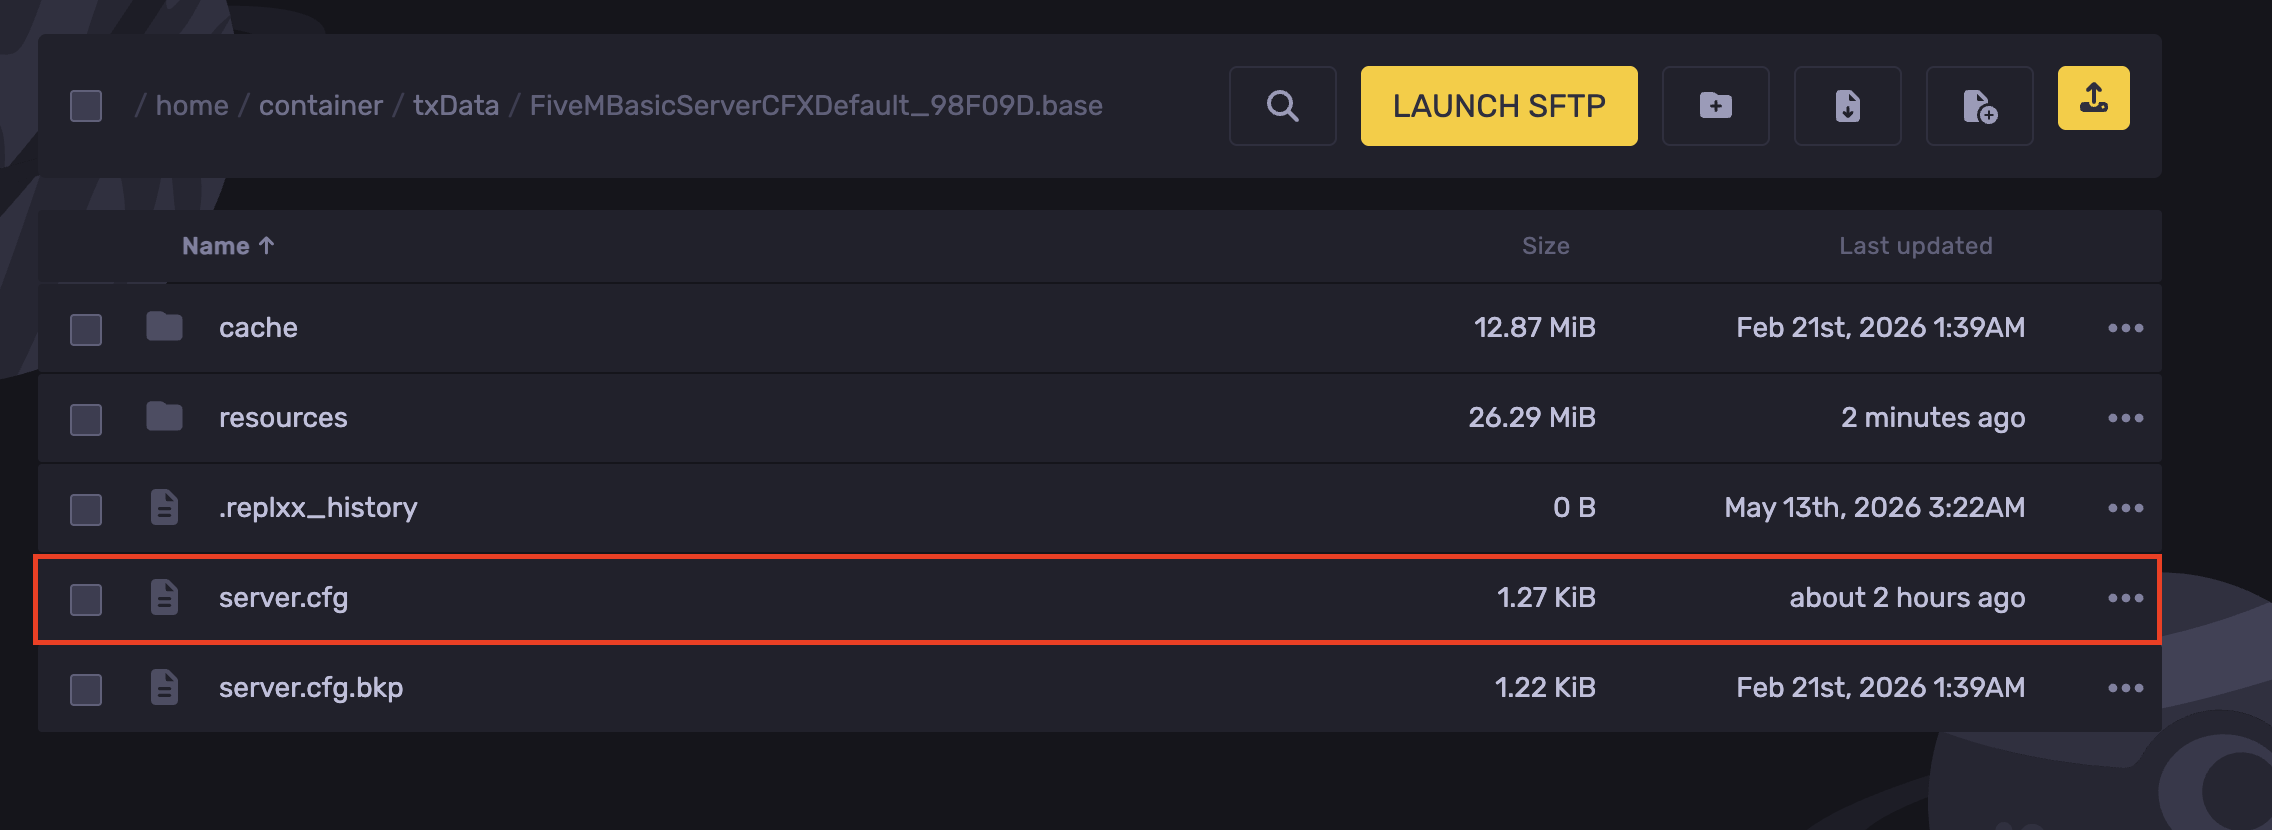
- Now, on a new line, add a comment
#cars, and under it typeensure <Your Vehicle Folder Name>, for example, if the name is "vehicle," it will look like this.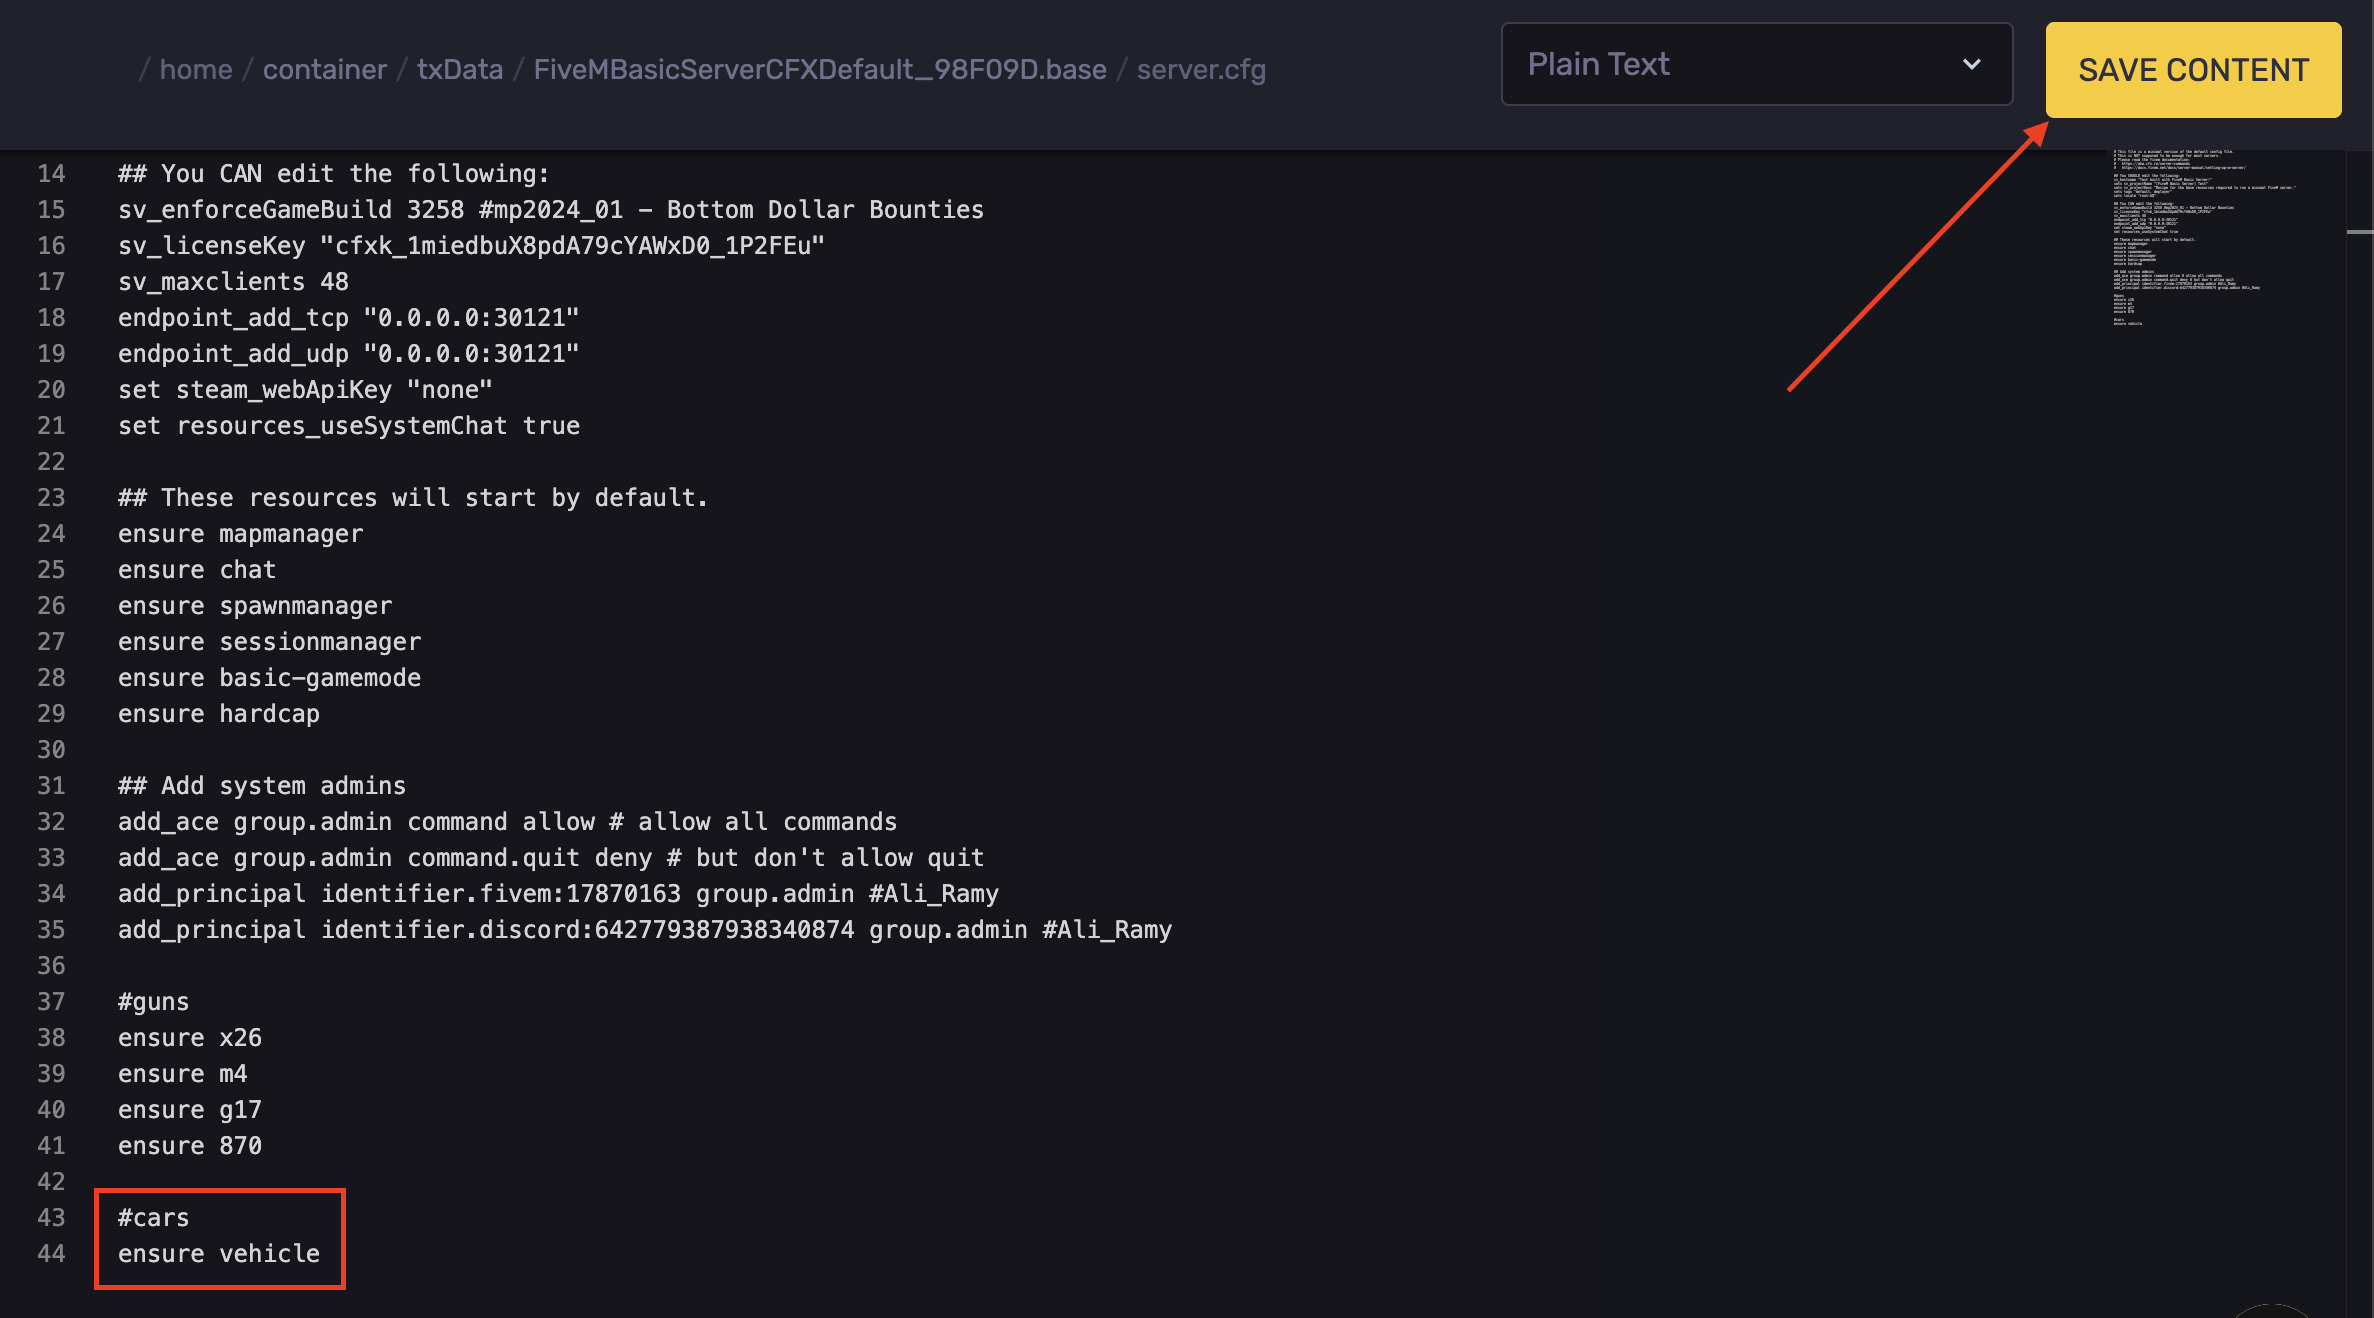
- Hit Save Content.
Configuring vMenu
- Stop the server.
- Head back to the .base folder and navigate to the following directory:
resources/\[apollo\]/config/addons.json
- Locate the "addonvehiclename1"
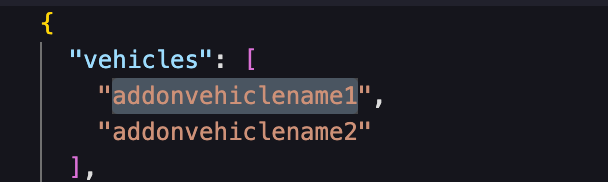
- Replace "addonvehiclename1" with the name of the addon vehicle that we want to install. To find this. You can open the "stream" folder within your vehicle folder.
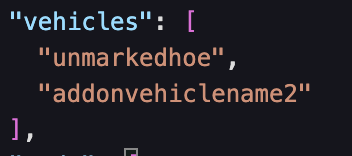
- Hit Save Content.
Updated on: 08/10/2026
Thank you!