All Core Keeper Console Commands Explained
Core Keeper console commands let you spawn items, change enemy behavior, edit tiles, and adjust skill levels, usually through the ChatCommands mod because the game does not include a native console. For players who want more control over their world, whether for testing, modding, or customizing a playthrough, these commands open up options that standard survival mechanics do not.
This guide explains how to install ChatCommands on both servers and local games, then walks through the specific commands used for item spawning, tile editing, skill management, player states, and other game-mechanic tweaks.
Install ChatCommands for Console Command Usage
To use commands, you must install a mod like ChatCommands, since Core Keeper doesn't include them by default.
- Install ChatCommands and CoreLib.
- Access the Apollo Panel.
- Stop the server.
- Navigate to the following directory: `CoreKeeperServer_Data/StreamingAssets`
- Create a folder named `Mods`
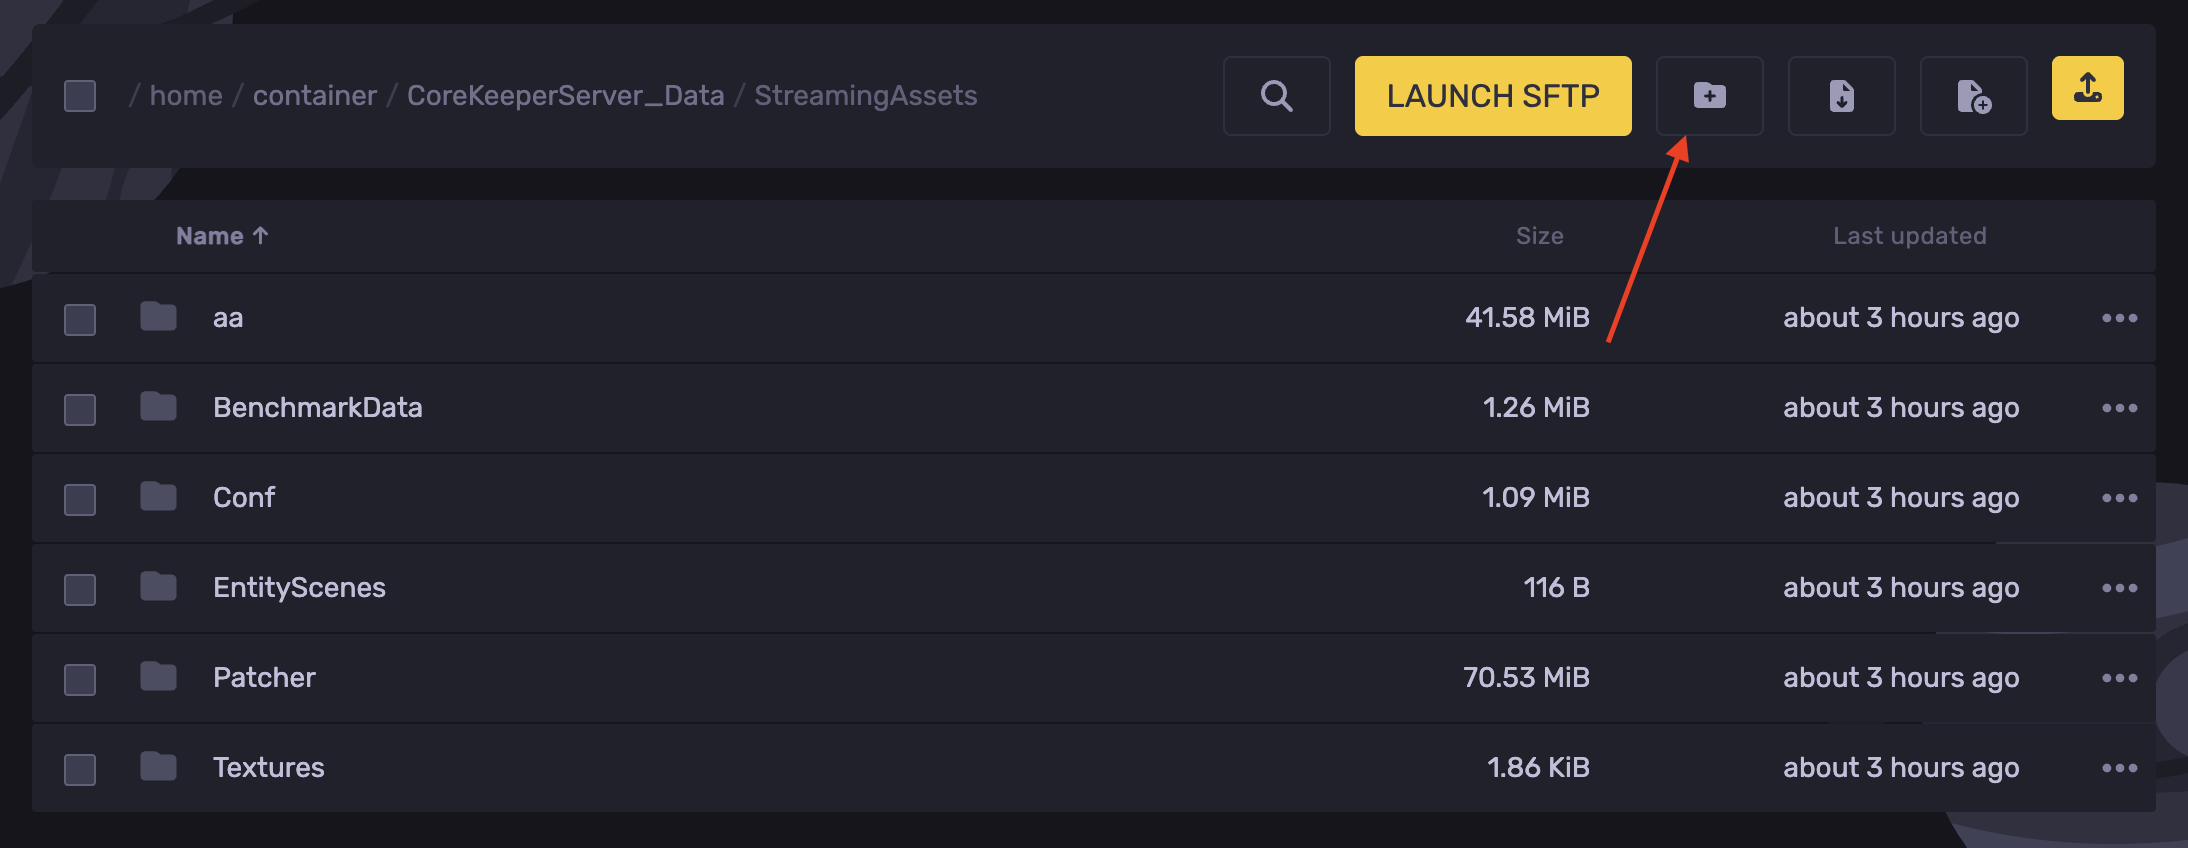
- Inside the `Mods` folder, create a folder named `ChatCommands` and a `CoreLib` folder.
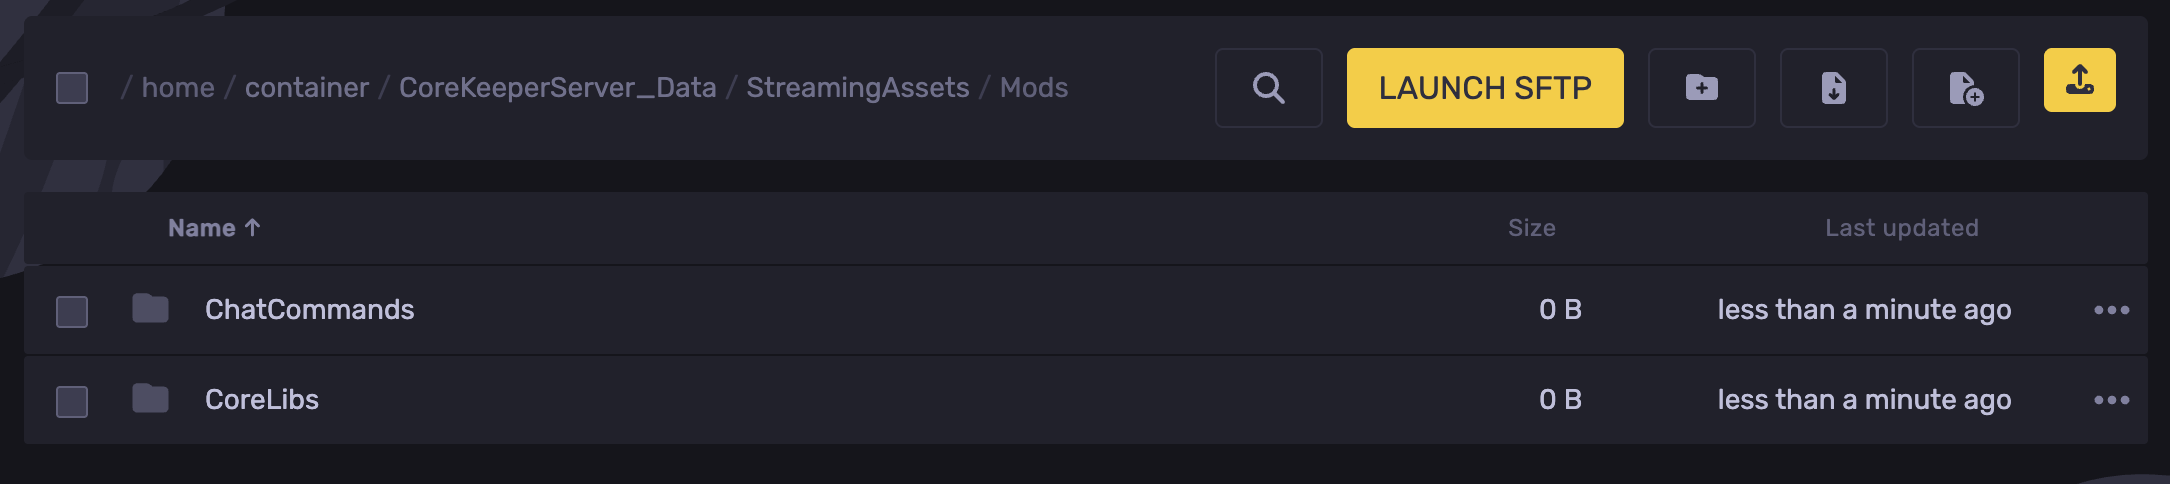
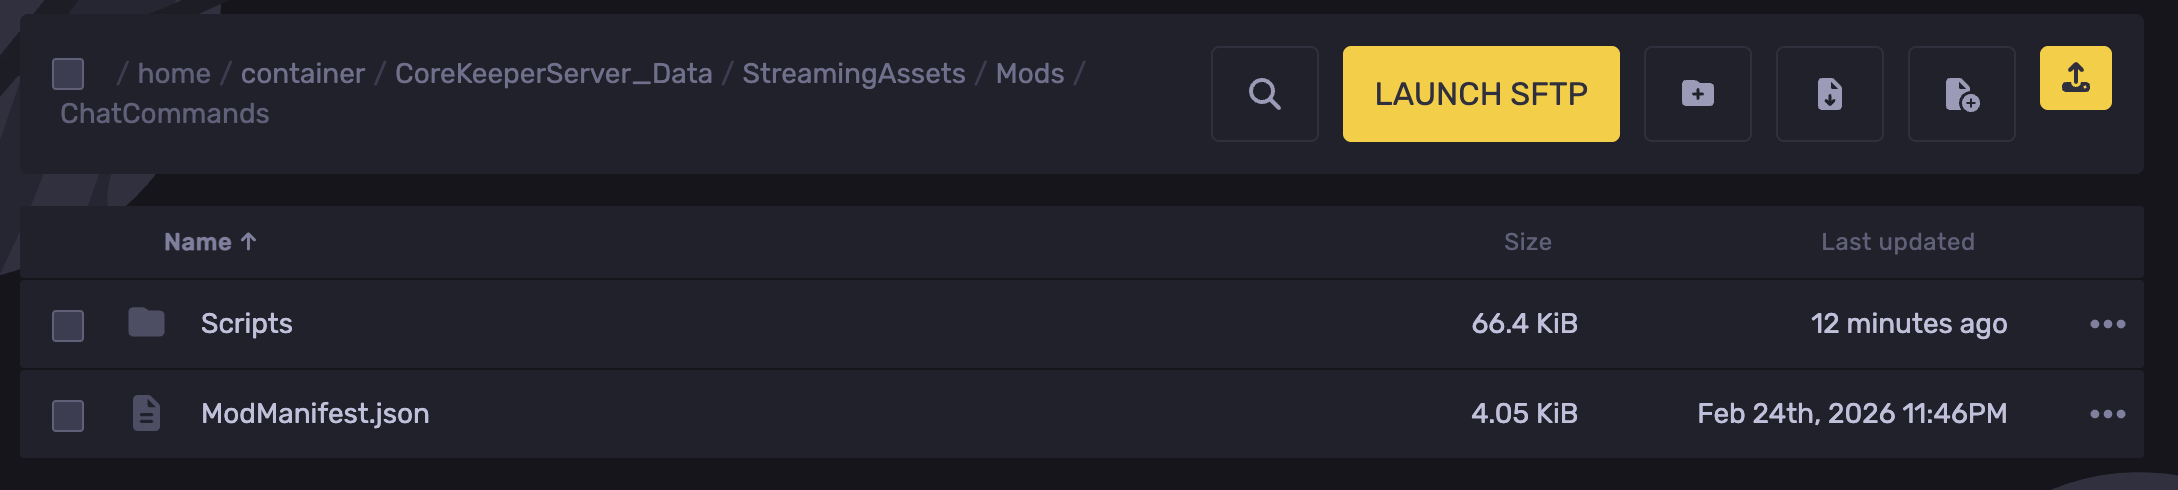
- Upload the ChatCommands zip file to the `ChatCommands` folder, then extract it.
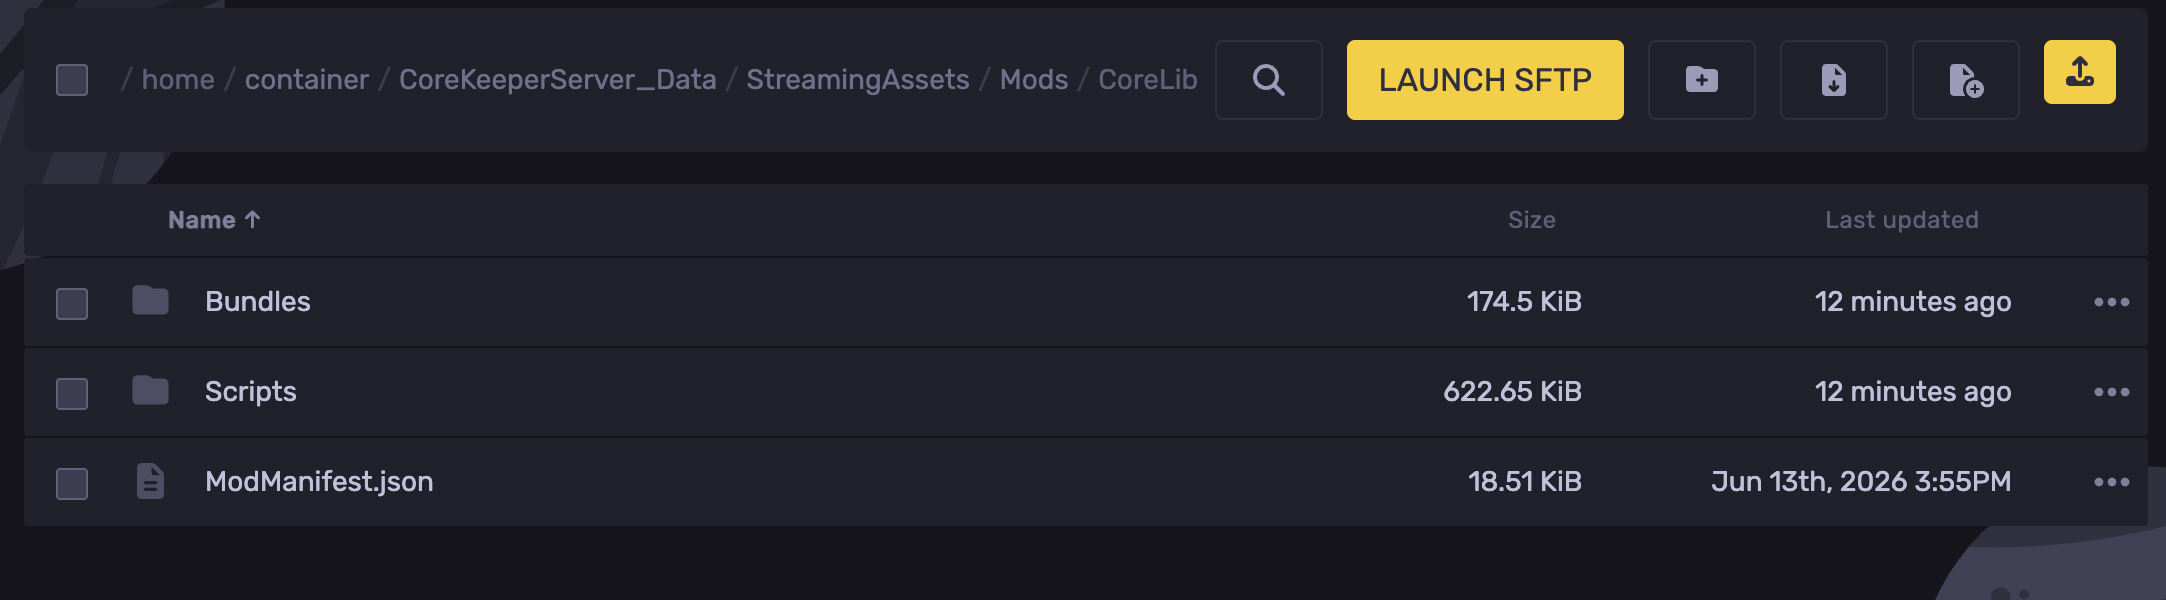
- Go back and upload the CoreLib zip file to the `CoreLib` folder, then extract it.
- Start the server.
Install ChatCommands Locally With Command Parameters
- Navigate to the following directory: `Steam/steamapps/common/Core Keeper/CoreKeeper_Data/StreamingAssets/`
- Create a folder named `Mods`
- Inside it, create the `ChatCommands` and `CoreLib` folders, and extract the same mod files into them, using the same structure you used on the server.
Using Chat Commands in ChatCommands
Once installed on both the server and your local client, these chat commands are entered through chat: press Enter to open it, then type a console command. Arguments in curly brackets {} are required, and arguments in square brackets [] are optional; note that the brackets are placeholders only, so you do not type them literally. If optional values are omitted, some commands may work automatically with defaults or inferred values where supported.
Example: /give {itemName} [count] [variation] can be used to spawn an Iron Sword by entering the item name with an optional count or variation.
- /give {itemName} [count] [variation] — Give yourself any item.
- /give food {item1} + {item2} [count] — Give yourself a food item.
- /spawn {entityName} {x} {y} [variation] — Spawn any entity at a position.
- /placeTile {tileset} {tile type} {x} {y} — Place a tile relative to your position.
- /placeTileArea {tileset} {tile type} {sX} {sY} {eX} {eY} — Place tiles across an area.
- /removeTile {tile type} {x} {y} — Remove a tile relative to your position.
- /removeTileArea {tile type} {sX} {sY} {eX} {eY} — Remove tiles across an area.
- /remove {objectID} [-all] — Remove closest matching entity from the world.
- /repeat {times} {command name} [command parameters] — Repeat any valid command.
- /clearInv — Clear the player inventory.
- /heal [amount] — Fully heals the player.
- /feed [amount] — Restores a specified amount of hunger.
- /maxSkills — Maxes out all player skills.
- /resetSkills — Reset all skills to 0.
- /setSkill {skillName} {level} — Set a given skill to a given level (0–100).
- /kill — Kill your own character.
- /invincible — Toggle the player's invincibility.
- /passive — Toggle enemy passive behavior.
- /noclip — Toggle noclip so you can move freely and bypass physical limitations.
- /noclip speed {multiplier} — Set noclip movement speed.
- /setReveal [mode] — Set your map reveal mode or reveal radius. Valid modes: default, large. Leave blank to toggle. Also sees through walls.
- /hide {target} [state] — Hide user interface elements, including the user interface and player visual elements; possible targets: player, ui, inventory.
- /copy [count] — Give yourself a copy of the item you're currently holding.
- /info — Get the ObjectID and variation of the item you're currently holding. Here, id means the identifier shown for items or entities.
Item IDs can be found in the game's update notes.
Updated on: 21/09/2026
Thank you!