How to Install TXAdmin on FiveM Server
What is TXAdmin?
txAdmin is a powerful and user-friendly server management tool designed specifically for FiveM, a modification framework for Grand Theft Auto V. It serves as an all-in-one solution for managing and maintaining your FiveM server, offering features like server monitoring, configuration management, player administration, and more.
Developed by the FiveM community, txAdmin is widely regarded as the go-to tool for server owners due to its simplicity, reliability, and extensive functionality when it comes to managing a FiveM server.
In this tutorial, we will show you how to install txAdmin, how to configure txAdmin, and how to link txAdmin with a discord bot.
How To Setup TXAdmin
To setup TXAdmin on your FiveM server:
- Login to Apollo Panel
- Navigate to Databases and create a database.
- Once you are in the tab you will see a yellow button called new database.

Clicking this button will open up a popup where you can fill in fields to create a database.

You can name the database whatever you want. For this tutorial we will call it fivem-txAdmin, then we will click create database.
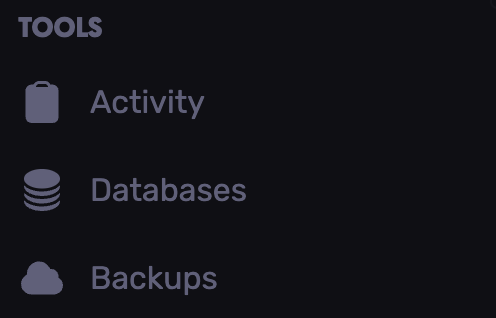
- Open TXAdmin in the sidebar and sign in.

For this button to work your server will need to be running, otherwise you won't be able to connect.
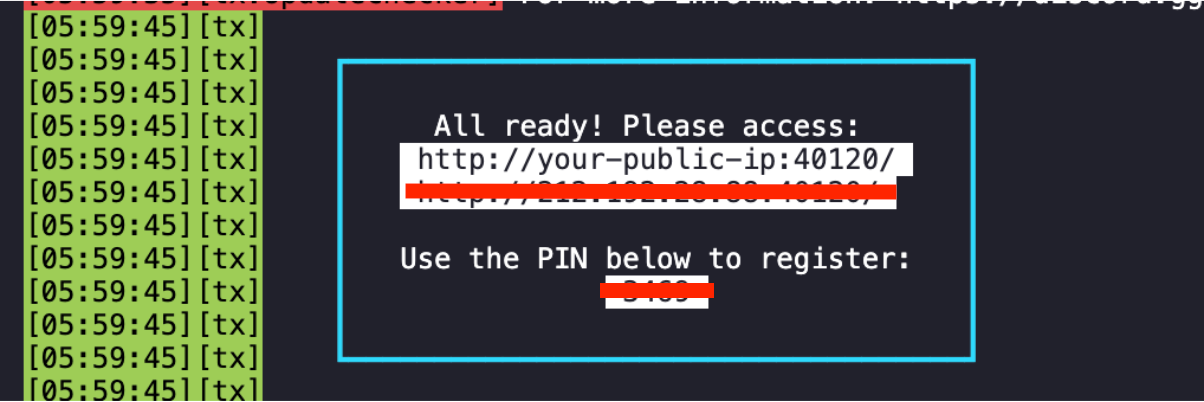
Once you click the button, you will see your login credentials, take note of these.
Clicking the txAdmin link will open a new tab on your browser and take you to the txAdmin website, where you need to enter the PIN. (ex. 9124)
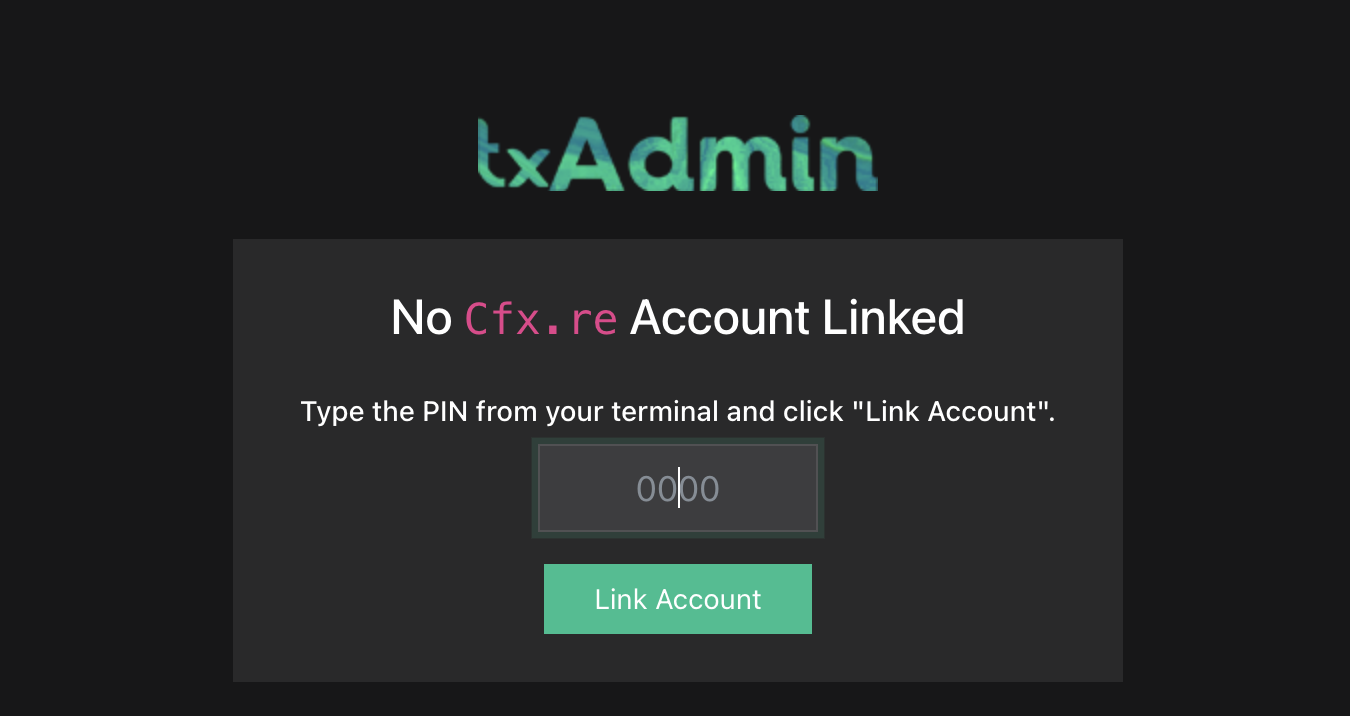
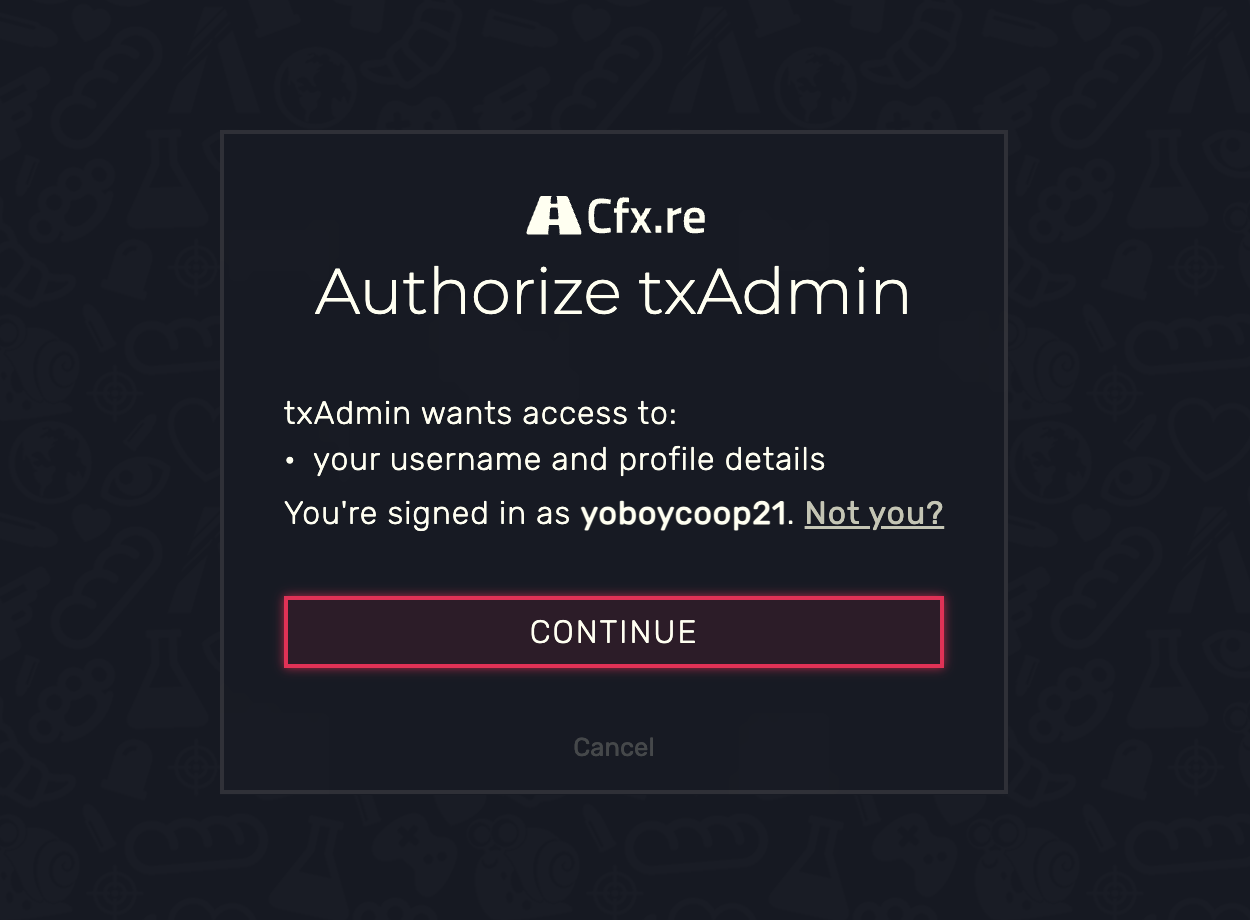
Once you have entered the pin, you will need to link a Cfx.re account if you do not have one already.
You will then need to create a password for an admin user. Make sure you remember this password.

You have now made it to the txAdmin configuration section. Getting these details are crucial so follow the rest of the tutorial closely.
The first part of the configuration is the server name.
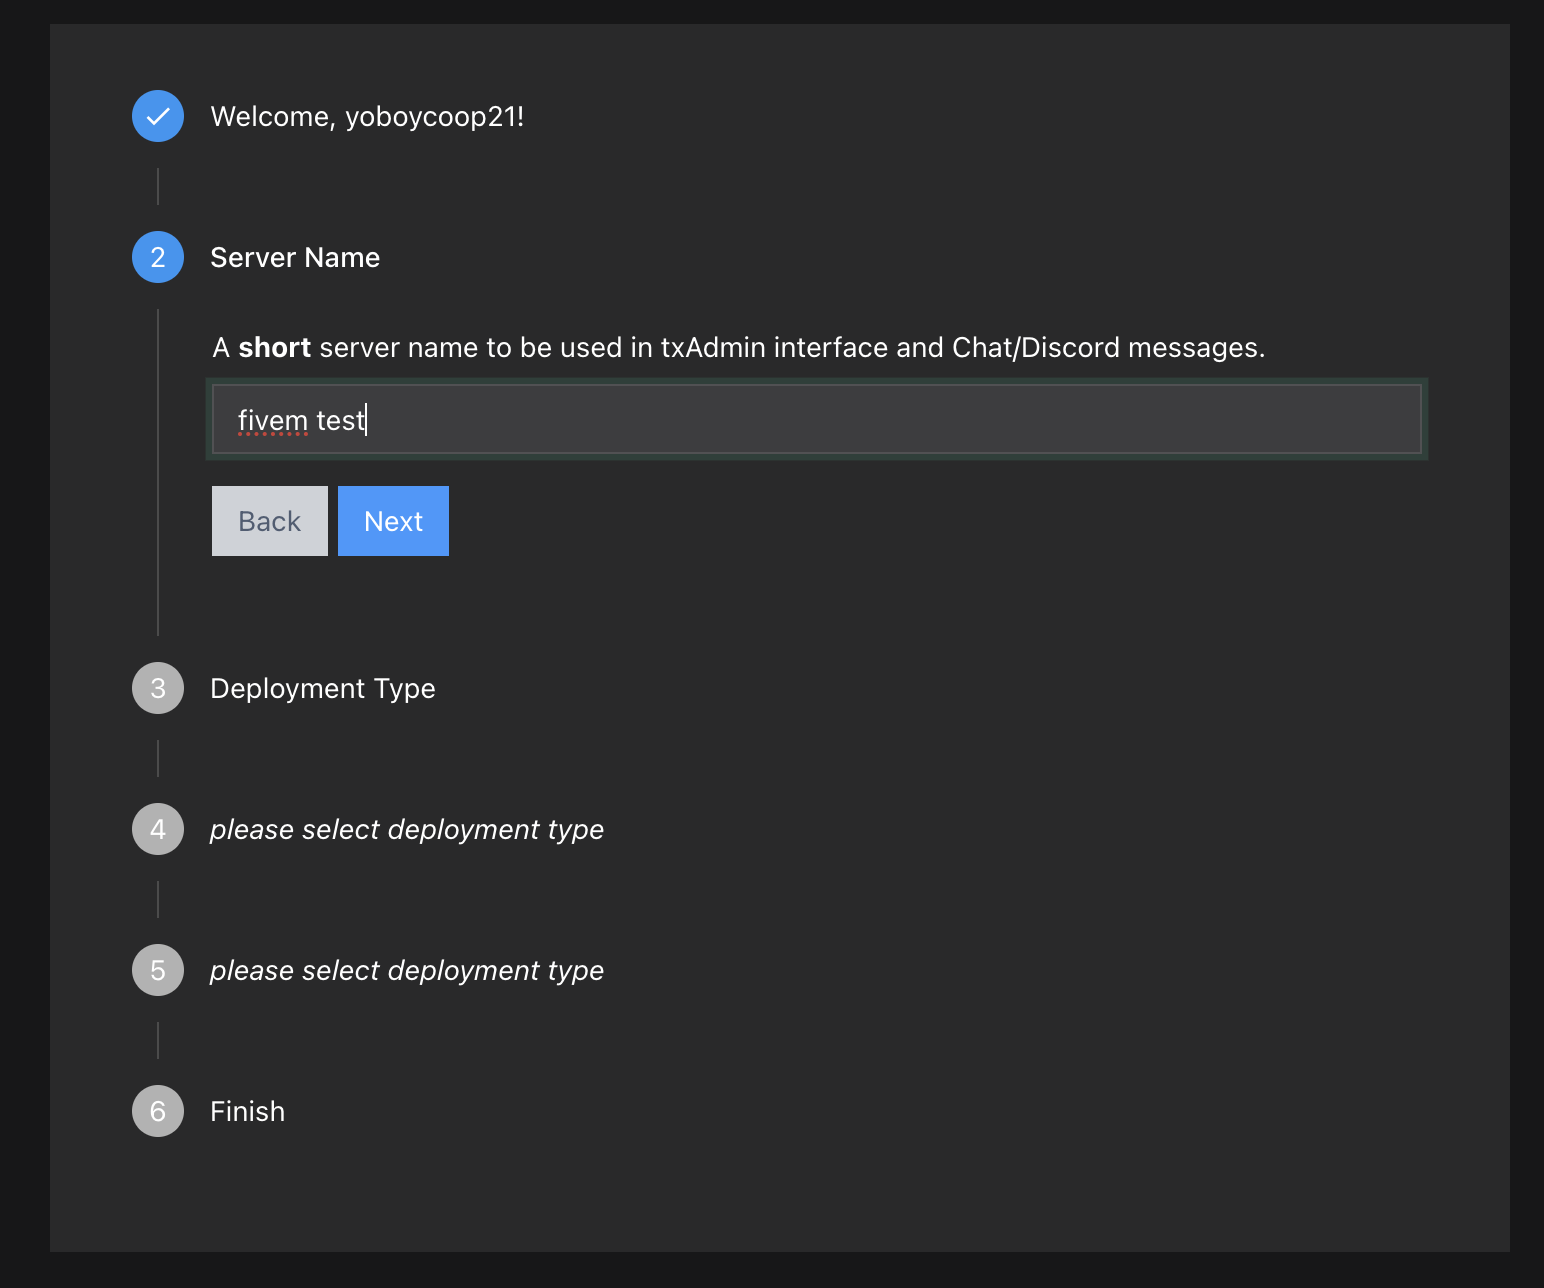
We will name our server "FiveM test".
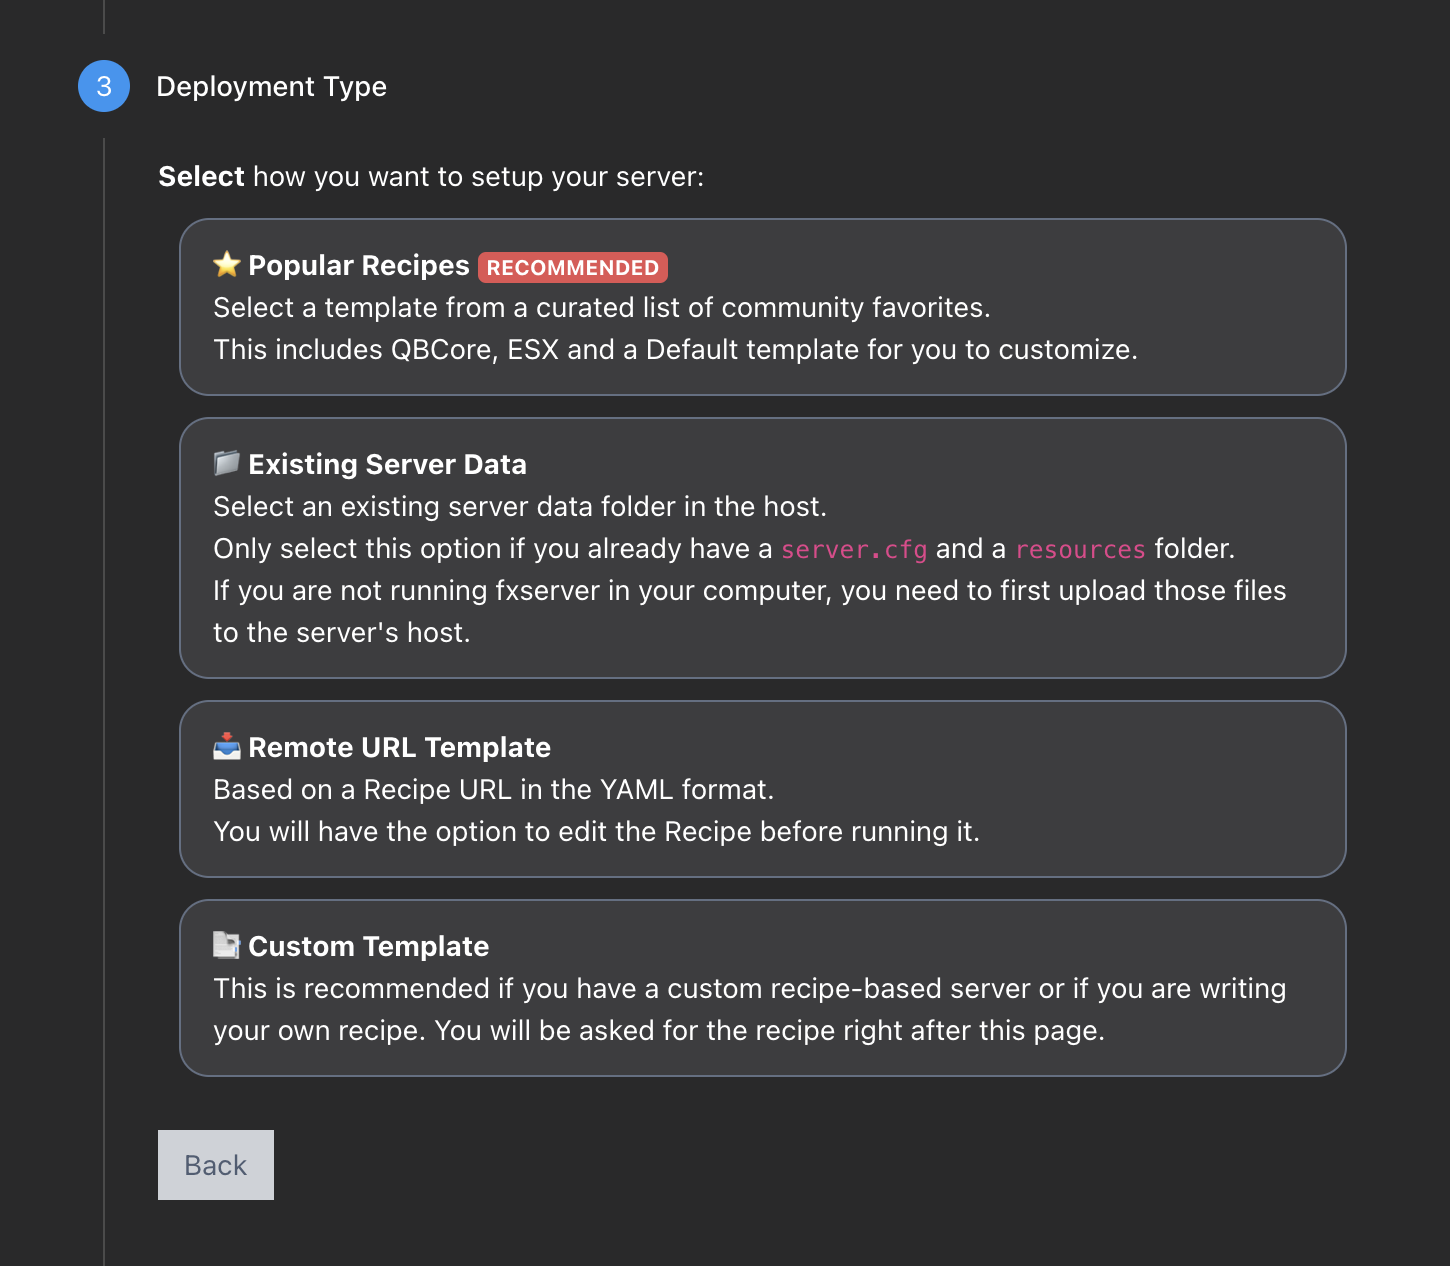
The next step is deployment type for our server, we will use Popular recipes, as it is by far the easiest.
Then we need to select a template. txAdmin by default has 3 templates for FiveM.
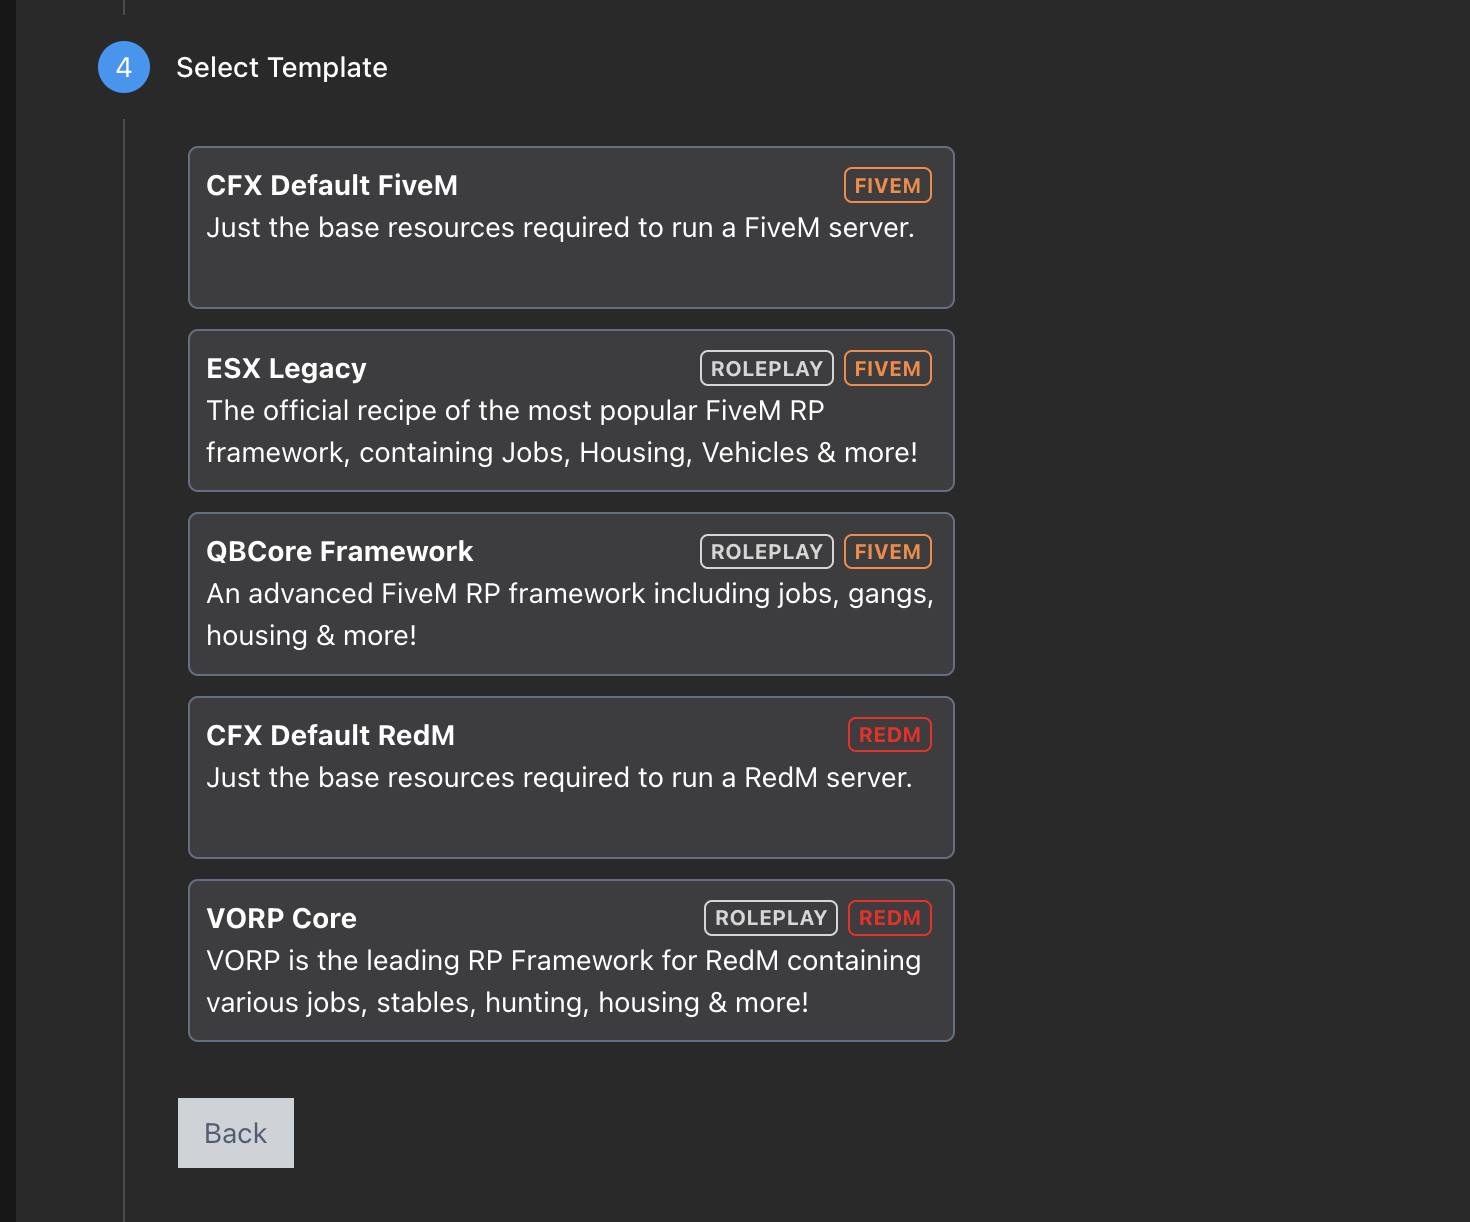
For your server, we will use ESX legacy. The next step will be it letting you choose a path. For simplicity its recommended path is the best.

Click save, it will take you to a new button recipe deployer.

Clicking this will take you to a page where you can edit the commands, it will initiate when TxAdmin is installed. Its recommended not to change these lines unless you know exactly what you are doing.
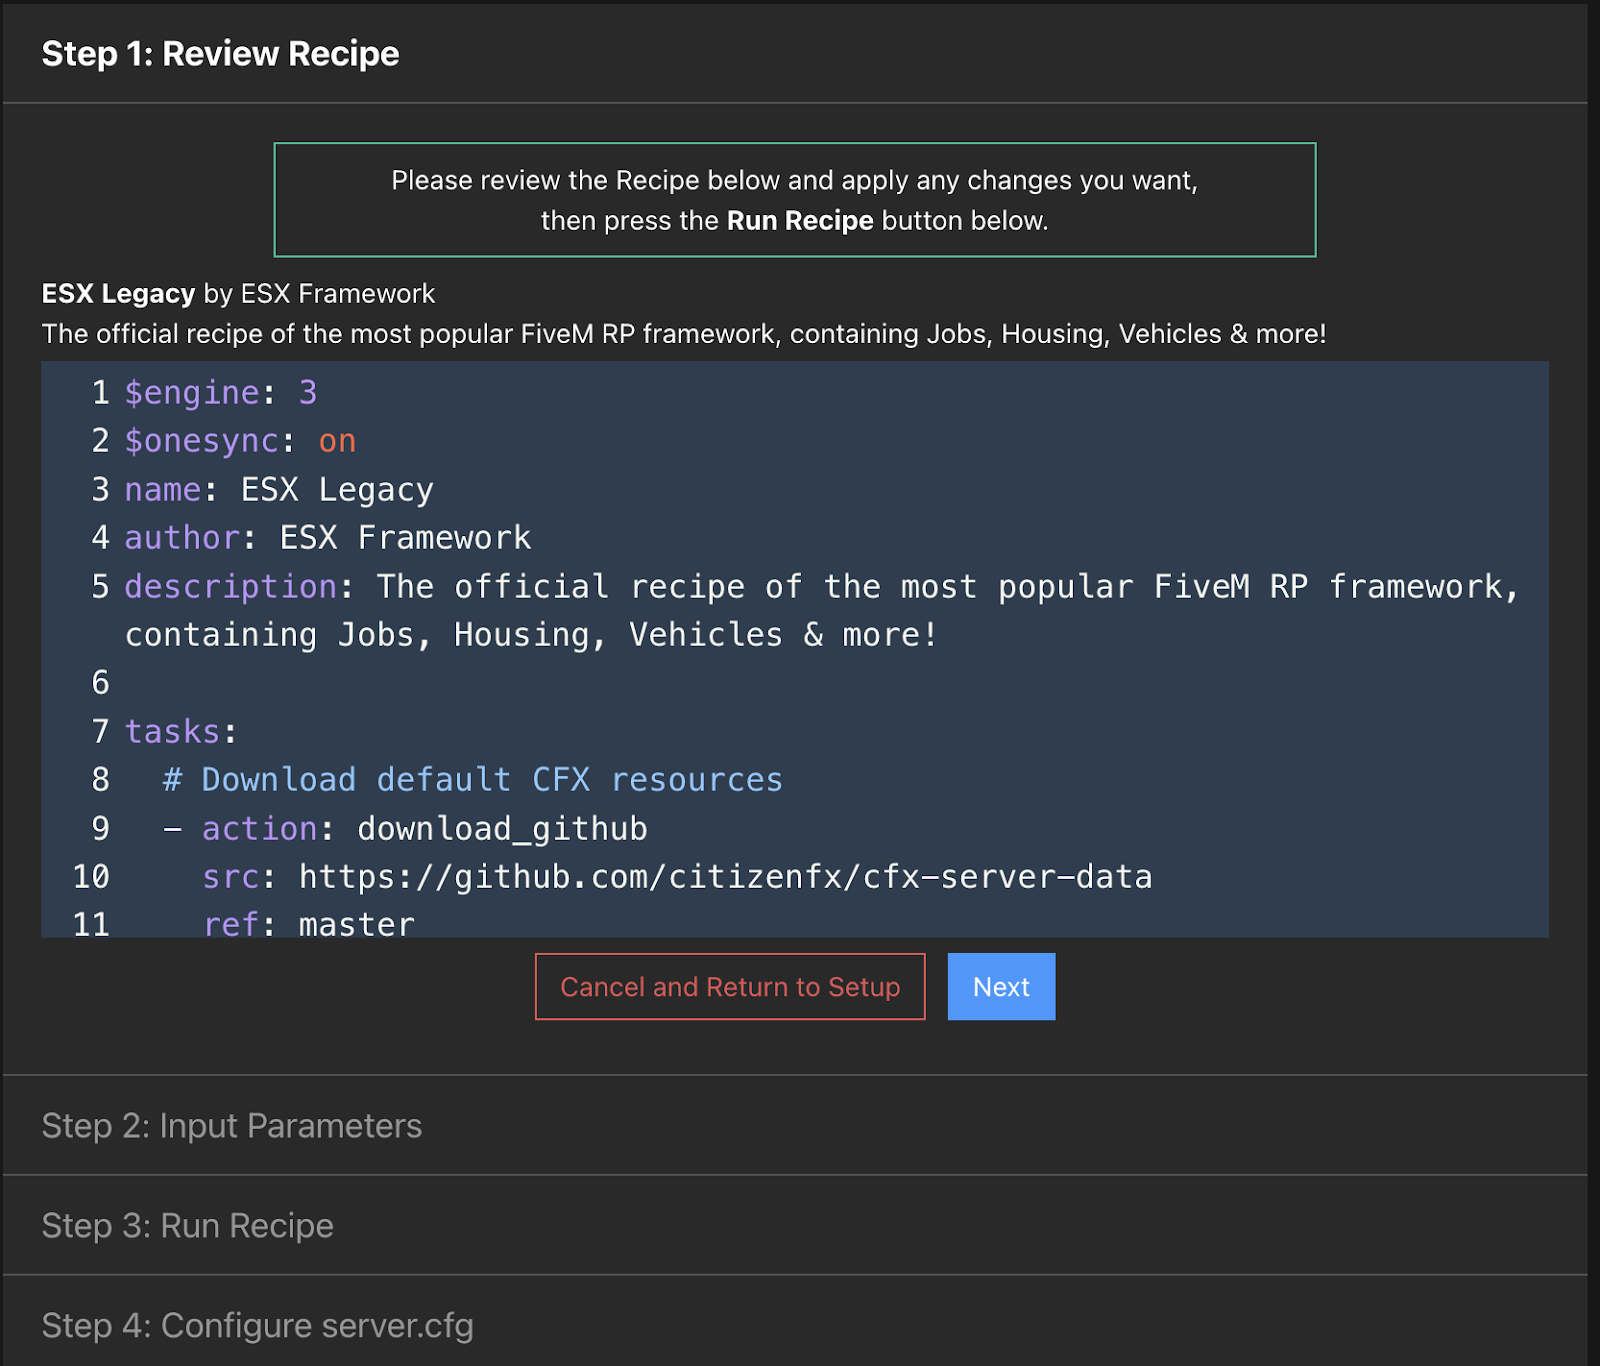
Click next and proceed to Step 2.
The next step is setting your FiveM server's license key,
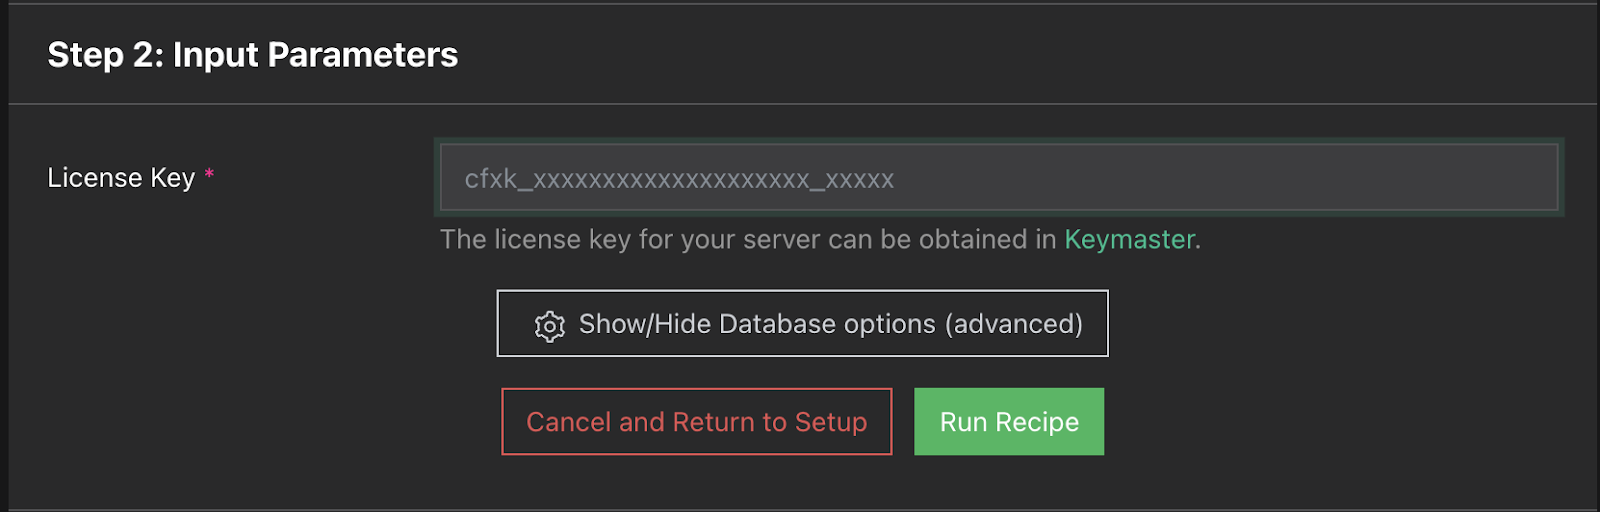
If you don't already have a license key, you can get one from here. On this page, it will ask for some simple information like Server Name, and IP Address.
Before we click run recipe, we need to configure the Database options (advanced) otherwise the setup will fail.
Clicking the cog will add a dropdown which will look like this:
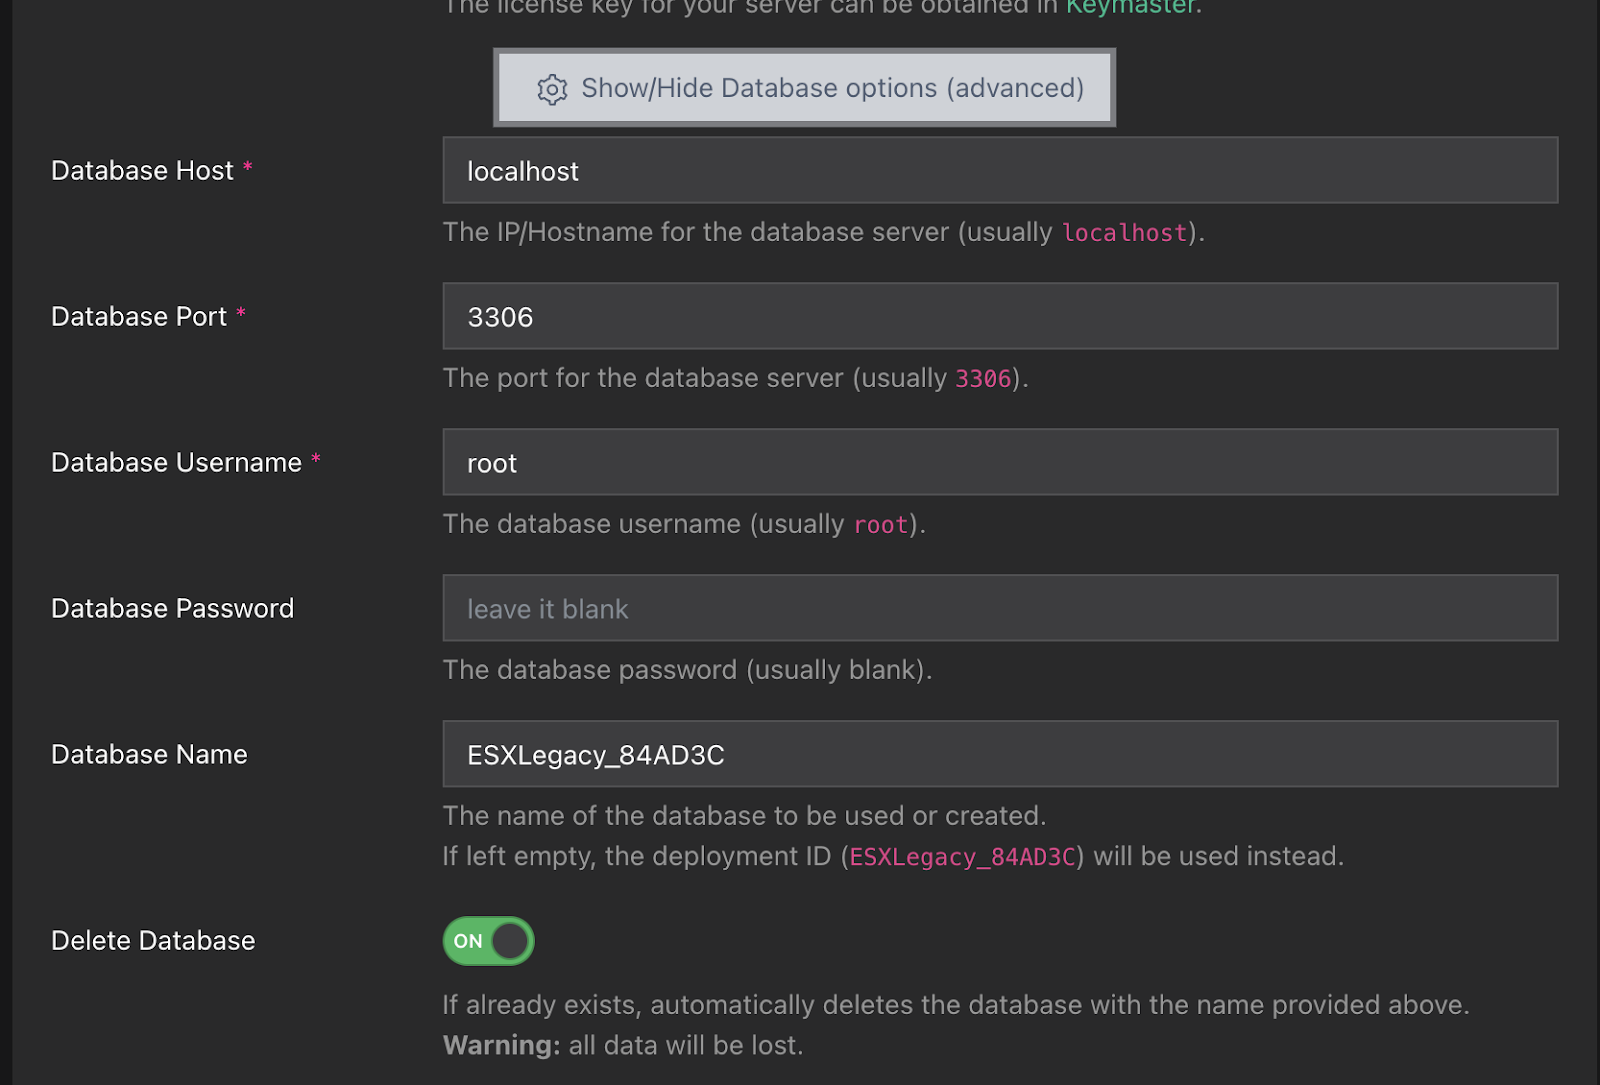
These details are wrong and wont connect to any database.
Going away from our txAdmin setup tab and back to the database on your server you will see this.

Click the menu on the top right hand side.
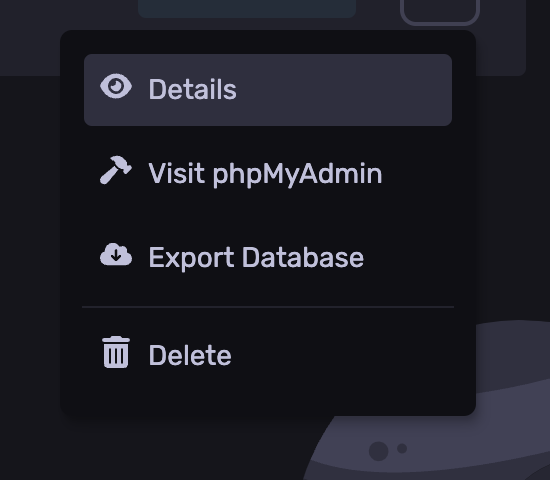
Click Database details. This popup will contain all your database information needed to connect to it.
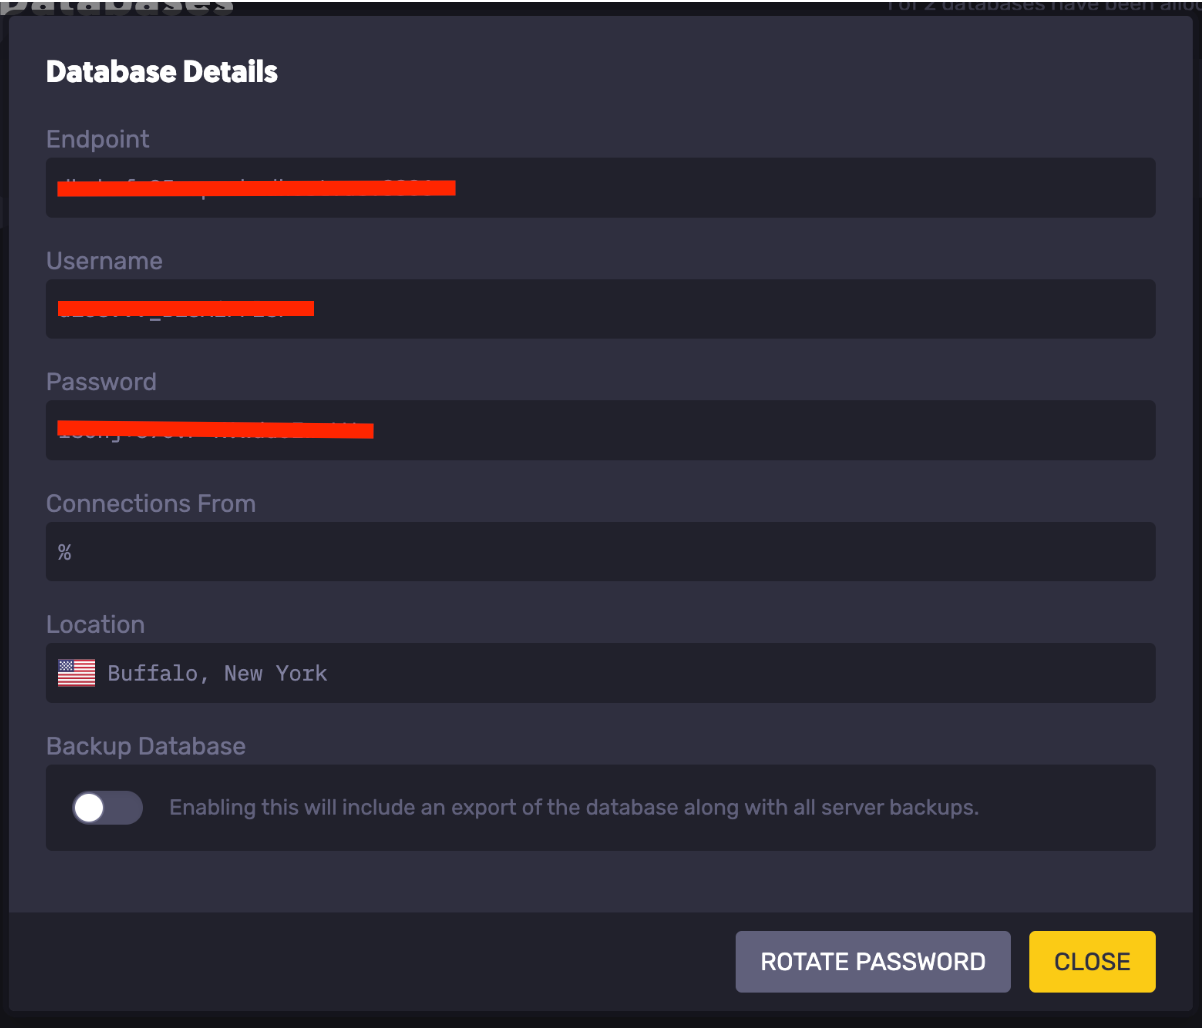
Now navigate back to your txAdmin setup tab.
All the information you found in the Database details popup you can substitute in. It will look something like this:
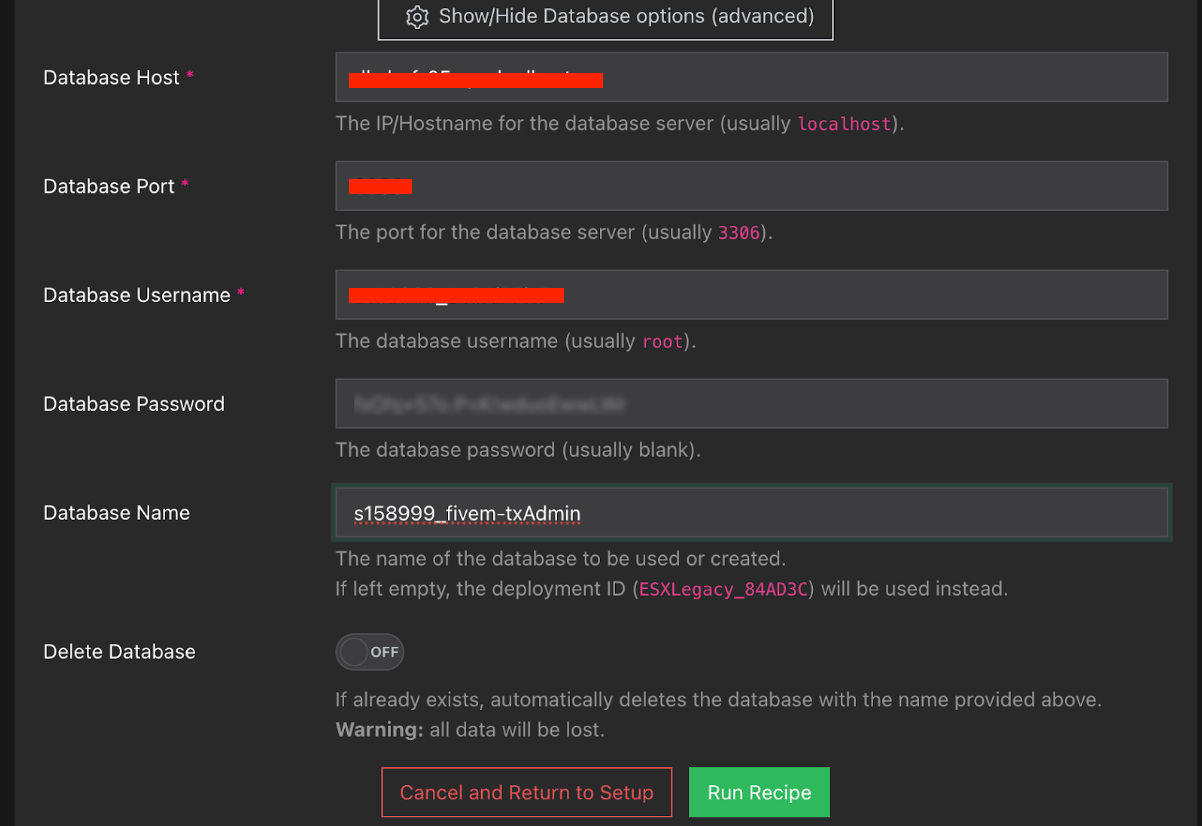
The port is listed after the : in our endpoint column. Cut and paste the port into the port area ensuring that you remove the :.
For the database name, copy and paste the name of the database you created on your FiveM server.
Now click the Run Recipe button on the txAdmin setup page. This will take you to your txAdmin web based panel.
You have now installed txAdmin on your server. We will now go into some steps on what you can do on it.
How To Use TXAdmin
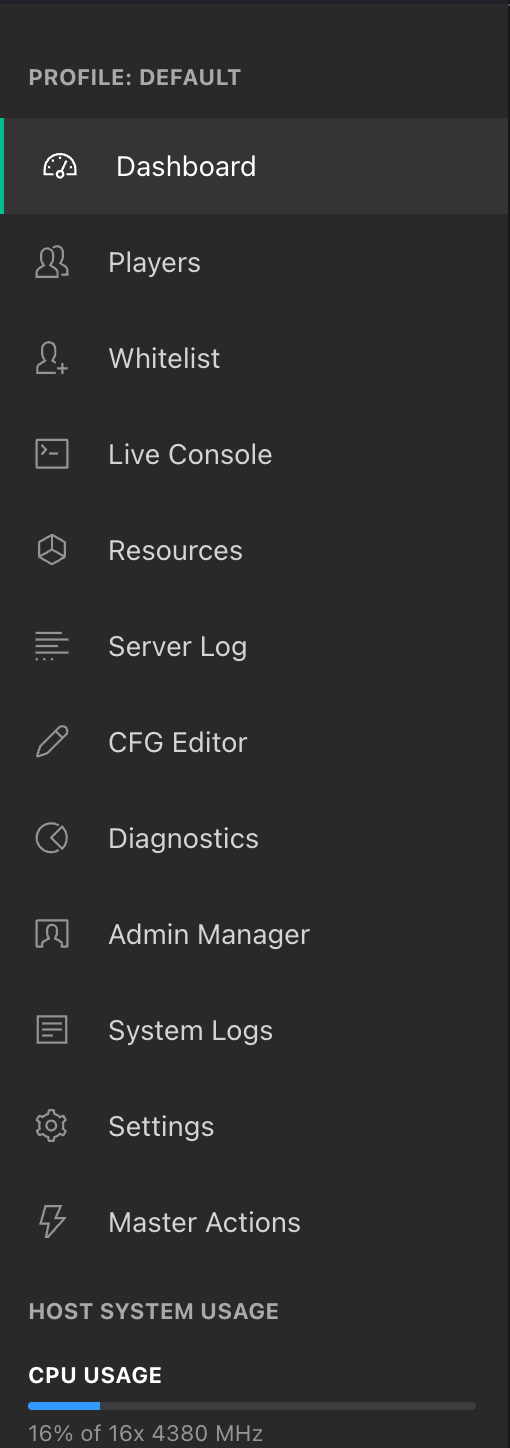
On the txAdmin panel, there's countless features designed for easy FiveM server management, such as managing players, whitelists, server configuration files, admins, logs, and more. Below is an explanation of a few of the tabs and what they are for.
Players
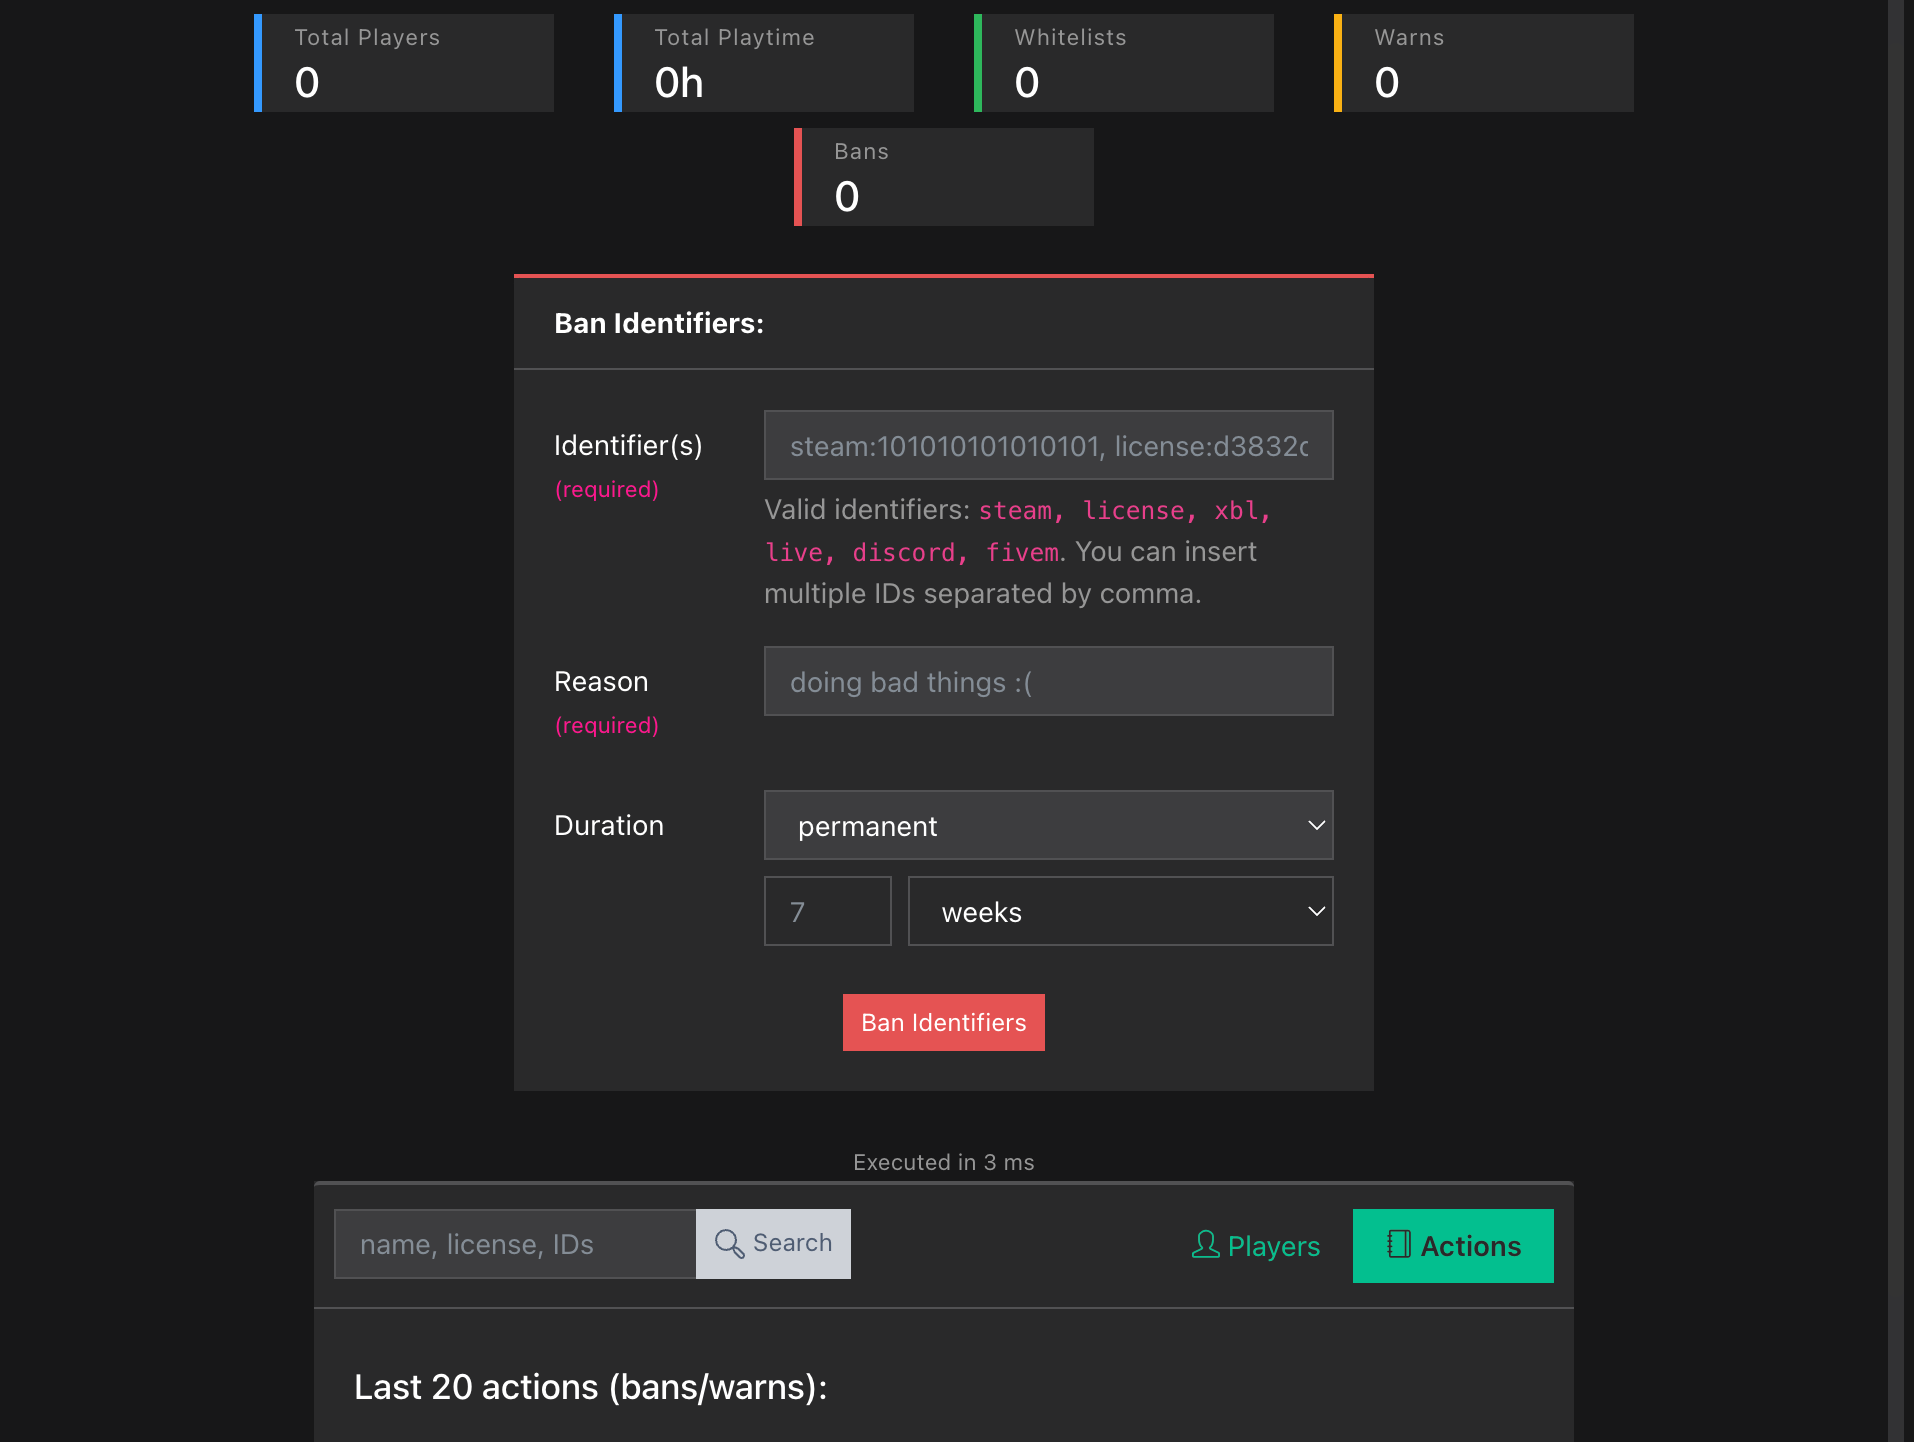
In the players tab, you can see a total player count, a total play time, the number of whitelists, warns, and bans.
You can also ban players from the web panel, all you need is the players identifier. You can set a reason and the duration. Below the ban section, we can see the last 20 moderation actions performed i.e. bans and warns. as well as the last 30 players.
Whitelists
There are 2 options in the white list. You can see players who try to join without a whitelist. You can individually approve players, or deny all players. You can also manually add a whitelist to a player who is yet to join the server.
Clicking the add approval button allows you to whitelist players based on Discord, FiveM, license, license2, live, steam, and xbl.

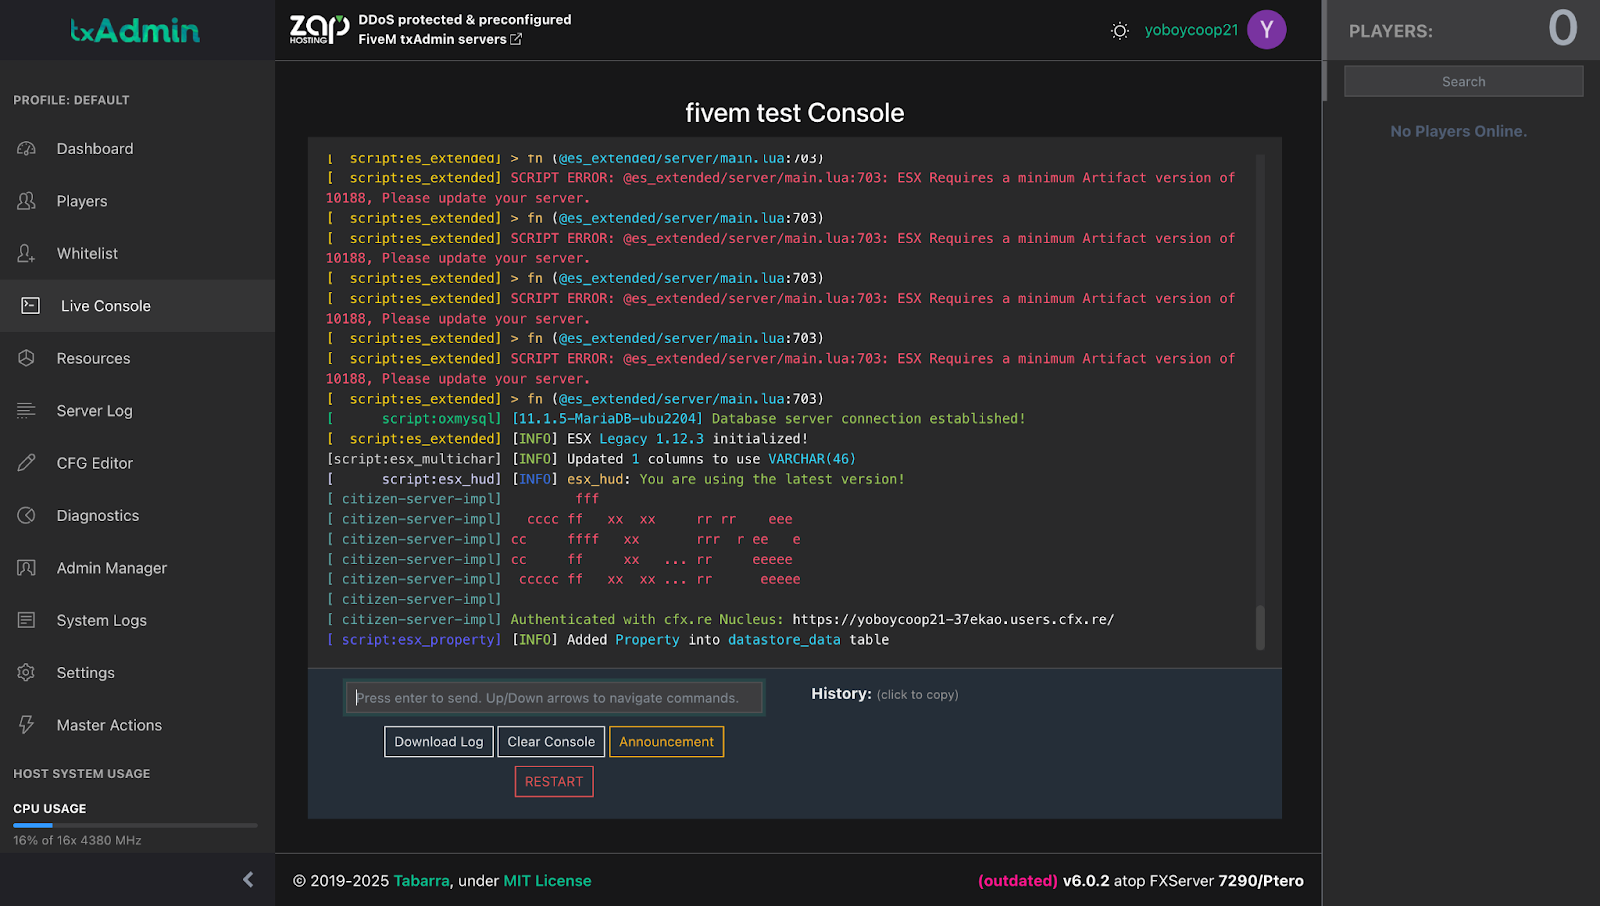
Live Console
The live console tab is exactly what it sounds like, and provides a live feed of all processes happening on your fivem server.
Resources
The resources tab don't allow you to add resources via the panel but does allow you to stop them or restart them.
CFG Editor
This tab allows you to manage your fivem servers configuration. Via the web panel.
Diagnostic
The diagnostic tab shows your servers environment and the uptime of your server.
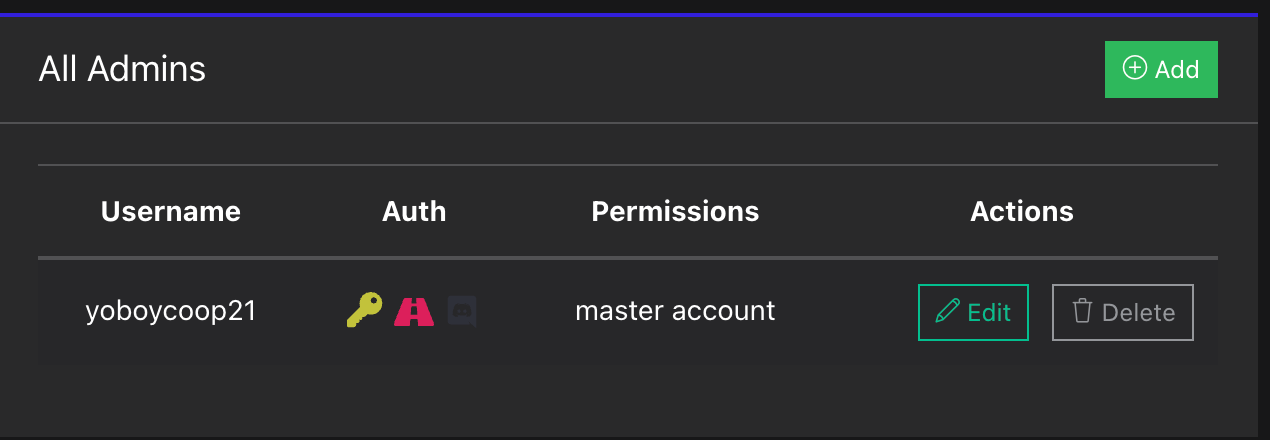
Admin Manager
The admin manager tab is one of the most powerfull tabs and allows you to manage your txadmin team. Ensure to only grant permissions to trustworthy people.
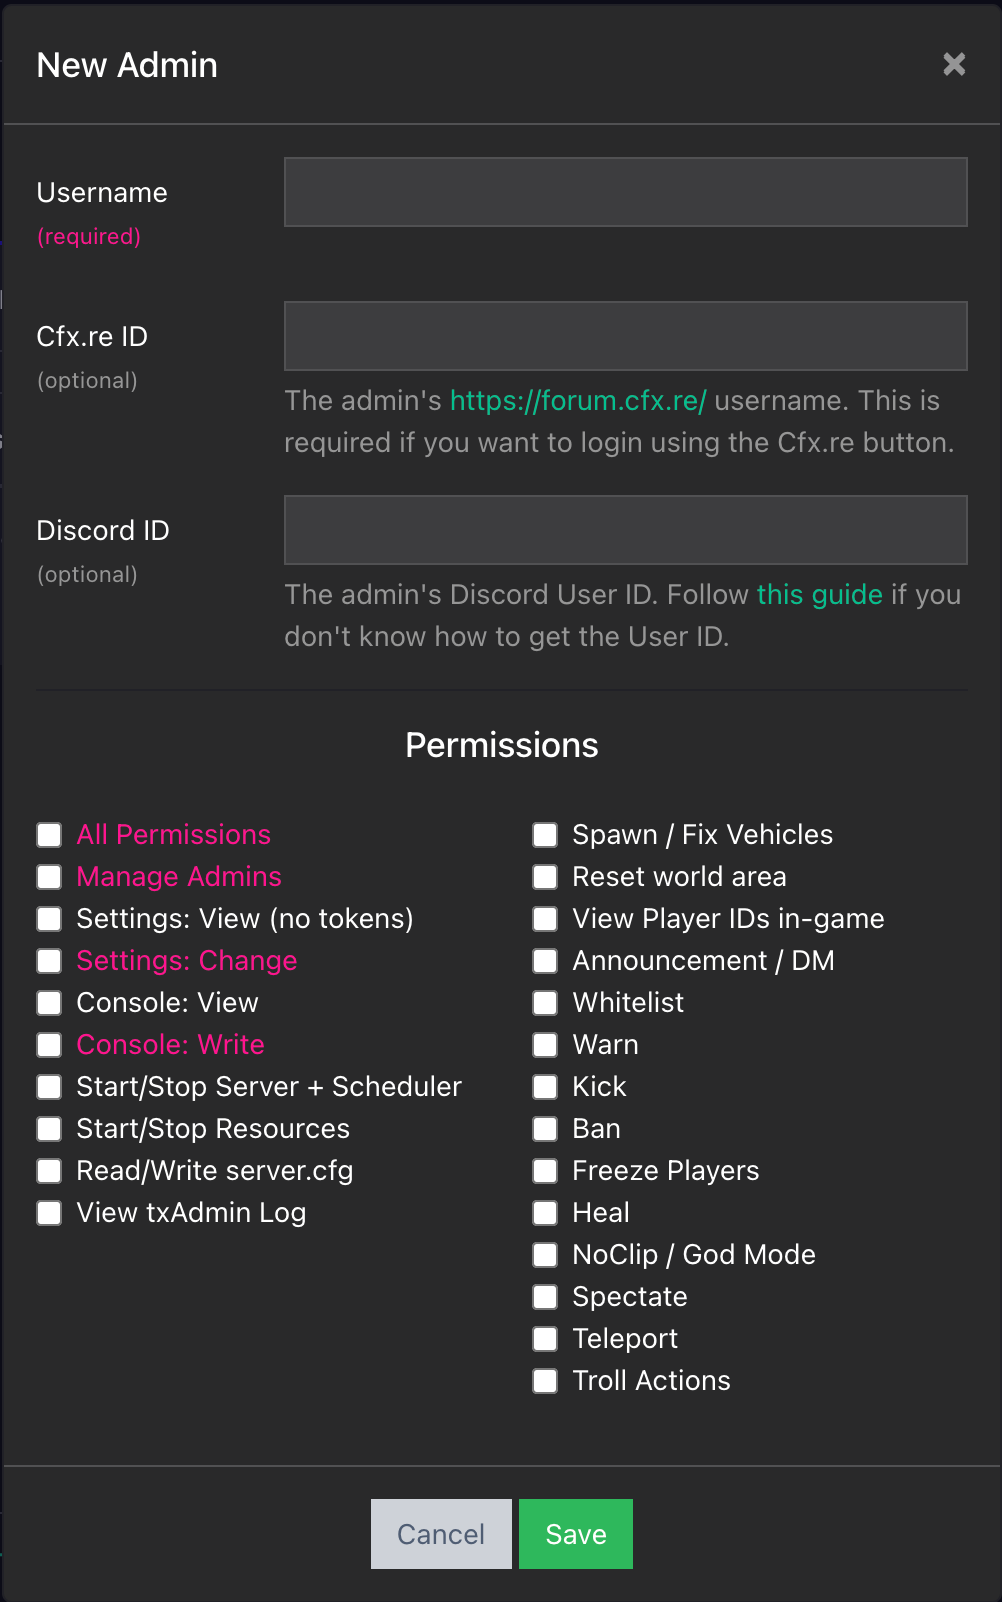
Clicking the Add button will open a popup allowing you to ad a persons username, id, discord, and assign what permissions you want to give them.
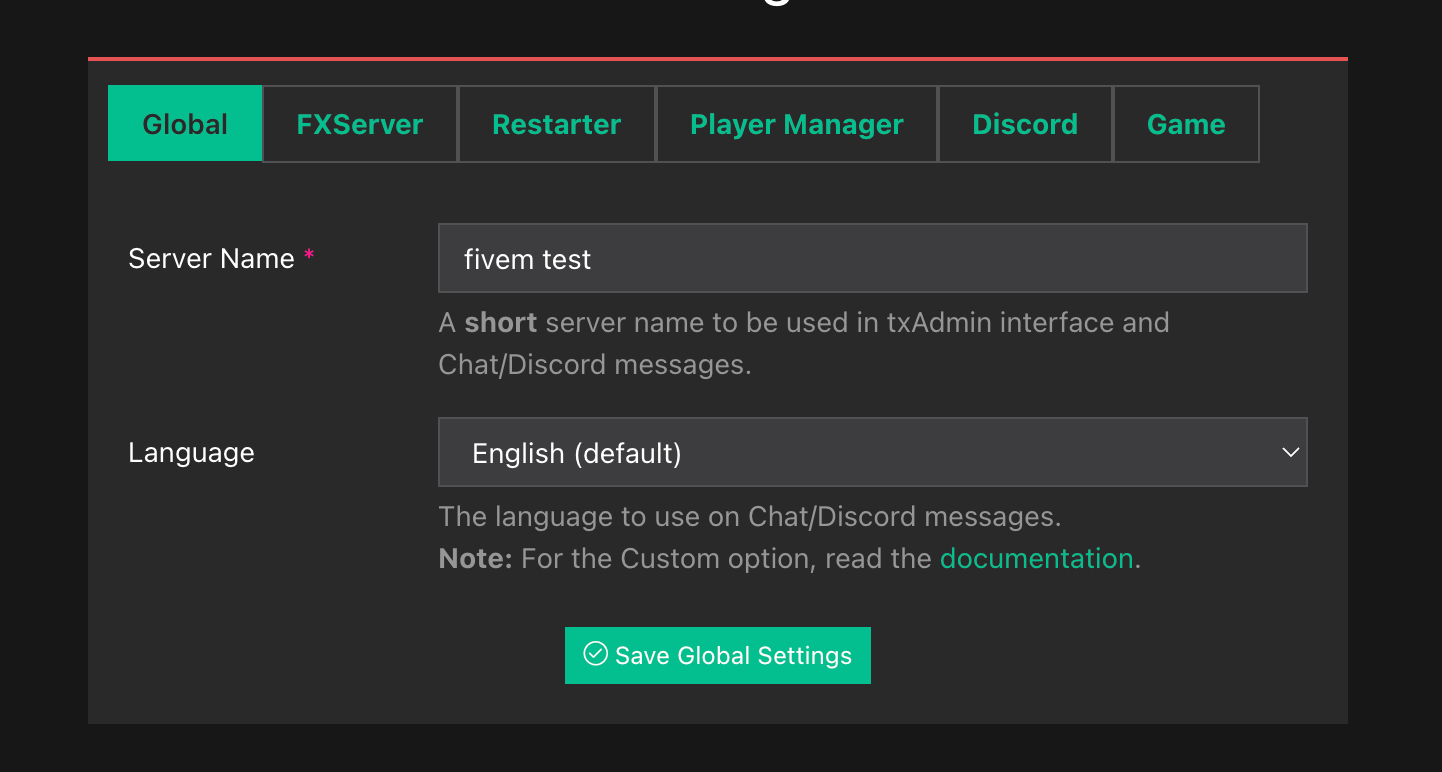
Settings
The settings tab allows you to configure different features on txadmin for your fivem server.
Some settings you shouldnt touch unless you know the exact action in doing so. For example the FXServer tab.
The global tab lets you change the servers name and the language of the server.
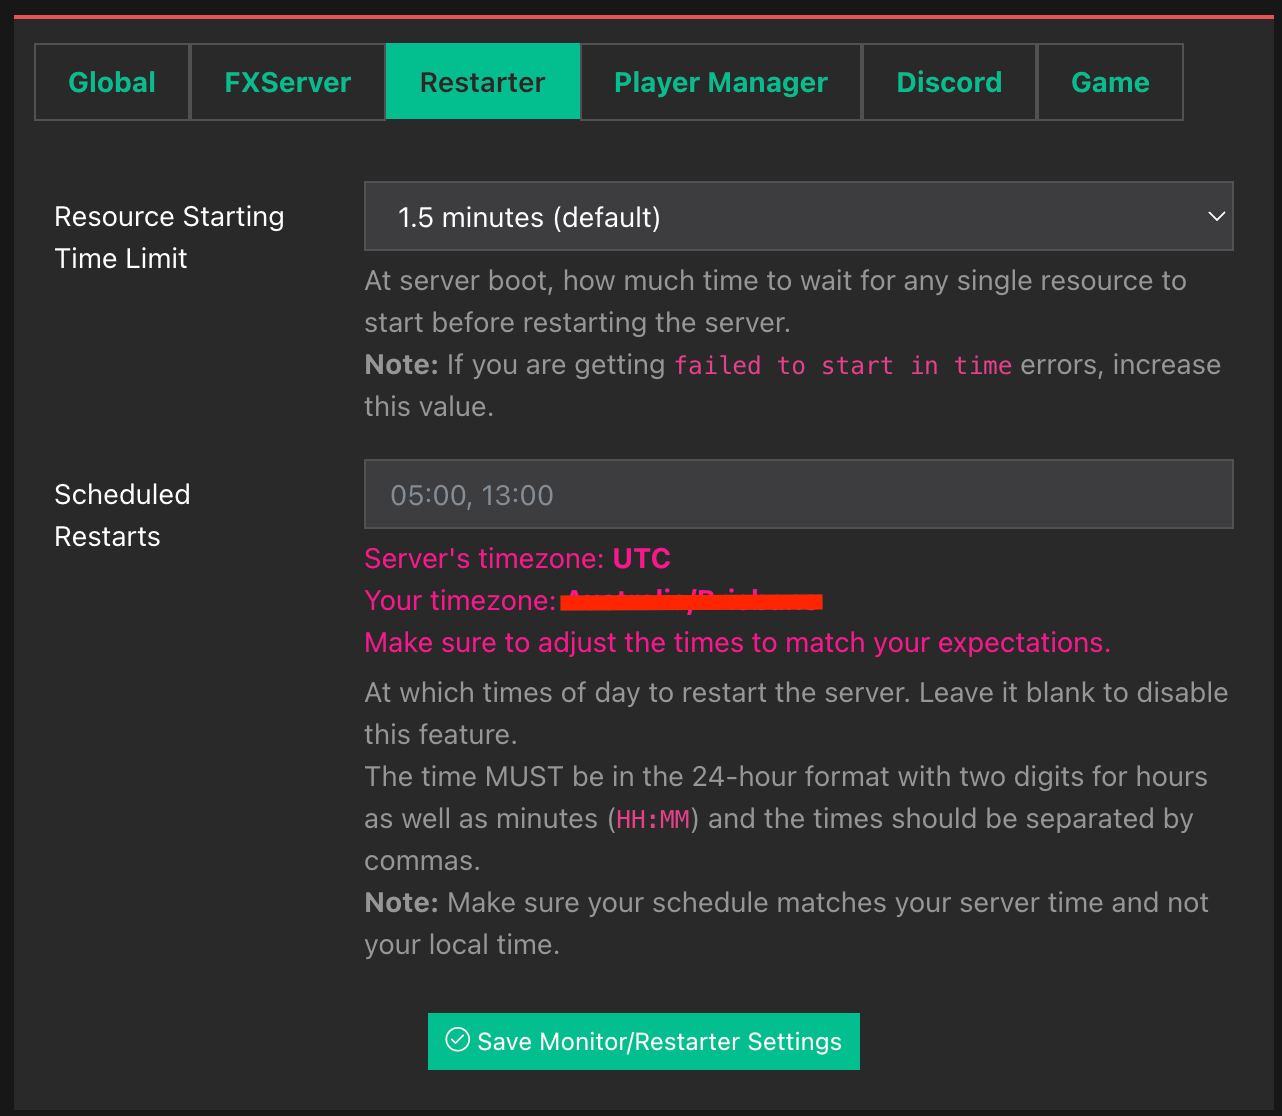
The Restarter tab lets you restart your server at certain resources limits, or at specific times.
The Player Manager tab allows you to set the whitelist rule, as well as custom whitelist checking messages. It also allows you to configure ban options, ban matches, and custom ban messages.
The discord tab is powerful, it allows you to add a TXAdmin bot to your discord server. The bot will broadcast when the server is online, offline and when its restarting. The bot also allows you to link custom whitelist roles in discord to add the user to the whitelist on your FiveM server.
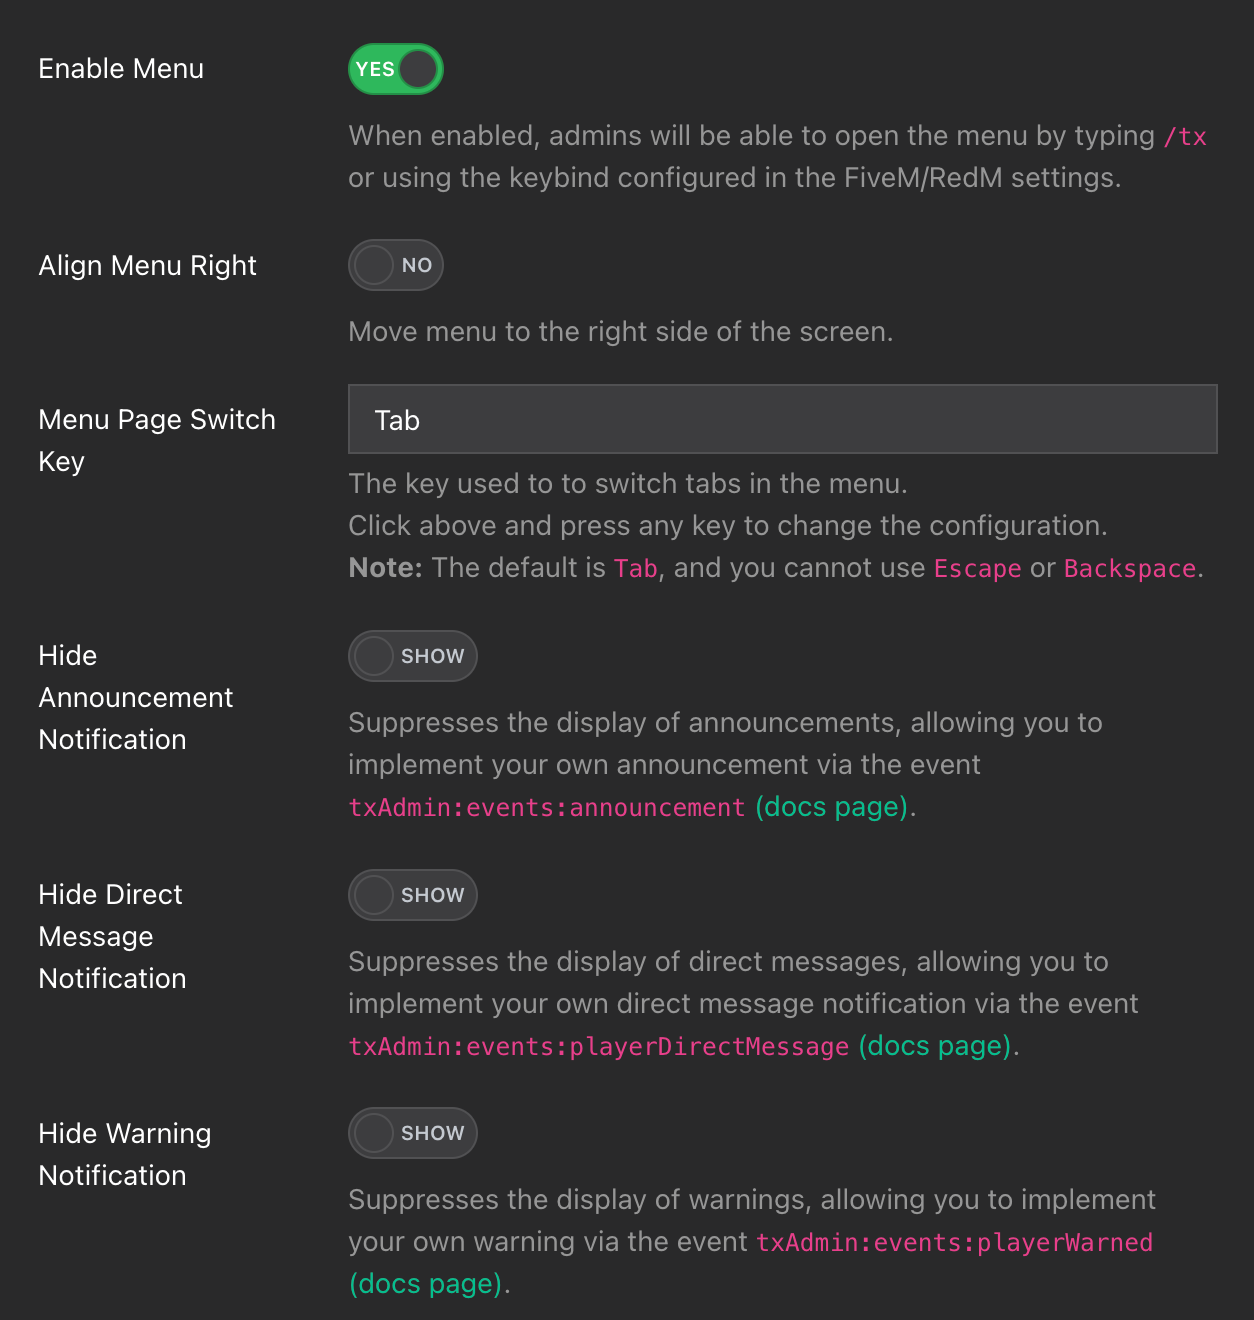
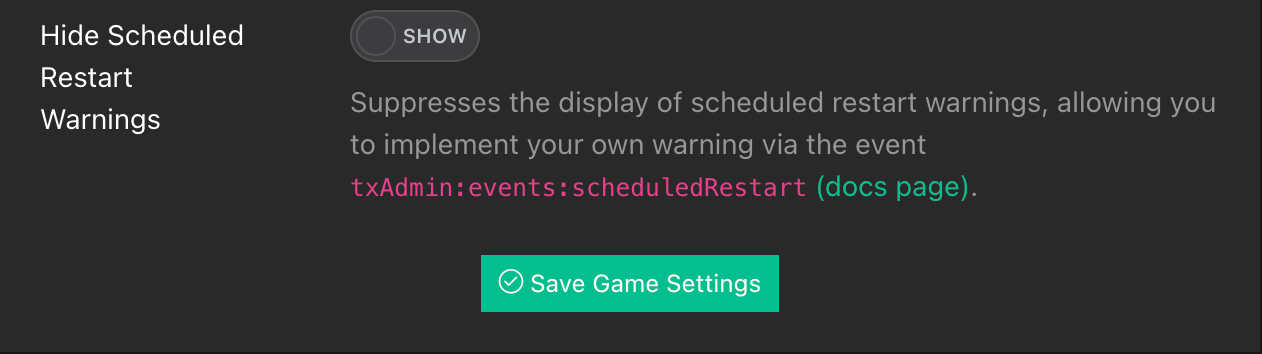
Finally the Game tab, this tab allows to to change specific actions that will happen to peoples game.
How to Link TXAdmin to a Discord Bot
To start we will need to access discords developer portal to register a bot.
In the applications tab select New Application

This will open a popup which allows you to name your bot. For us, it will be SparkedHost FiveM.
This will open a page that allows us to customize everything about your bot. The two most important steps will be to set your bots permissions, and get the bots token.
To get your bots' permissions:
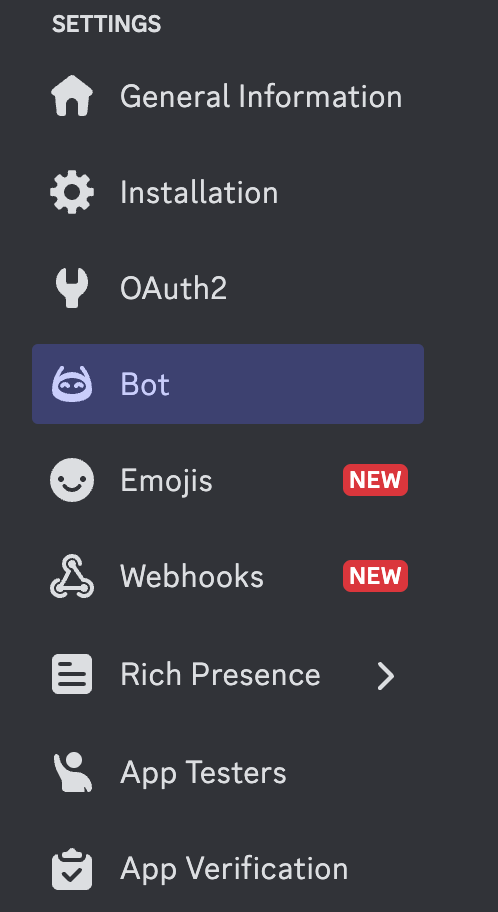
- Go to the Bot tab
- Scroll to the bottom to find permissions.
- Set the bot permission integer to 8. Once you view your bots token you can not view your bots token again. So write it somewhere and keep it safe.
To get your bot token, click the reset token and copy it down.

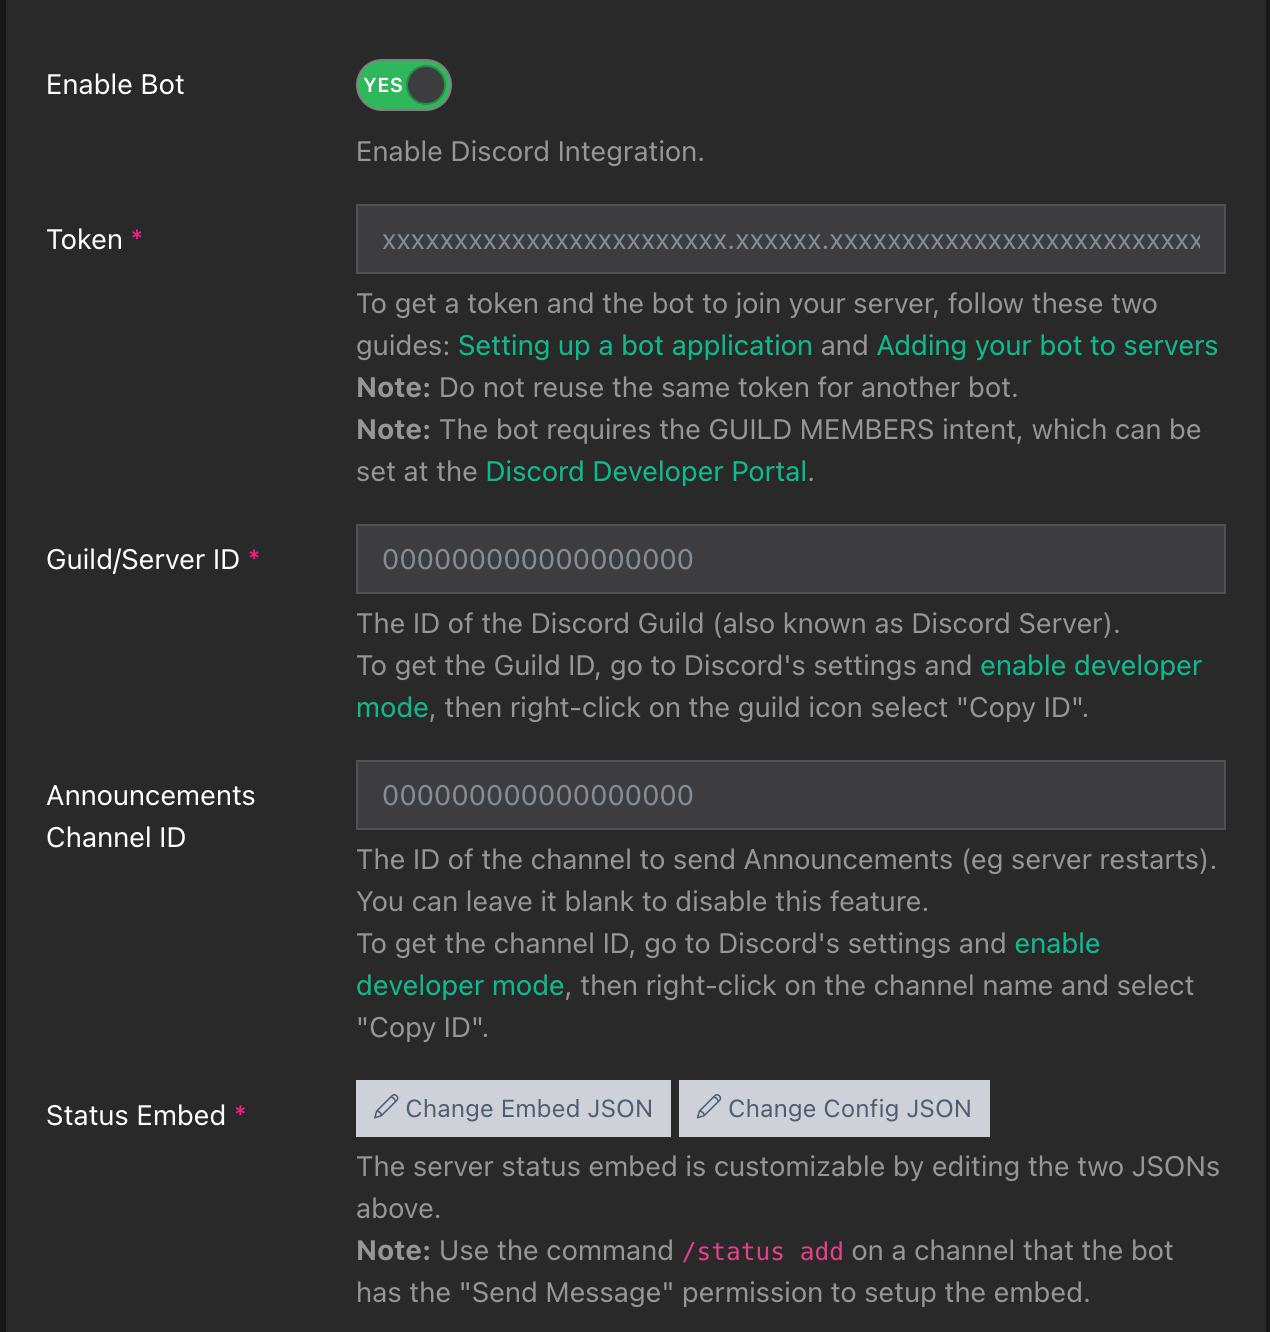
On txAdmin, under the settings tab then discord. Turn Enable Bot on.
Then, insert the Token of your bot into the token field.
Now on your discord server in the server list, right click and Copy Server ID. Paste your server ID into the relevant field on txAdmin.
Right click your announcements channel and locate the Copy Channel ID button. Paste it into the relevant field on txAdmin.
Save the changes you have made and invite your bot to your server. You have now setup txAdmin and linked it with a discord bot.
Conclusion
You have now setup txAdmin, a completely free web based panel that allows you to manage your FiveM server. If you require any additional support please create a ticket on our billing page. If you need txAdmin specific support, click here to join their Discord.
Updated on: 10/03/2025
Thank you!