How To Install Custom Maps On A Counter Strike 2 Server
Installing custom maps on a Counter-Strike 2 server expands gameplay beyond the official map pool and creates more unique gameplay experiences for players. Server owners commonly search for how to install custom maps on a Counter-Strike 2 server to run workshop maps, competitive arenas, or creative community content. Custom maps allow community servers to offer varied challenges, layouts, and gameplay styles, helping a Counter-Strike 2 server stand out with unique environments, training areas, and custom experiences not available on official servers.
Please note that only the new CS2 maps work. Also, the map must be installed on both the server and client.
Installing the Custom Maps on the Server
- Install the desired CS2 map.
- Open the Apollo Panel.
- Stop the server.
- Go to the Files tab.
- Head over to the following directory:
game/csgo/maps - Upload the .vpk map file.
- Start the server.
- In the server's console, type
changelevel MAPNAME
Installing the Custom Maps on the Client
- Install the CS2 map.
- Open Counter-Strike 2 on Steam.
- Choose Manage and select Browse local files.
- Head over to the following directory:
\SteamLibrary\steamapps\common\Counter-Strike Global Offensive\game\csgo\maps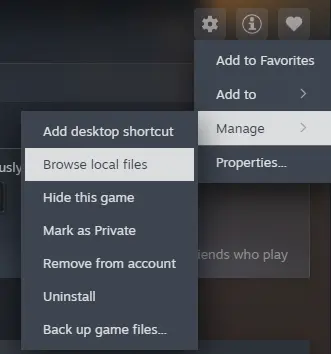
- Upload the .vpk map file inside the
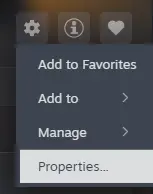
mapsfolder. - On Steam, right-click Counter-Strike 2 and click Properties.
- In the Launch Options field, enter the following:
-insecure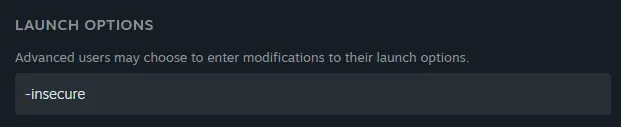
This command will prevent you from joining any official servers.
Updated on: 02/06/2026
Thank you!