How to Install Mods on a Don't Starve Together Server
Installing mods on your Don't Starve Together server allows you to customize gameplay, add new content, and enhance the overall experience for your players. Mods are managed through the Steam Workshop and must be configured correctly on your server to load.
Installing Workshop Mods
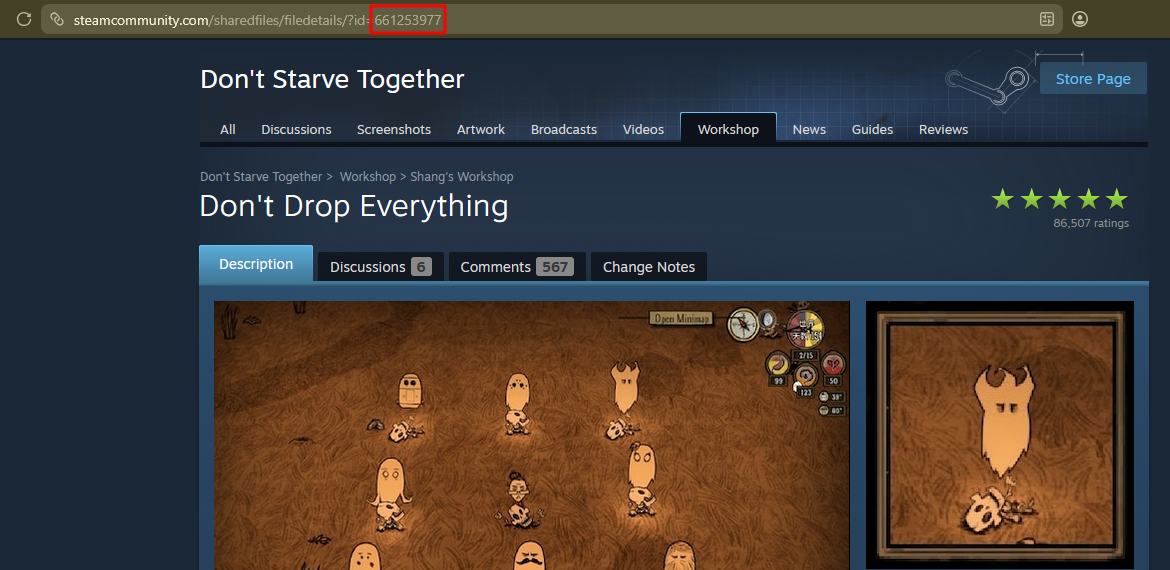
- Go to the Don't Starve Together Workshop and look for the mods that you want to install.
- Take note of the Workshop ID of each mod that you want to install. You can find it in the mod's URL after "?id=".
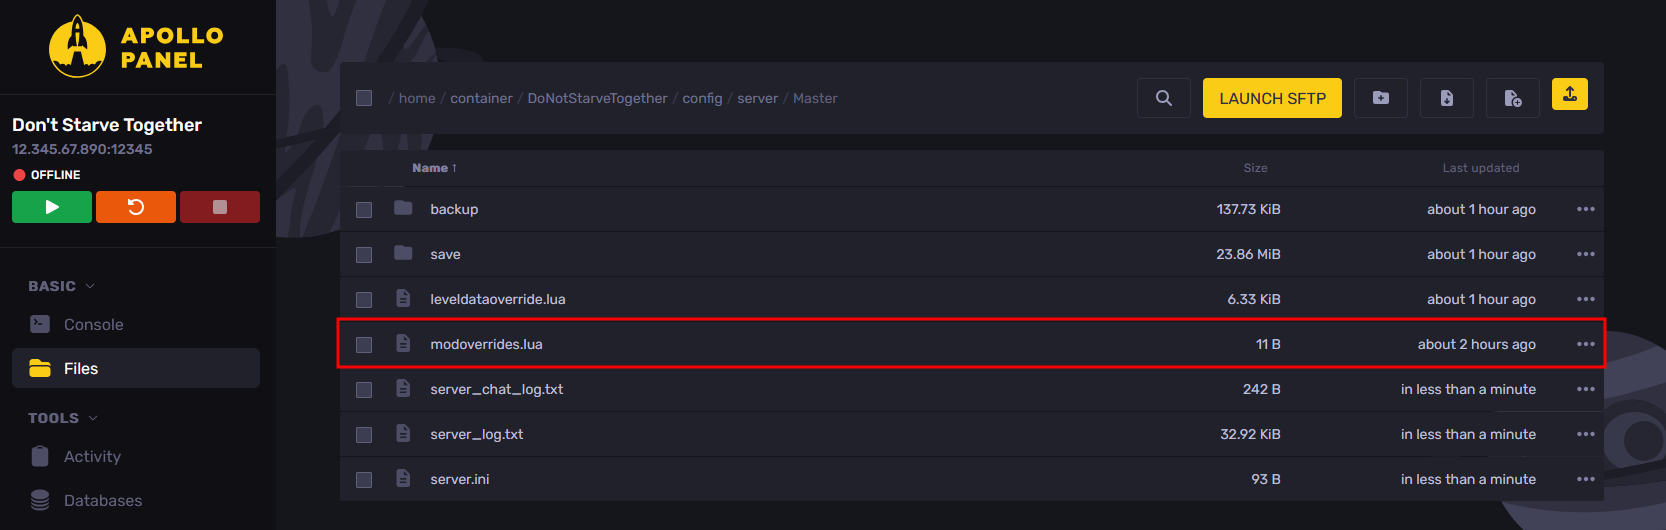
- Open the Apollo Panel, and ensure that your server is offline.
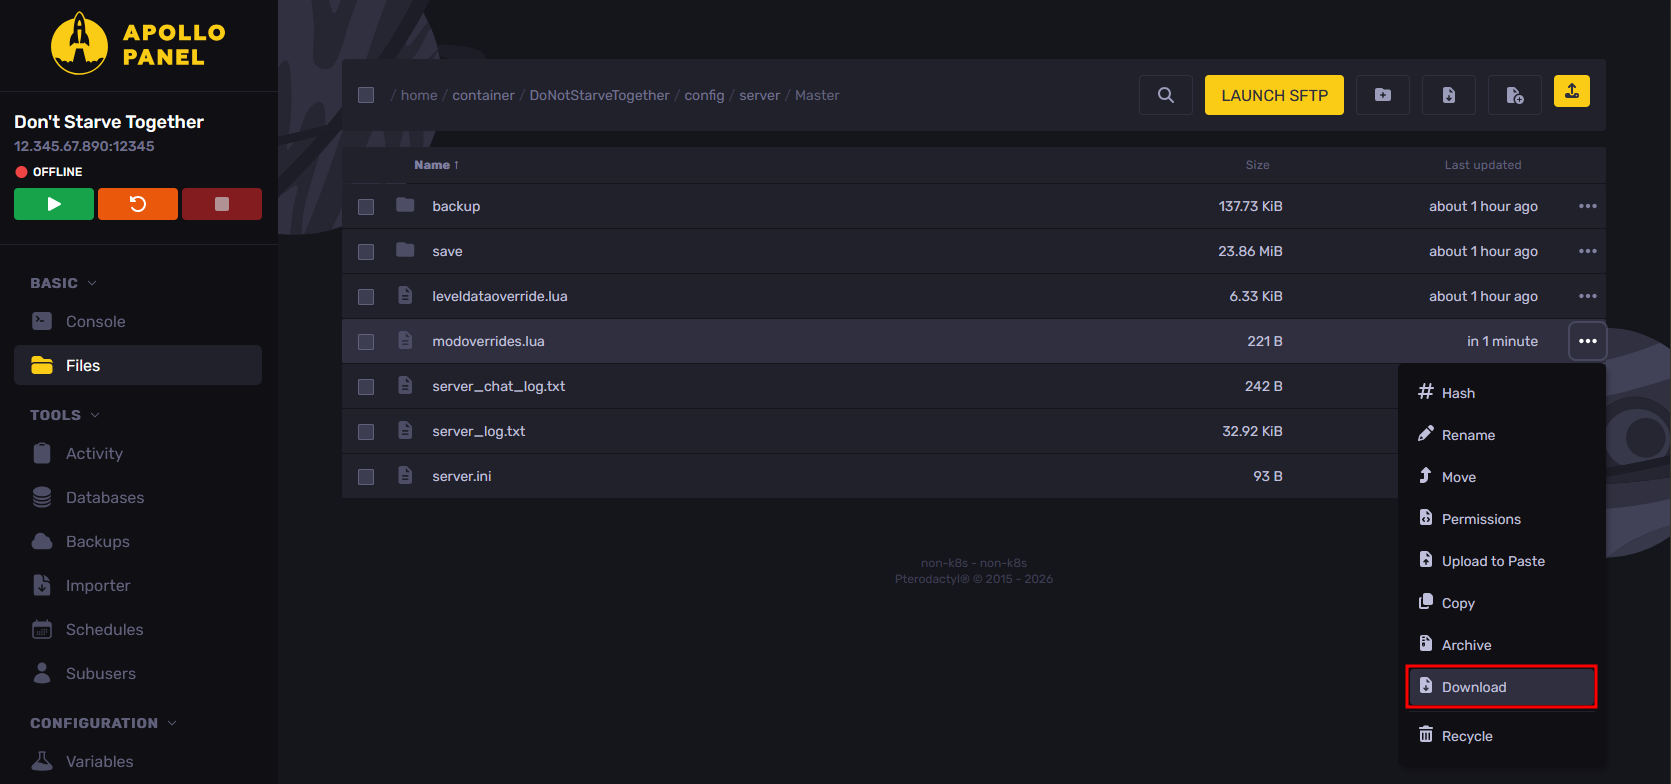
- In the Files tab, navigate to the "DoNotStarveTogether/config/server/Master" folder, then open the "modoverrides.lua" file. If it doesn't exist, click the "New File" button and set the file name to "modoverrides.lua".
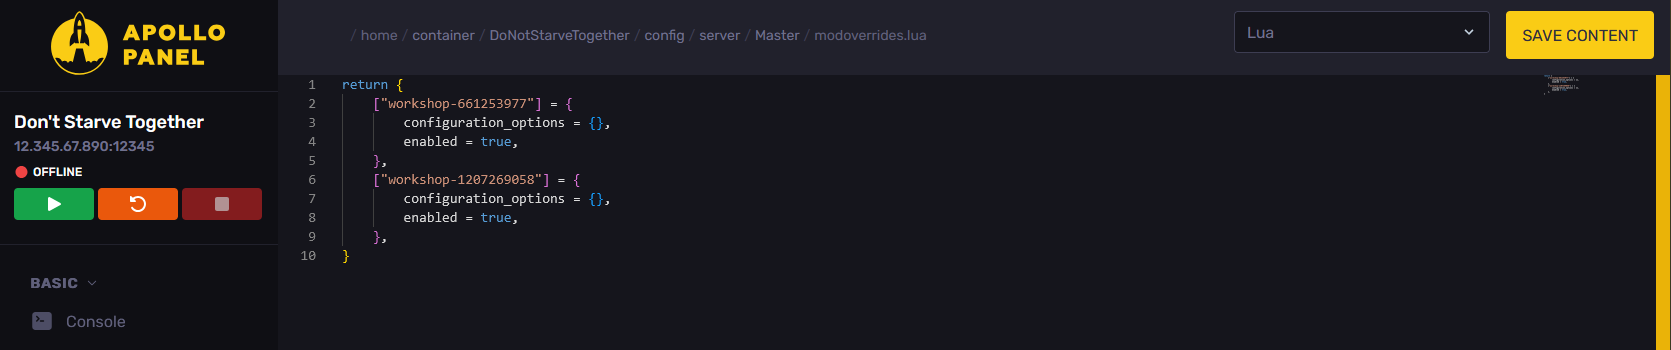
- Inside the brackets, enter the following lines for each workshop mod that you want to add. Make sure you replace "WorkshopIDHere" with the workshop ID of the mod that you want to install.
    ["workshop-WorkshopIDHere"] = {
    	configuration_options = {},
    	enabled = true,
    },
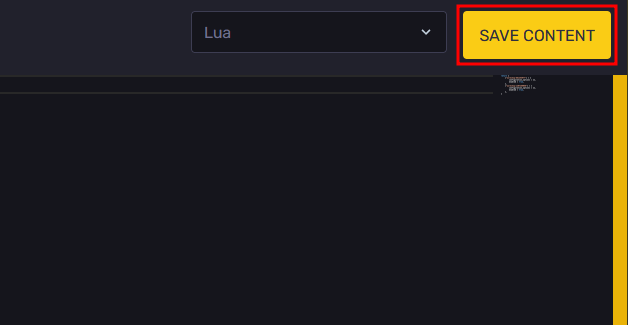
- After adding all the mods you want, click the "Save Content" to save the file changes.
- Once you have saved the changes, download the "modoverrides.lua" file.
- Go to the "DoNotStarveTogether/config/server/Caves" folder and upload the "modoverrides.lua" file you have just downloaded.
- Navigate to the "mods" folder, and open the "dedicated_server_mods_setup.lua" file.
- For each mod that you want to install, add the following line. Make sure you replace "WorkshopIDHere" with the workshop ID of the mod that you want to install.
ServerModSetup("WorkshopIDHere") 
- Start the server, and the installed mods will now be required to join.
Updated on: 15/05/2026
Thank you!