How to Upload a Save to a Windrose Server
How to upload a save to a Windrose server refers to transferring save data from a local save or local world into a Windrose server or dedicated server so progress can continue online. This process moves world data and other server files into the correct world folder, allowing an uploaded world or transferred world to become the active world once the server loads. It is commonly used for world transfer, backups, moving single-player progress to multiplayer, or sharing a completed save with friends through a hosted server environment.
To Upload a Local Save
- Open Windrose.
- Click Play.
- Hit Solo/Offline.
- Find the desired world and copy the world's ID.
- On your computer, press the
Windows Key + R. - Enter
%LOCALAPPDATA%\R5\Saved\SaveProfilesand hit OK.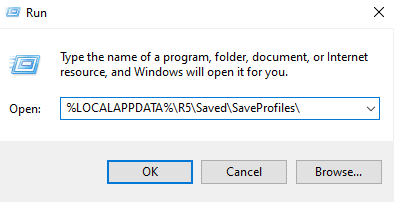
- Navigate to the following directory:
\RocksDB\version\Worlds
You can find your SteamID46 here.
- Locate the world folder with the same ID as the one you've copied.
- Archive and zip the world.
- Access your Apollo Panel.
- Stop the server.
- Go to the Files tab.
- Navigate to the following directory:
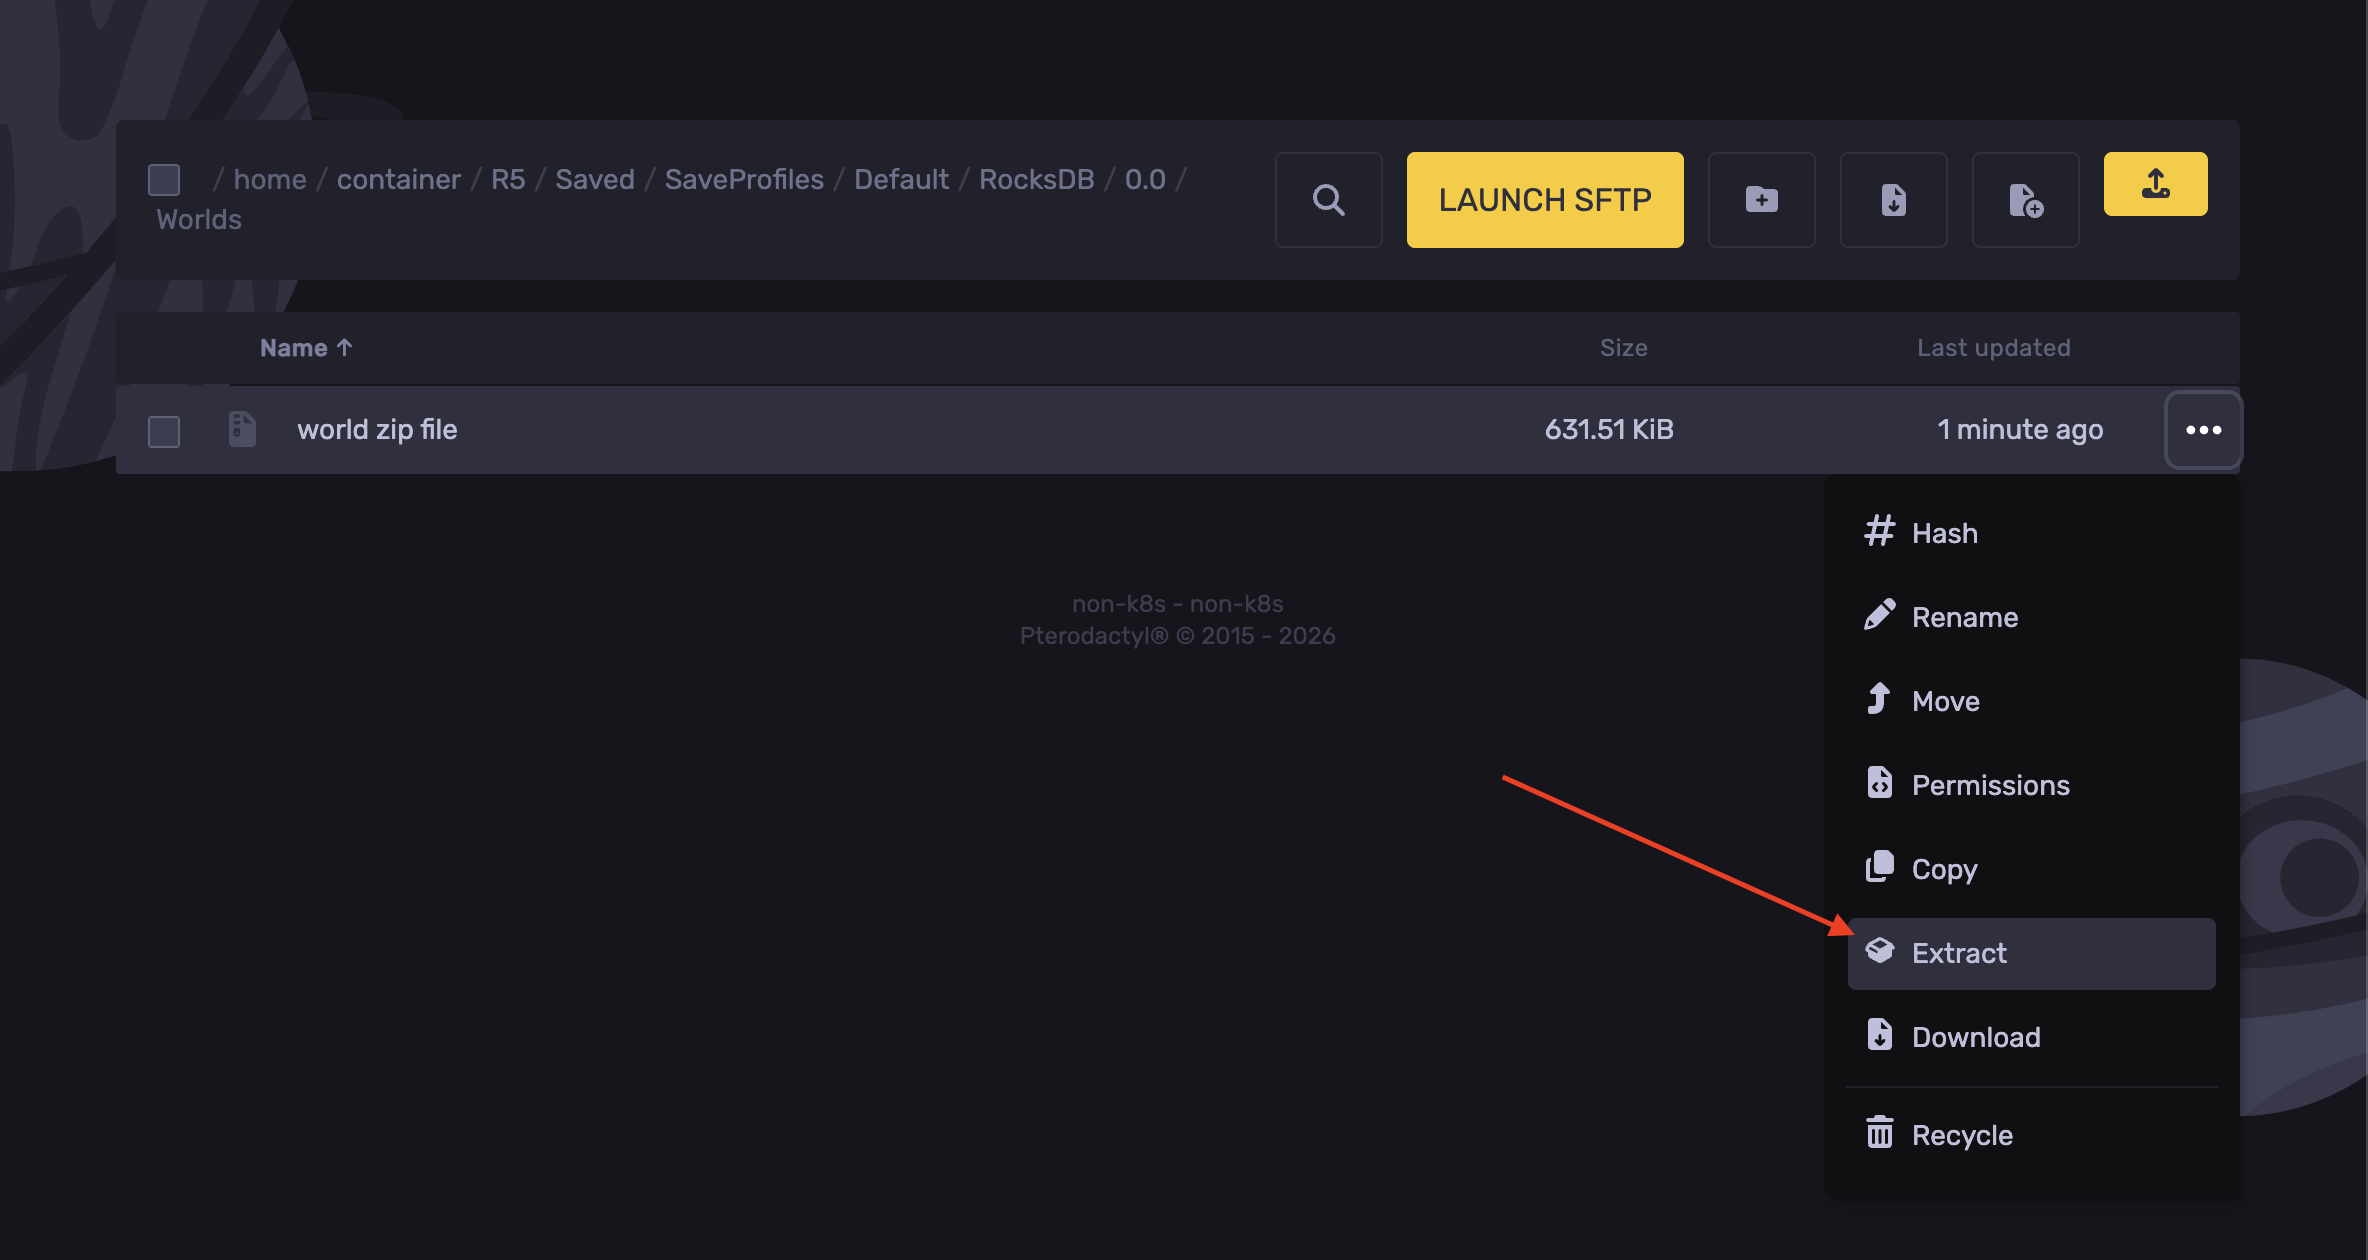
R5/Saved/SaveProfiles/Default/RocksDB/version/Worlds - Upload the world zip file into the
worldsfolder. - Right-click the zip file and hit Extract.
- Now, head over to the following directory
R5/ServerDescription.json - Paste the world's ID in the
"WorldIslandId":line.
- Click Save Content.
- Start the server.
Updated on: 21/05/2026
Thank you!